DIY Printing Guide
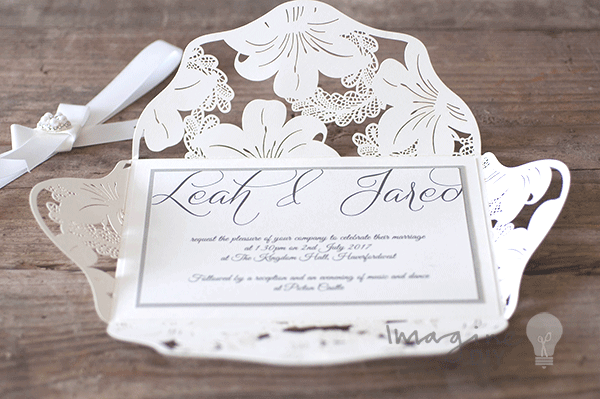
Our stunning laser cut invitations are proving popular with their matching inserts and envelopes. Made from coordinating pearlised card and papers for that luxury finish, there are some important things to consider as printing isn't possible directly on the laser cut invitations, and the matching or coordinating inserts are already cut to fit. This allows you to add as many inserts as needed to ensure your guests get all the important information to attend your big day!We have put together some key points you need to be aware of when ordering and printing your inserts.
Things to consider:
- Buy a sample! Sample orders under £5 to mainland UK are only 99p postage, with no minimum order quantity. This will allow you to experiment without committing to a large order.
- Flocked, glitter, embossed and some patterned papers aren't suitable for printing. These are generally used for mounting or decorating invitations.
- You can usually get two square inserts, or three DL-sized inserts from one sheet of A4. This would depend on the insert size, so make sure you check this.
- You will require a laser printer to print on the pearlised papers and inserts.
- Are you able to adjust your settings to accommodate and print on smaller pieces of card? If not, try to print a couple of copies onto a single A4 sheet using Microsoft Publisher to help with the layout.
- Alternatively you can mount the inserts onto patterned and printed A4 paper cut to size. This can create a lovely effect and might be easier to do at home.
- If you can't get access to a laser printer and you need to use an inkjet printer, you may need to make some small tweaks to your design. Ink jet printers will not print on pearlised or vellum papers, as the ink will sit on top of the pearlescent surface and smudge. You will need to replace pearlised or vellum finishes for matt paper or card.

Outsourcing a printer service:
We advise you approach your local printers to check if they are able to print smaller-sized pieces of card. Some don’t, and you may need to buy the matching (or if you choose a different colour) A4 card to have printed and then cut to size. Remember you will need the insert dimensions to specify to the printers.
Envelopes:
We would recommend you print or write address labels on adhesive label paper for a polished finish (unless you have amazing handwriting skills which sadly I don't). This way you can amend any mistakes and keep them all the same (we do love a bit of coordination)!
We hope this helps you on your DIY journey. Look out for our other posts offering more advice and guidance to help you create your own flawless and bespoke wedding invitations and stationery!
xxx

