Make DIY Place Cards for Your Wedding or Event
If you're planning a DIY wedding or event, making your own place cards is a simple way of adding a very special finishing touch. To help you on your journey, we've put together 2 simple designs for you to copy, or just to use as inspiration.
I've always loved white ink on stationery. But it's often an expensive and sometimes elusive technique. But recently, I stumbled on an easy way to incorporate white text into your designs. It's so easy, anyone can do it with only the minimum amount of investment (literally the price of a pen!!!). So both of these designs use white ink on vellum paper ..... such an easy but effective technique.
As an extra special touch, all the items used in these designs are eco friendly.
Both of these place card designs are easy to customise. Just choose alternative colours or materials to compliment your theme.
I've put together a short video to show you how easy both these designs are to make. For full instructions and product lists, please see below.
DIY PLACECARDS WITH SILK TIE

You Will Need:
6cm x 9cm Handmade Card in Blush. (click here)
Clear Vellum Paper (cut to 5cm x 8cm). (click here)
20cm of closed edge silk ribbon in Nude Blush (click here)
You Will Also Need:
A Paper Trimmer
A Hole Punch
A White Acrylic Paint Pen (available on Amazon)
A sharp scissors

Instructions:
- Cut a piece of vellum paper 5cm x 8cm
- Choose a nice font and print your guest names onto A4 paper
- Place your pre cut vellum panel on top of one of the guest names. Make you can see the guest name to the centre right of the vellum panel. Hold in place and use your white paint pen to trace the letters of the name.
- Once you've copied the name, place the vellum panel on top of your handmade card panel. Use the hole punch to punch a hole through both pieces.
- Take a length of silk ribbon (appx, 20cm). Fold in half. Push the centre of the folded ribbon through the hole in the place card from the back to the front. Open up the loop. Pull the loose ends of ribbon from the back of the place card through the loop at the front. Pull the ribbon and adjust until you are happy it is sitting neatly. Use a sharp scissors to trim off the excess ribbon at an angle.
TIP .... to lower the price of this place card, replace the silk ribbon with a cheaper alternative such as satin.
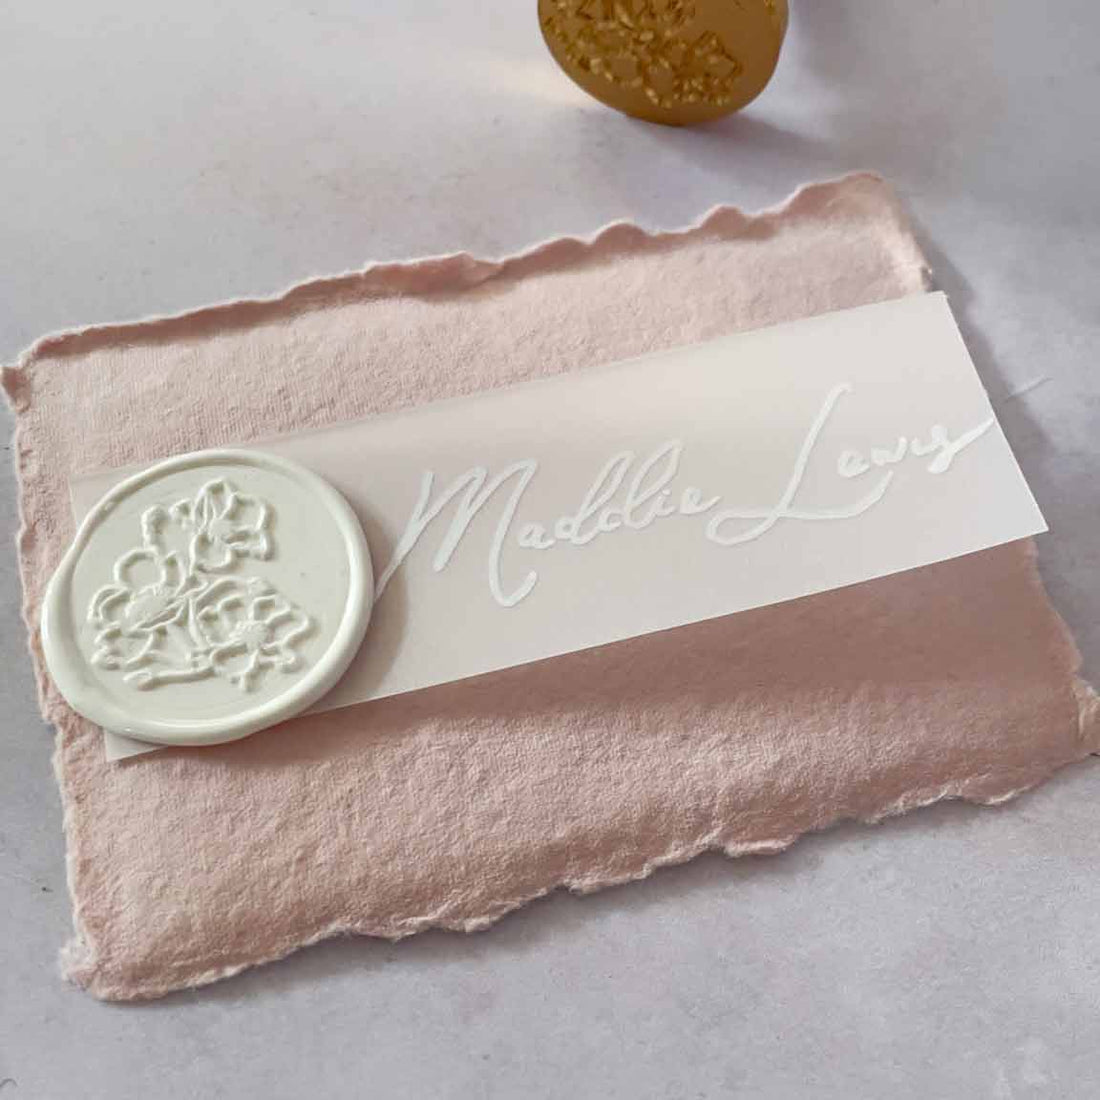
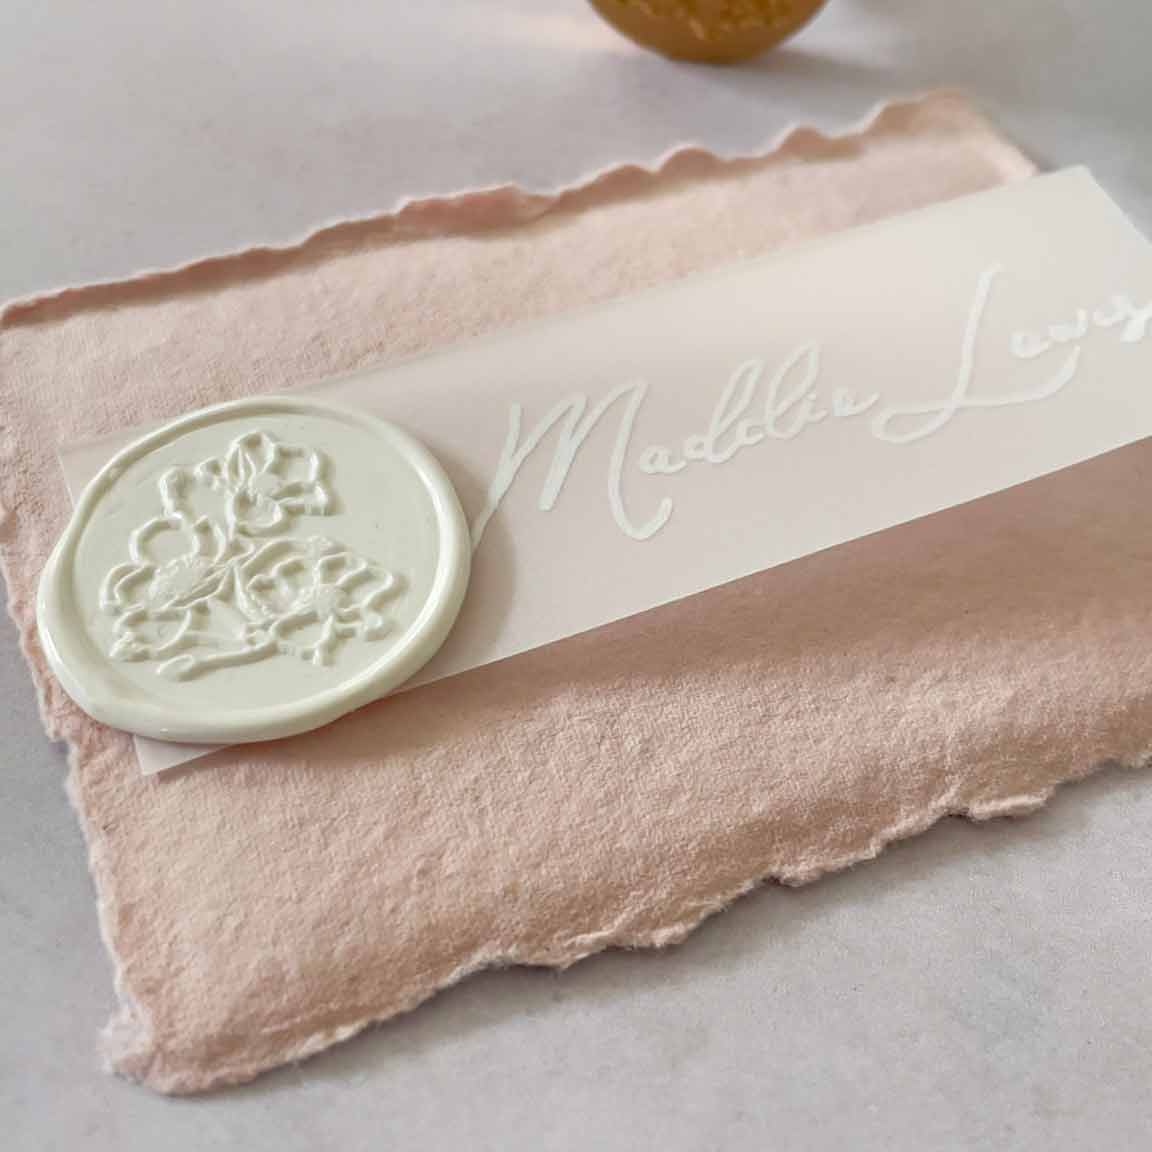
DIY PLACECARDS WITH WAX SEAL

You Will Need:
6cm x 9cm Handmade Card in Blush. (click here)
Clear Vellum Paper (cut to 3cm x 8cm). (click here)
Wild Poppy Wax Stamp (click here)
White Sealing Wax Beads. (click here)
You Will Also Need:
A Paper Trimmer
Double Sided Tape. (click here)
A White Acrylic Paint Pen (available on Amazon)
Wax Furnace and Spoon. (click here)

Instructions:
- Cut a piece of vellum paper 3cm x 8cm
- Choose a nice font and print your guest names onto A4 paper
- Place your pre cut vellum panel on top of one of the guest names. Make you can see the guest name to the centre right of the vellum panel. Hold in place and use your white paint pen to trace the letters of the name.
- Once you've copied the name, use a piece of double sided tape to stick the vellum panel to the centre of the handmade card.
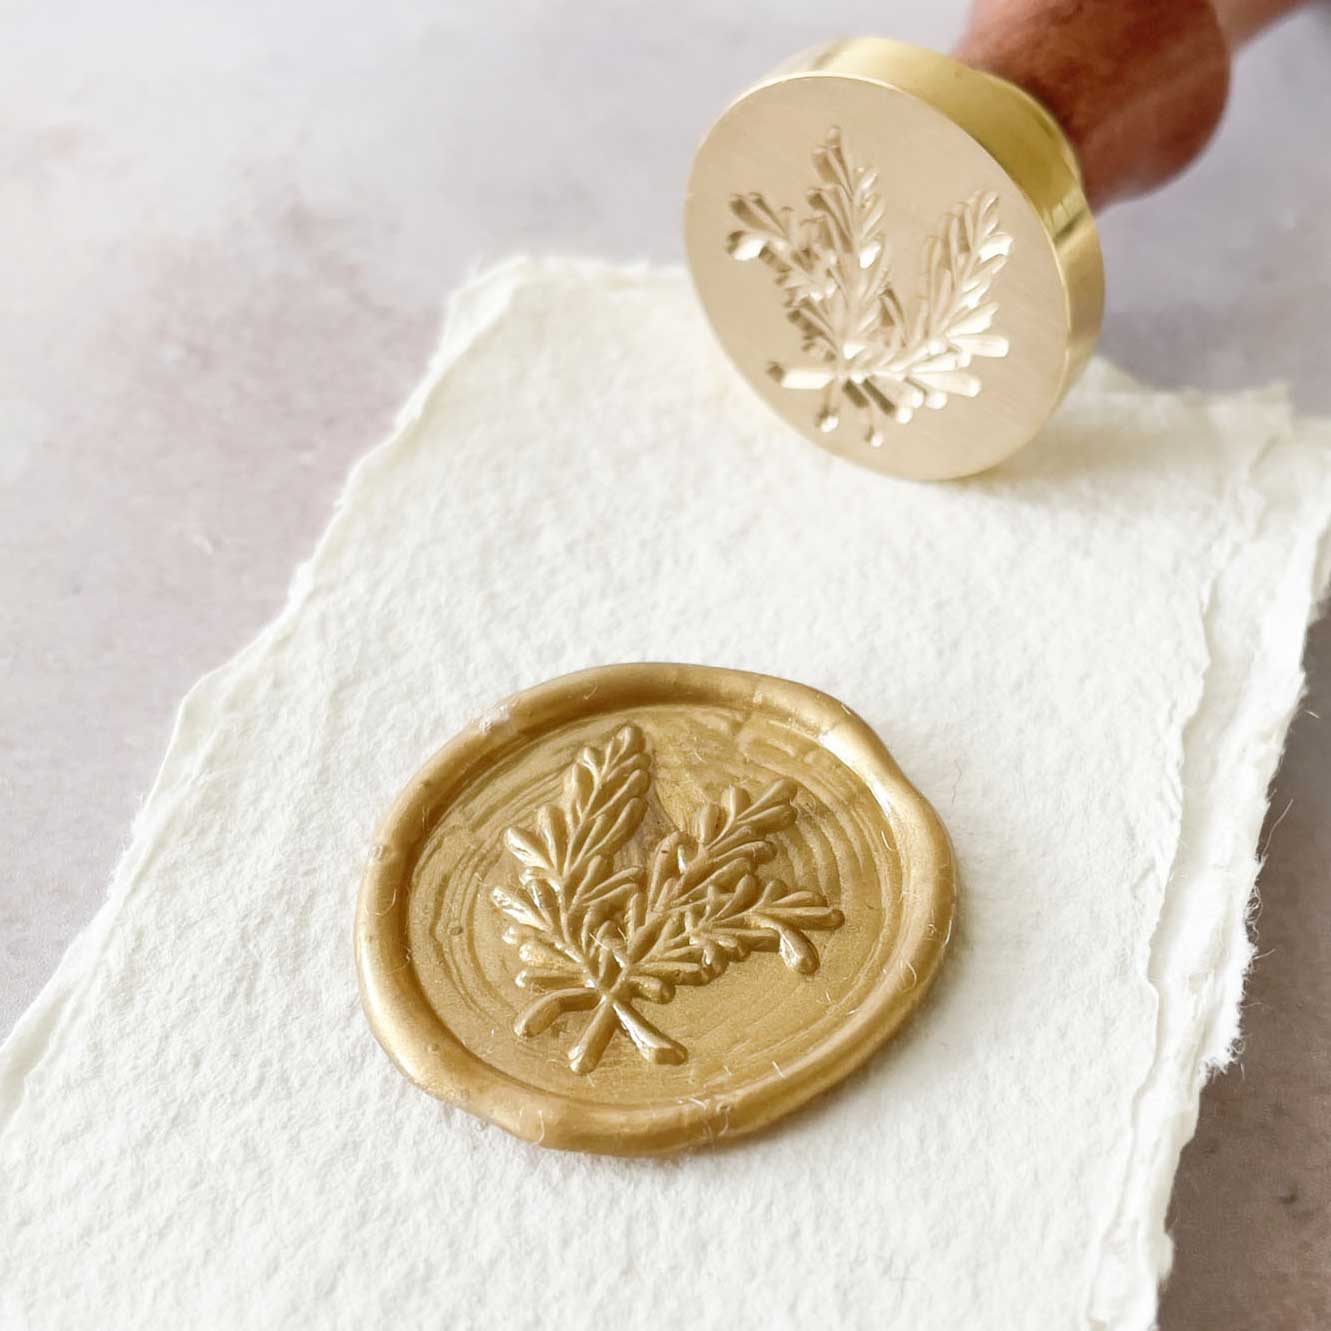
- Melt your wax using a wax furnace and spoon. Once the wax is melted, pour some out onto the vellum tag. Press your wax stamp into place and allow the wax to dry before removing it.
TIP .... to change the look of this place cards, choose a different colour card or wax to suit your theme. You can also choose an alternative wax stamp that reflects the mood of your wedding or special event.


