How To Make Easy Eco Friendly Invitations with Handmade Paper, Silk Ribbon and A Wax Seal
For some brides, choosing the right wedding invitation is a really important decision. I have to say that I totally agree. The wedding invitation is the first impression your guests will receive about your big day. It sets the tone right from the very start.
In recent years, there's been an increasing trend for e-invitations and text invitations. But let's face it, there's nothing quite like receiving an actual invitation that you can open and put out on display. Some brides choose virtual invitations to reduce costs. But it has to be said that many mindful brides choose virtual invitations because of the reduced environmental impact.
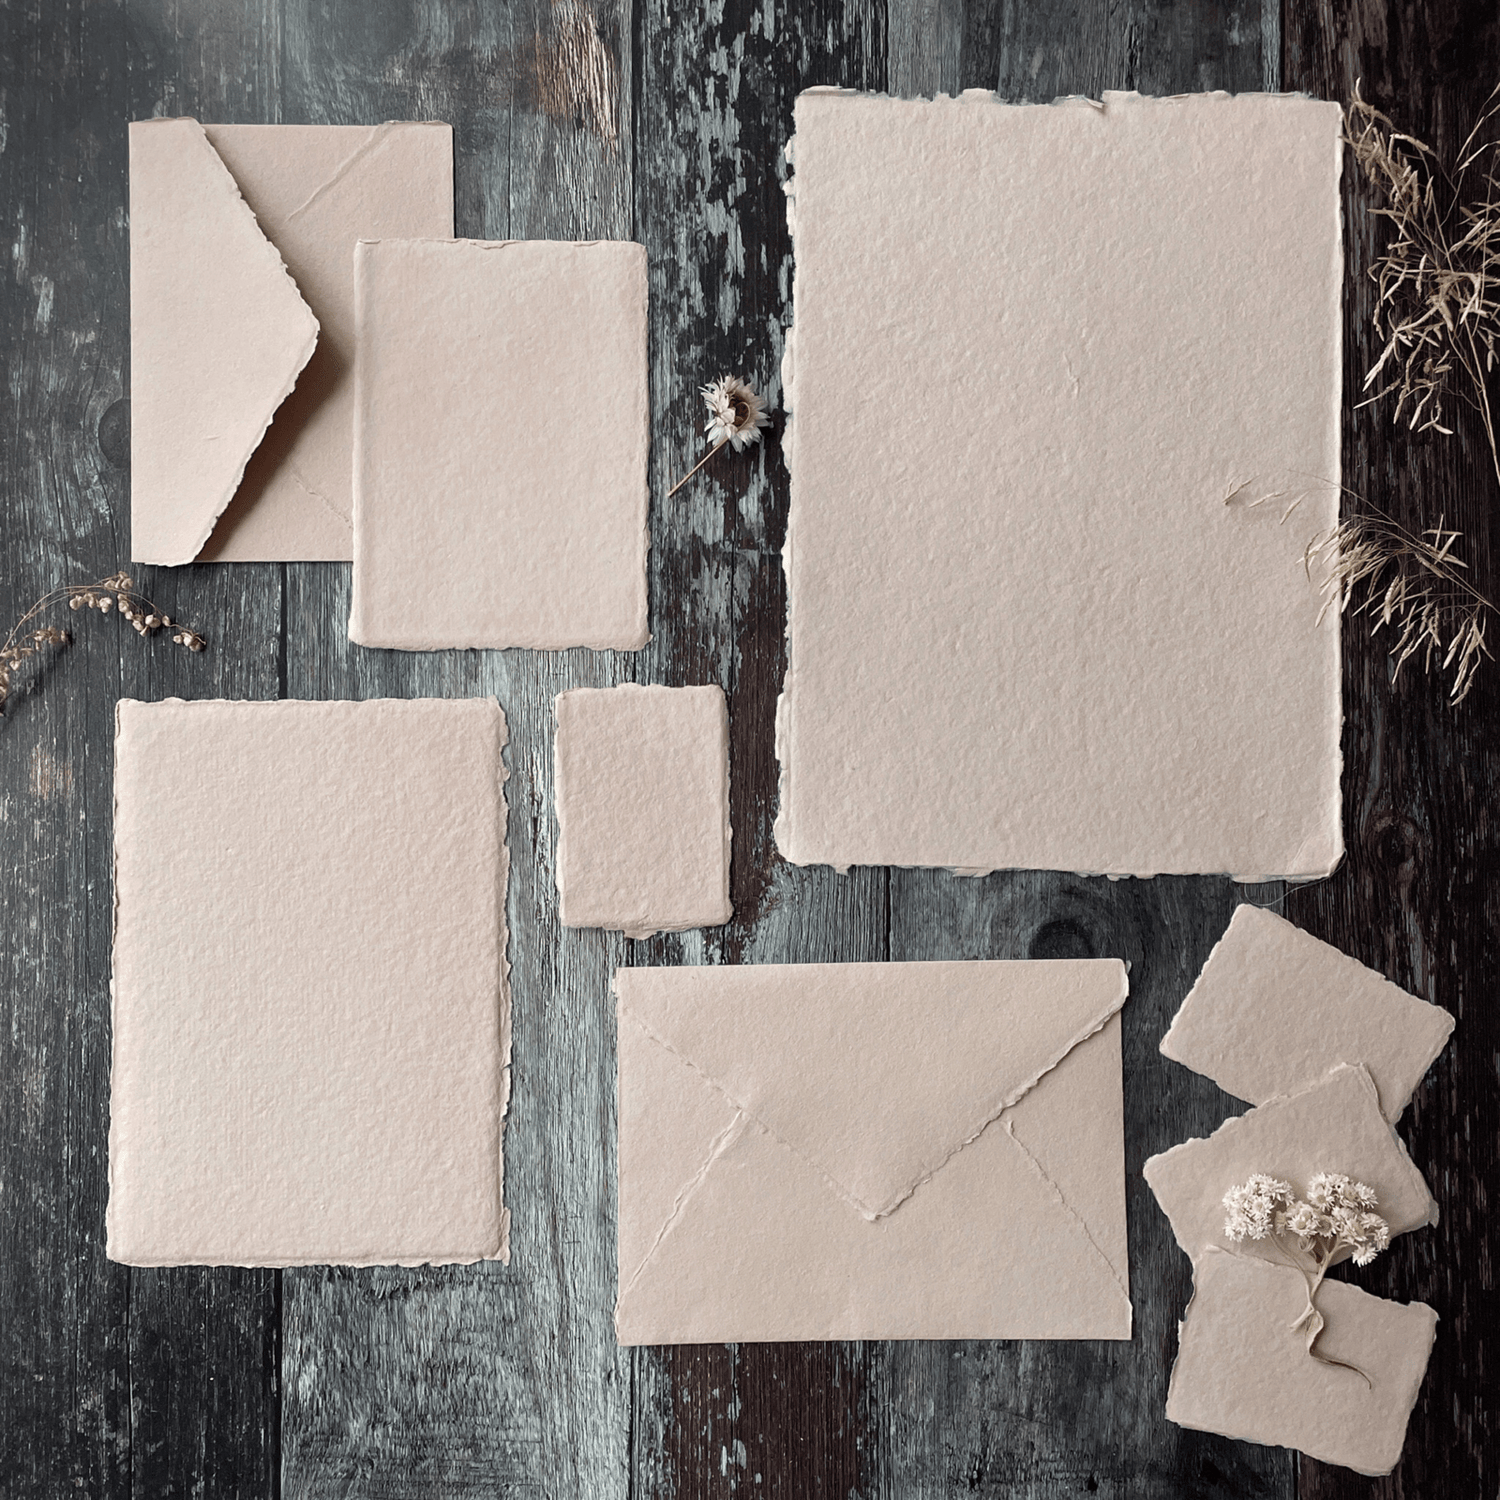
But there is another option ...... these beautiful invitations are made using a mixture of recycled and environmentally friendly products. They are fully biodegradable, using only natural ingredients (no nasties here!!!!).
Even better, they take very little skill and only a small amount of time to make.
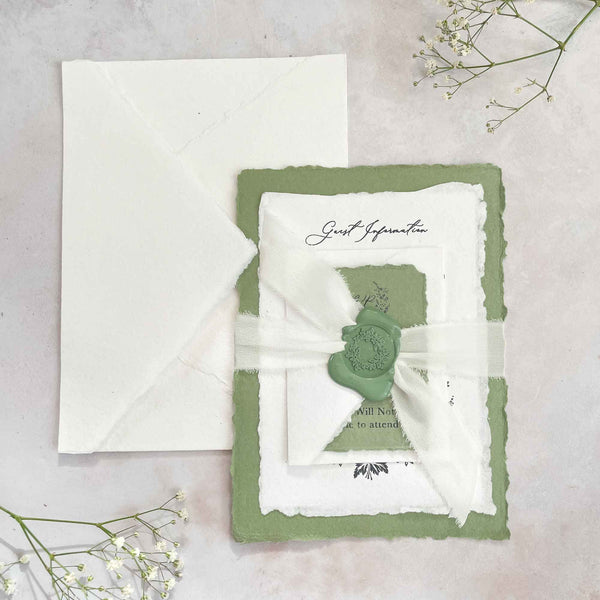
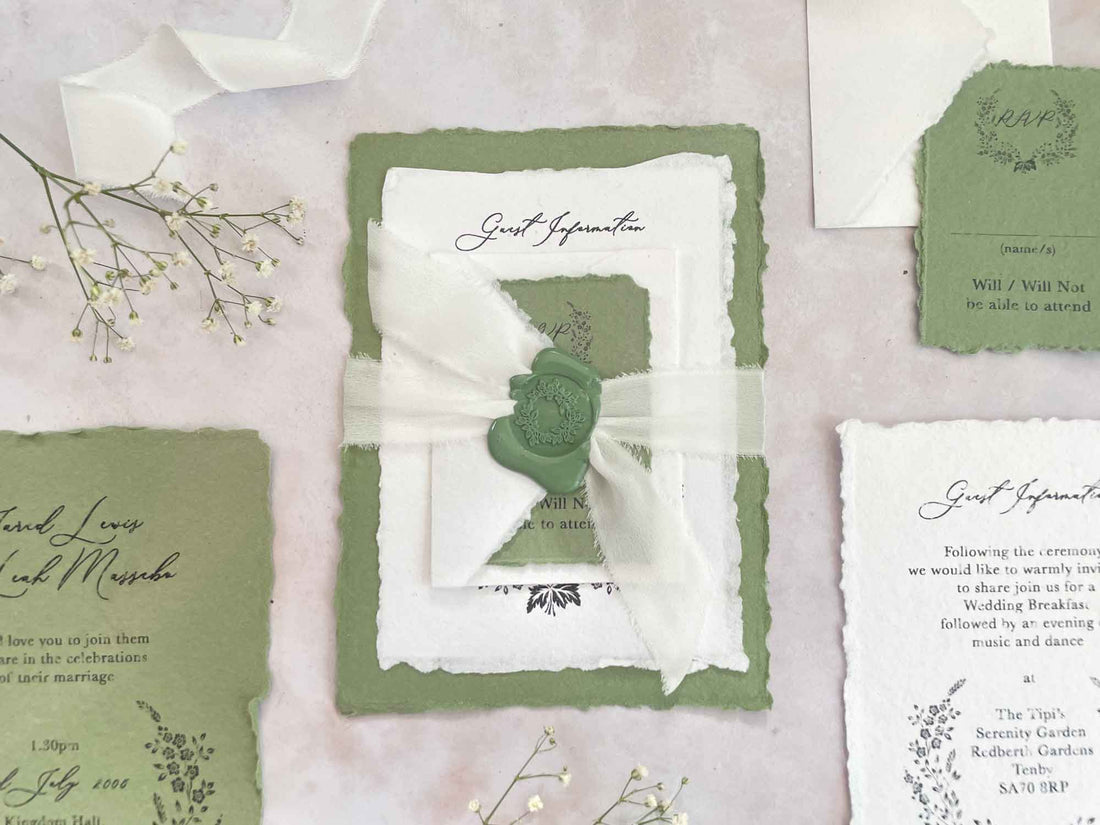
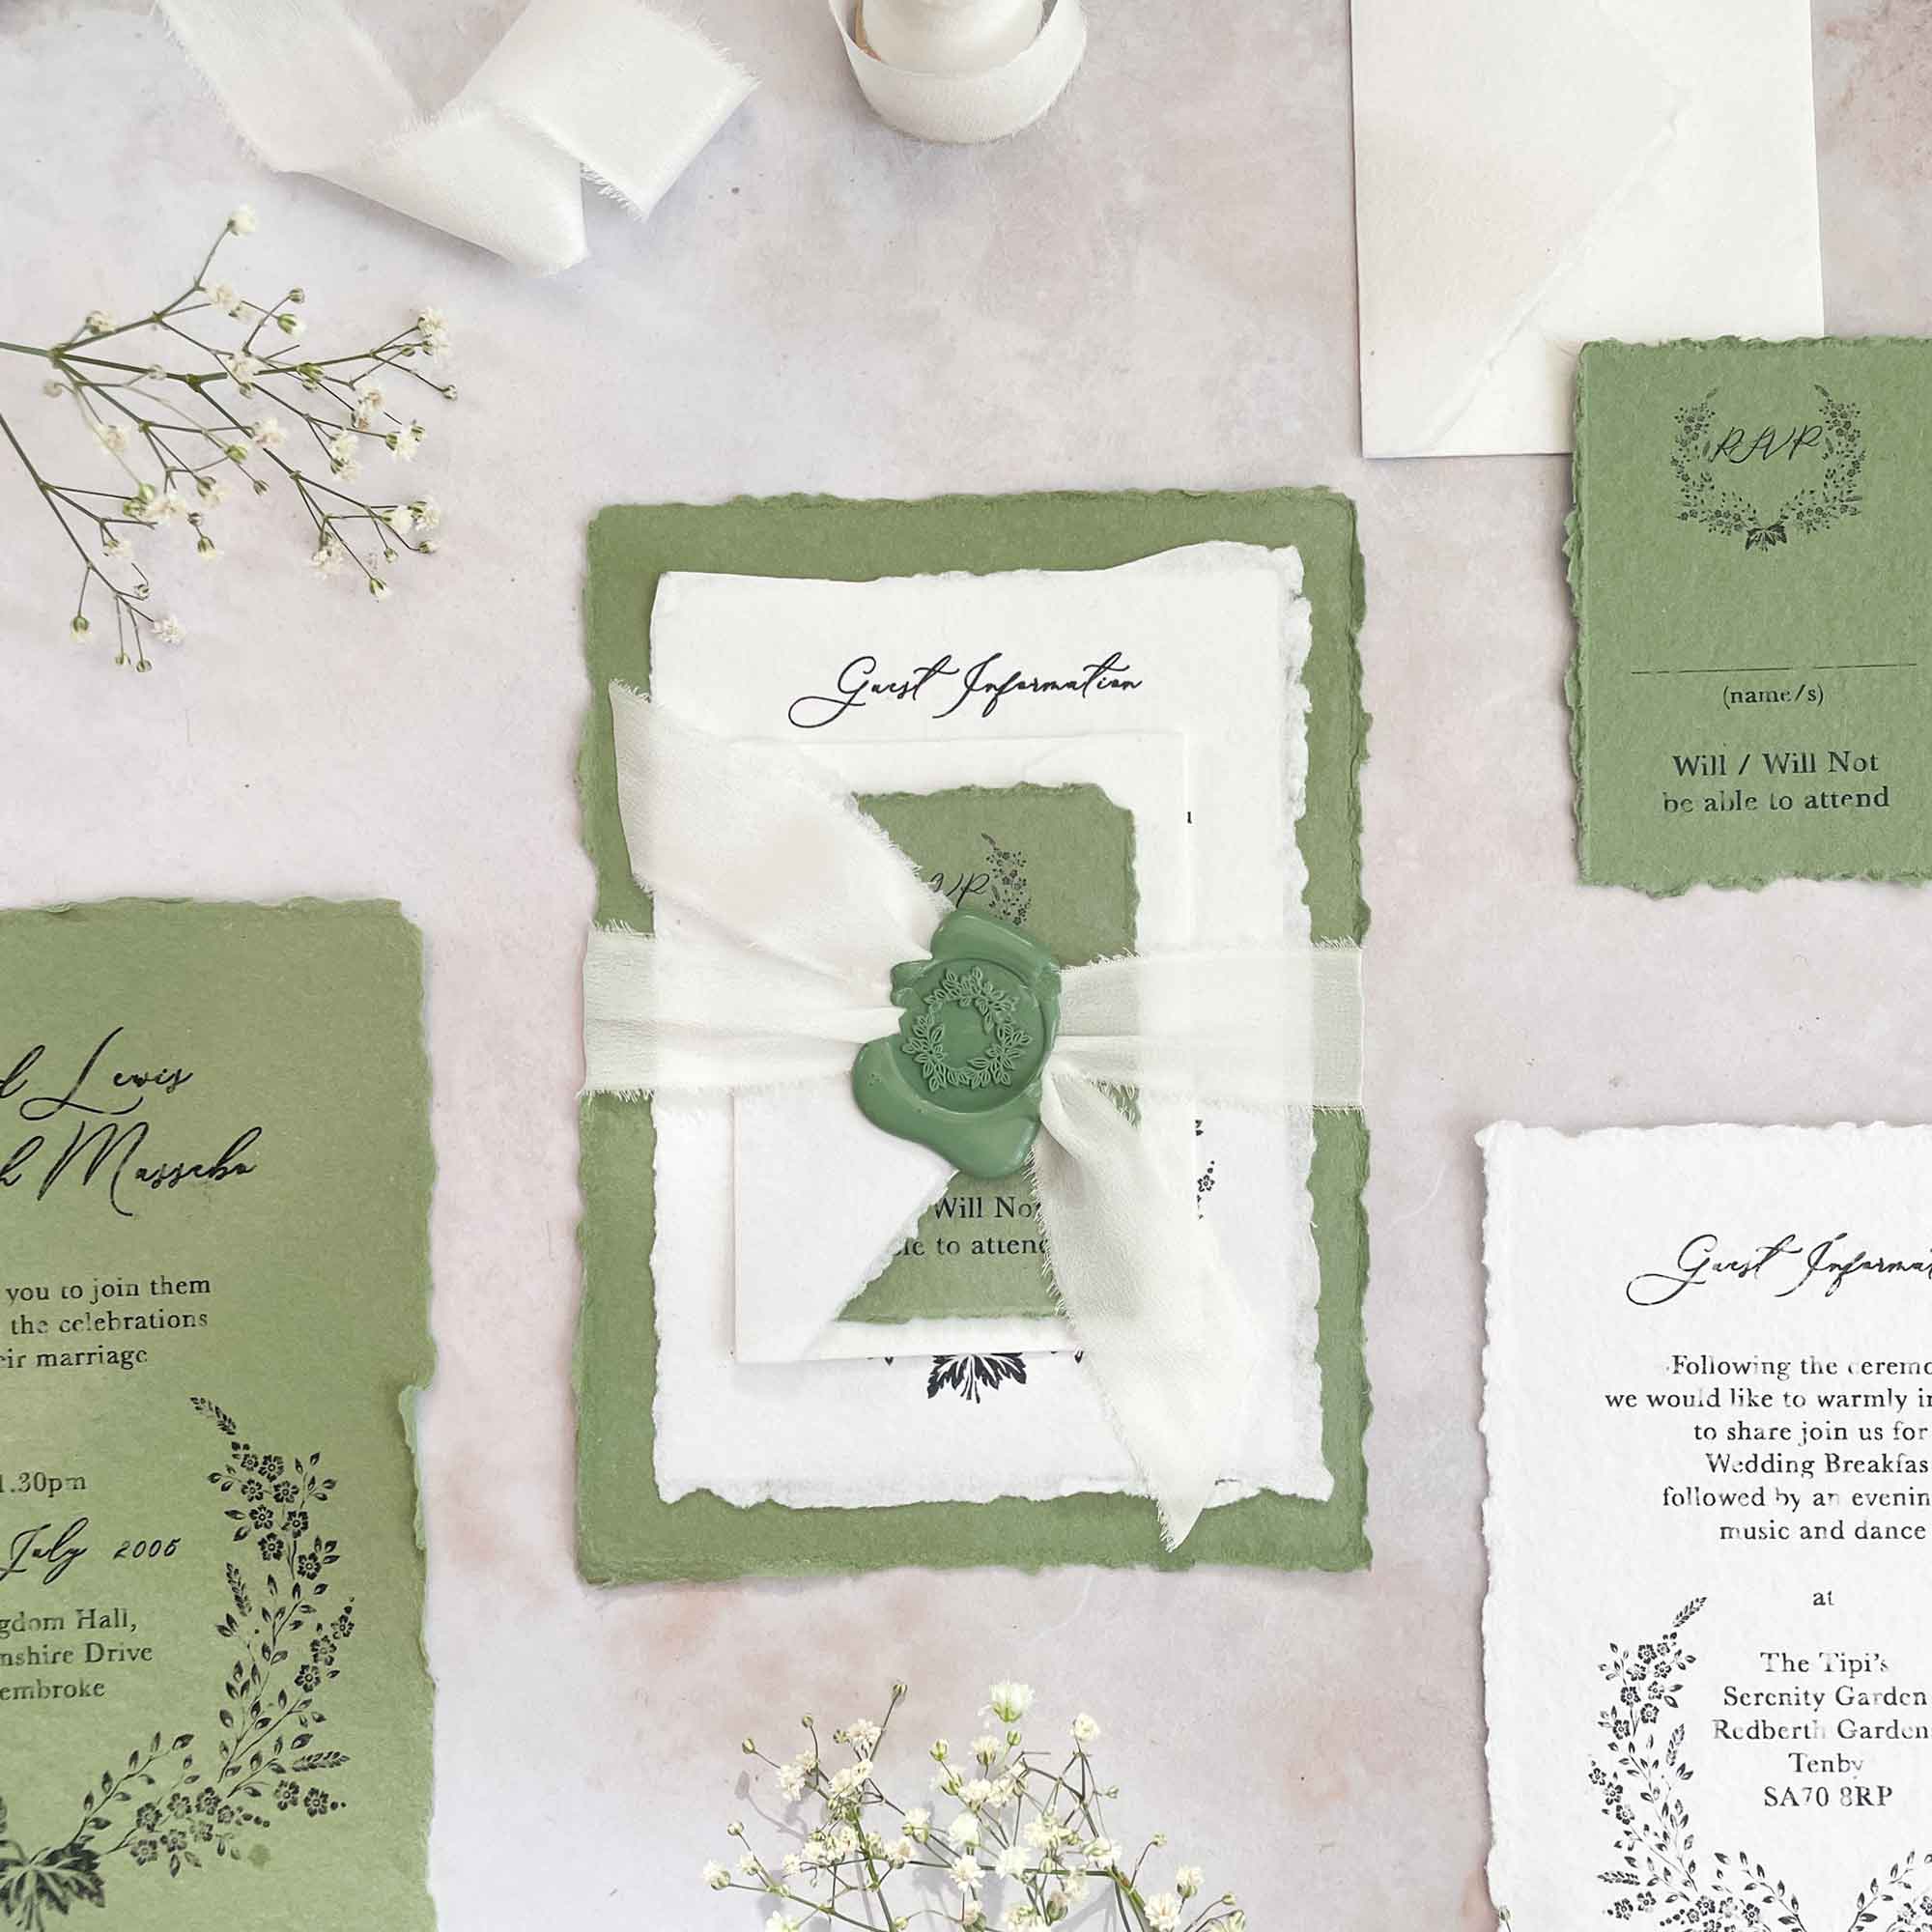
We've made these pretty eco friendly wedding invitations in a mix of sage green and white. However, you could easily change the colours to match your wedding theme. Why not give it a go?
If you'd like to see how it's done, follow along in our video tutorial.
Or if you'd prefer to read written instructions, keep scrolling.
You Will Need ....
1 x 5 x 7 Handmade Card in Sage Green. (click here)
1 x A6 Handmade Card in Premium White. (click here)
1 x A6 Handmade Card in Sage Green. (click here)
1 x RSVP Handmade Paper Envelope in Premium White. (click here)
50cm x White Silk Ribbon. (click here)
Khaki Sealing Wax Stick. (click here)
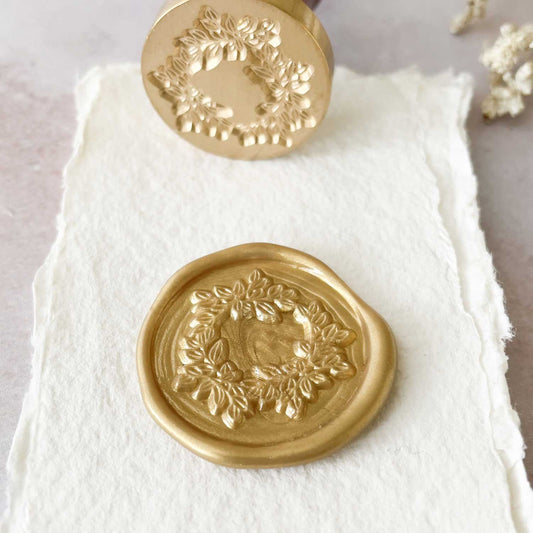
1 x Garland Wax Stamp (click here)
You Might Also Need ....
A Scissors
A Ruler
A 2 Handle Melting Spoon (click here) OR
A Wax Seal Gun. (click here)
1 x 5 x 7 Handmade Paper Envelope in Premium White (click here)
Greaseproof Paper
INSTRUCTIONS

- Use the following link to download the templates and graphics file (if needed):
TEMPLATES
- Insert your wording into the templates and print onto the handmade card as follows:
Invitation - 5 x 7 Card
Guest Information - A6 Card
RSVP - 2 onto an A6 Card
We used the following downloadable fonts:
- Boheme Floral
- Baskerville
- Put the guest information on top of the invitation and then place the RSVP card and envelope on top
- Cut a piece of greaseproof paper appx. 7cm x 7cm. Place this in the centre of the invitation on top of the layers.
-
Cut a piece of Silk Ribbon appx. 50cm long. Place the ribbon on a flat surface. Put the invitation on top
- Bring the both ends of the ribbon around to the front of the invitation and tie a knot in the centre (over the top of the greaseproof paper).
- At this point you need to add your wax seal. You can either do this by using a wax seal gun (which is really quick and perfect for larger quantities); or you can use a wax melting spoon. Once your wax is melted, holding one side of the ribbon towards the top of the card and the other side of the ribbon towards the bottom, pour the wax over the centre of the knot. Make sure that none of the wax spills over the edges of the greaseproof paper.
You can pour the wax into a circle for a very neat seal, or distribute it more unevenly for a beautifully rustic result. - Whilst the wax is still wet, press your wax seal on top and press into place.
- Neatly trim off any excess ends of ribbon.
- Once the wax has cooled, gently lift off the stamp (it should pull away easily). You can then remove your greaseproof paper.
And you're done!!!!!
