Elegant Bow Wedding Invitations
For Each Invitation You Will Need:
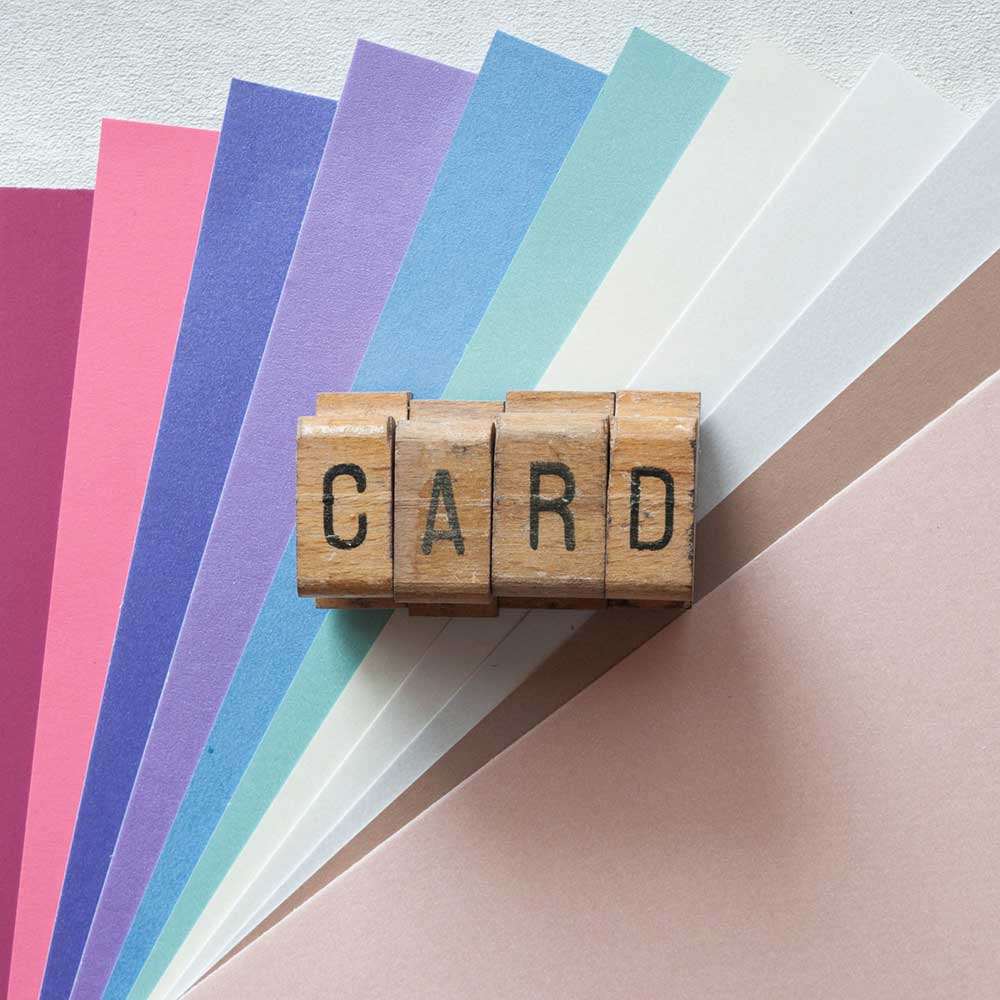
1 x Matt Ivory A4 Card (click here)
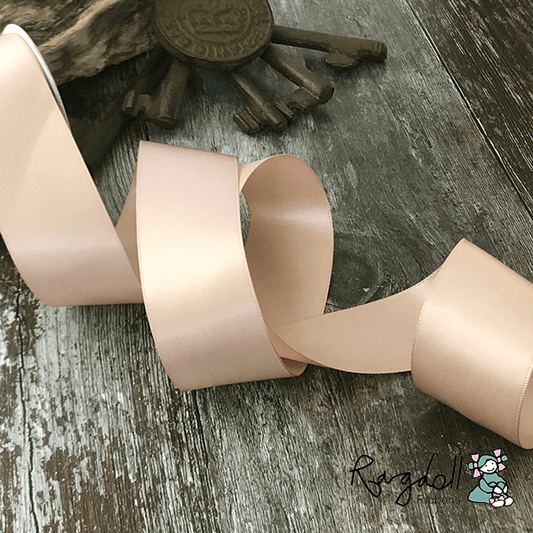
1 Roll of 38mm Vanilla Satin Ribbon (1 roll will make appx. 13 invitations) (click here)
1 x finger lift double sided tape (click here)
Who would have thought that these breathtaking invitations are not only quick to make, they are also really low cost (yes, we know they look like a million dollars!) These beautiful wedding invitations are perfect for any season........all you need to do is change the ribbon colour.
The bow shaped knot gives an impression of true luxury but takes only seconds to produce. We love the elegance of the vanilla ribbon agains the subtle cream. But if you'd like to change the ribbon colour, please get in contact and we'll do our best to help.
If you're not big on reading instructions, we've put together a quick video to show you how it's done (just press play)……
You'll also need to download this template.....
We used the following fonts: Aidan Script & Century Gothic
So Here Are The Instructions……

Instructions
- Add all the item you need in to your basket and wait excitedly for them to arrive (don't worry....they normally arrive really quickly!!).
- Cut 2 pieces of Matt Off Ivory Card to the following sizes:
1 - Matt Ivory Card Panel 21cm x 13.5cm
1 - Matt Ivory Card Panel 20.5cm x 13cm - Download the Elegant Bow Invitation Template . Type your wording in the printable area. (We used the following fonts........Aidan Script and Century Gothic).
- Print your invitation wording onto the smaller card panel.
- Place your printed invitation panel face down on a flat surface. Place a few lines of double sided tape around the outside and across the middle. Stick this on top of the larger card panel making sure your borders are even.
- Cut a length of ribbon appx. 75cm long. Place the invitation face up on the centre of the ribbon.
- Pull both sides of the ribbon around to the front and tie a neat knot. Place your finger on the centre of knot to hold it in place and tie a second knot over the first one, removing your finger at the last moment.
- Tease your bow in to place and then use a sharp scissors to off any excess ribbon. It looks nice if you cut the ends of the ribbon into an inverted "v" shape. .....and wow!! You've just made a really beautiful invitation in record time for a pretty small amount of money too!!!! Yay!


