Extravaganza with Glitter Wedding Invitations
For Each Invitation You Will Need:
1 Extravaganza Laser Cut Invitation in Navy (cick here)
1/2 sheet of Pink Glitter Paper Panel (click here)
1 x A4 card in Pearlised Ivory (click here)
1 x Extravaganza Navy Envelope (optional) (click here)
1 x high tack double sided tape (click here)
TIP - If you are printing at home, you will also need to purchase a paper trimmer if you do not already have one.
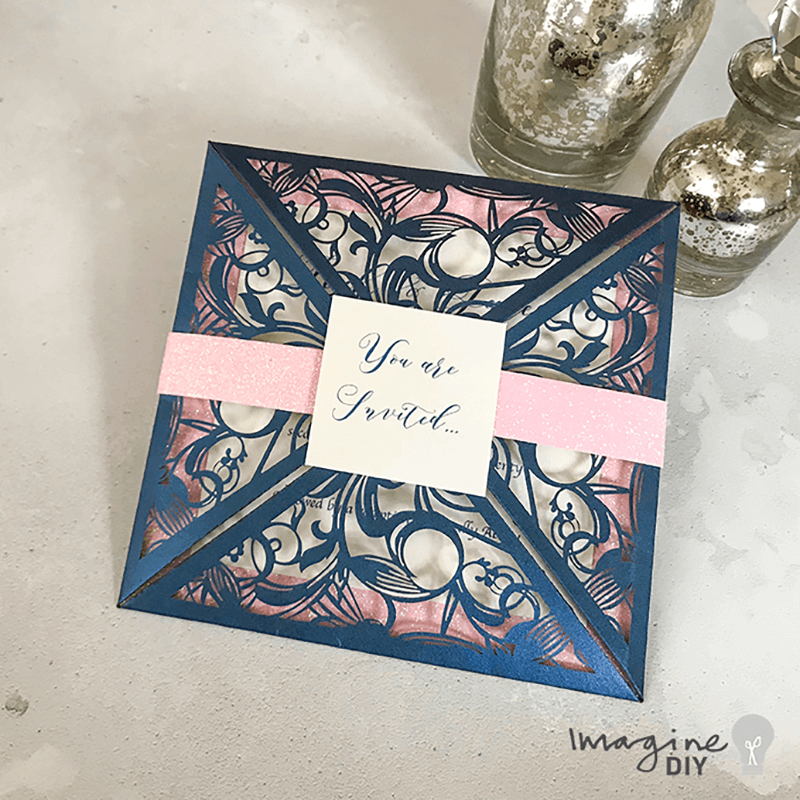
For me, this invitation was love at first sight. The pink glitter works so well with the navy and soft ivory. The invitation wrap creates a sense of style and luxury that is often difficult to achieve in a DIY invitation. These invitations are fairly easy to make at home. And if you don't have a printer, you don't need to worry......we can print and cut the inserts for you (see below for details). Don't like the colour but love the invitation? No problem.......get in touch and we'll do our very best to accommodate your colour choice.
If you're not big on reading instructions, we've put together a quick video to show you how it's done (just press play)……
You'll also need to download this template.....
INVITATION AND FRONT TAG TEMPLATE
We used the following fonts: Aidan Script & Apple Chancery
So Here Are The Instructions……

Instructions
- Add all the item you need in to your basket and wait excitedly for them to arrive (don't worry....they normally arrive really quickly!!).
- Download the Extravaganza with Glitter Invitation Template . Type your wording in the printable areas. (We used the following fonts........Aidan Script and Apple Chancery). If you're printing your own inserts, you should now be ready to print, cut and move on to the next step.
- Print your wording onto A4 card and use a paper trimmer to cut just inside the guides provided.
- Cut a strip of Pink Glitter Paper 29.7cm long x 2cm wide. This will form your belly band.
- Cut a piece of Pink Glitter Paper 14.8cm x 14.8cm
- Place your glitter paper panel face down on a flat surface. Place a few lines of double sided tape around the outside edge and across the middle of the panel. Stick carefully in to place in the inside centre of the laser cut invitation.
- Use double sided tape to stick the printed invitation panel on to the centre of the glitter paper, making sure the borders are even.
- Set your Glitter paper Band face down on a flat surface. Place your invitation in the centre of the paper band and fold both ends of the band around to the front centre of the invitation. Run a finger along the fold lines to keep your band in position.
- Place a small amount of double sided tape on each end of the band (where they nearly meet at the centre of the invitation. Take your printed front tag and press in to place on top of the double sided tape, making sure it sits centrally to the invitation. .....and that's it!! Sit back ..... your work here is done!!!! Yay!