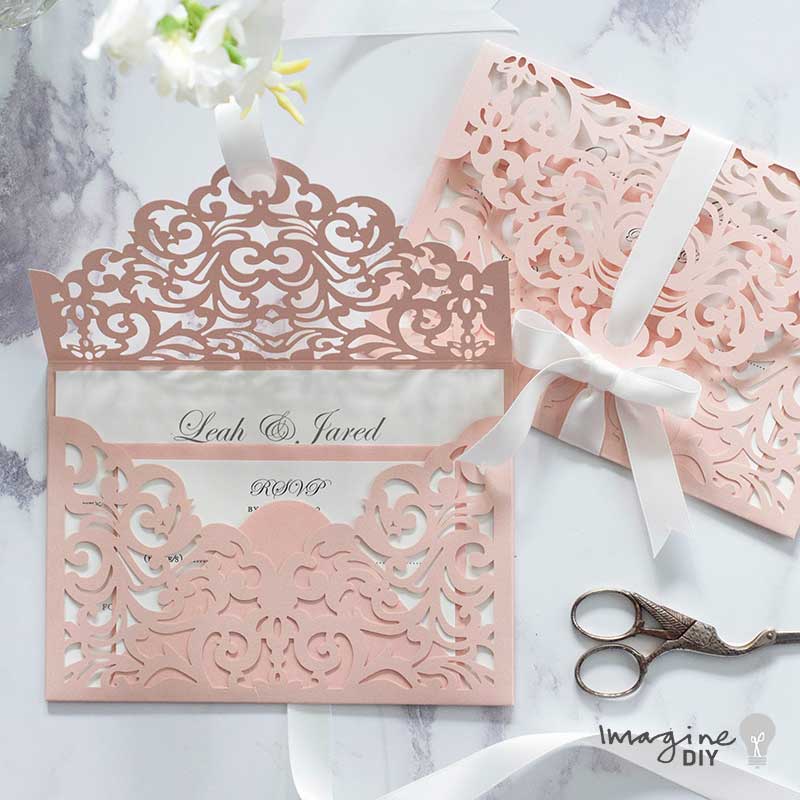
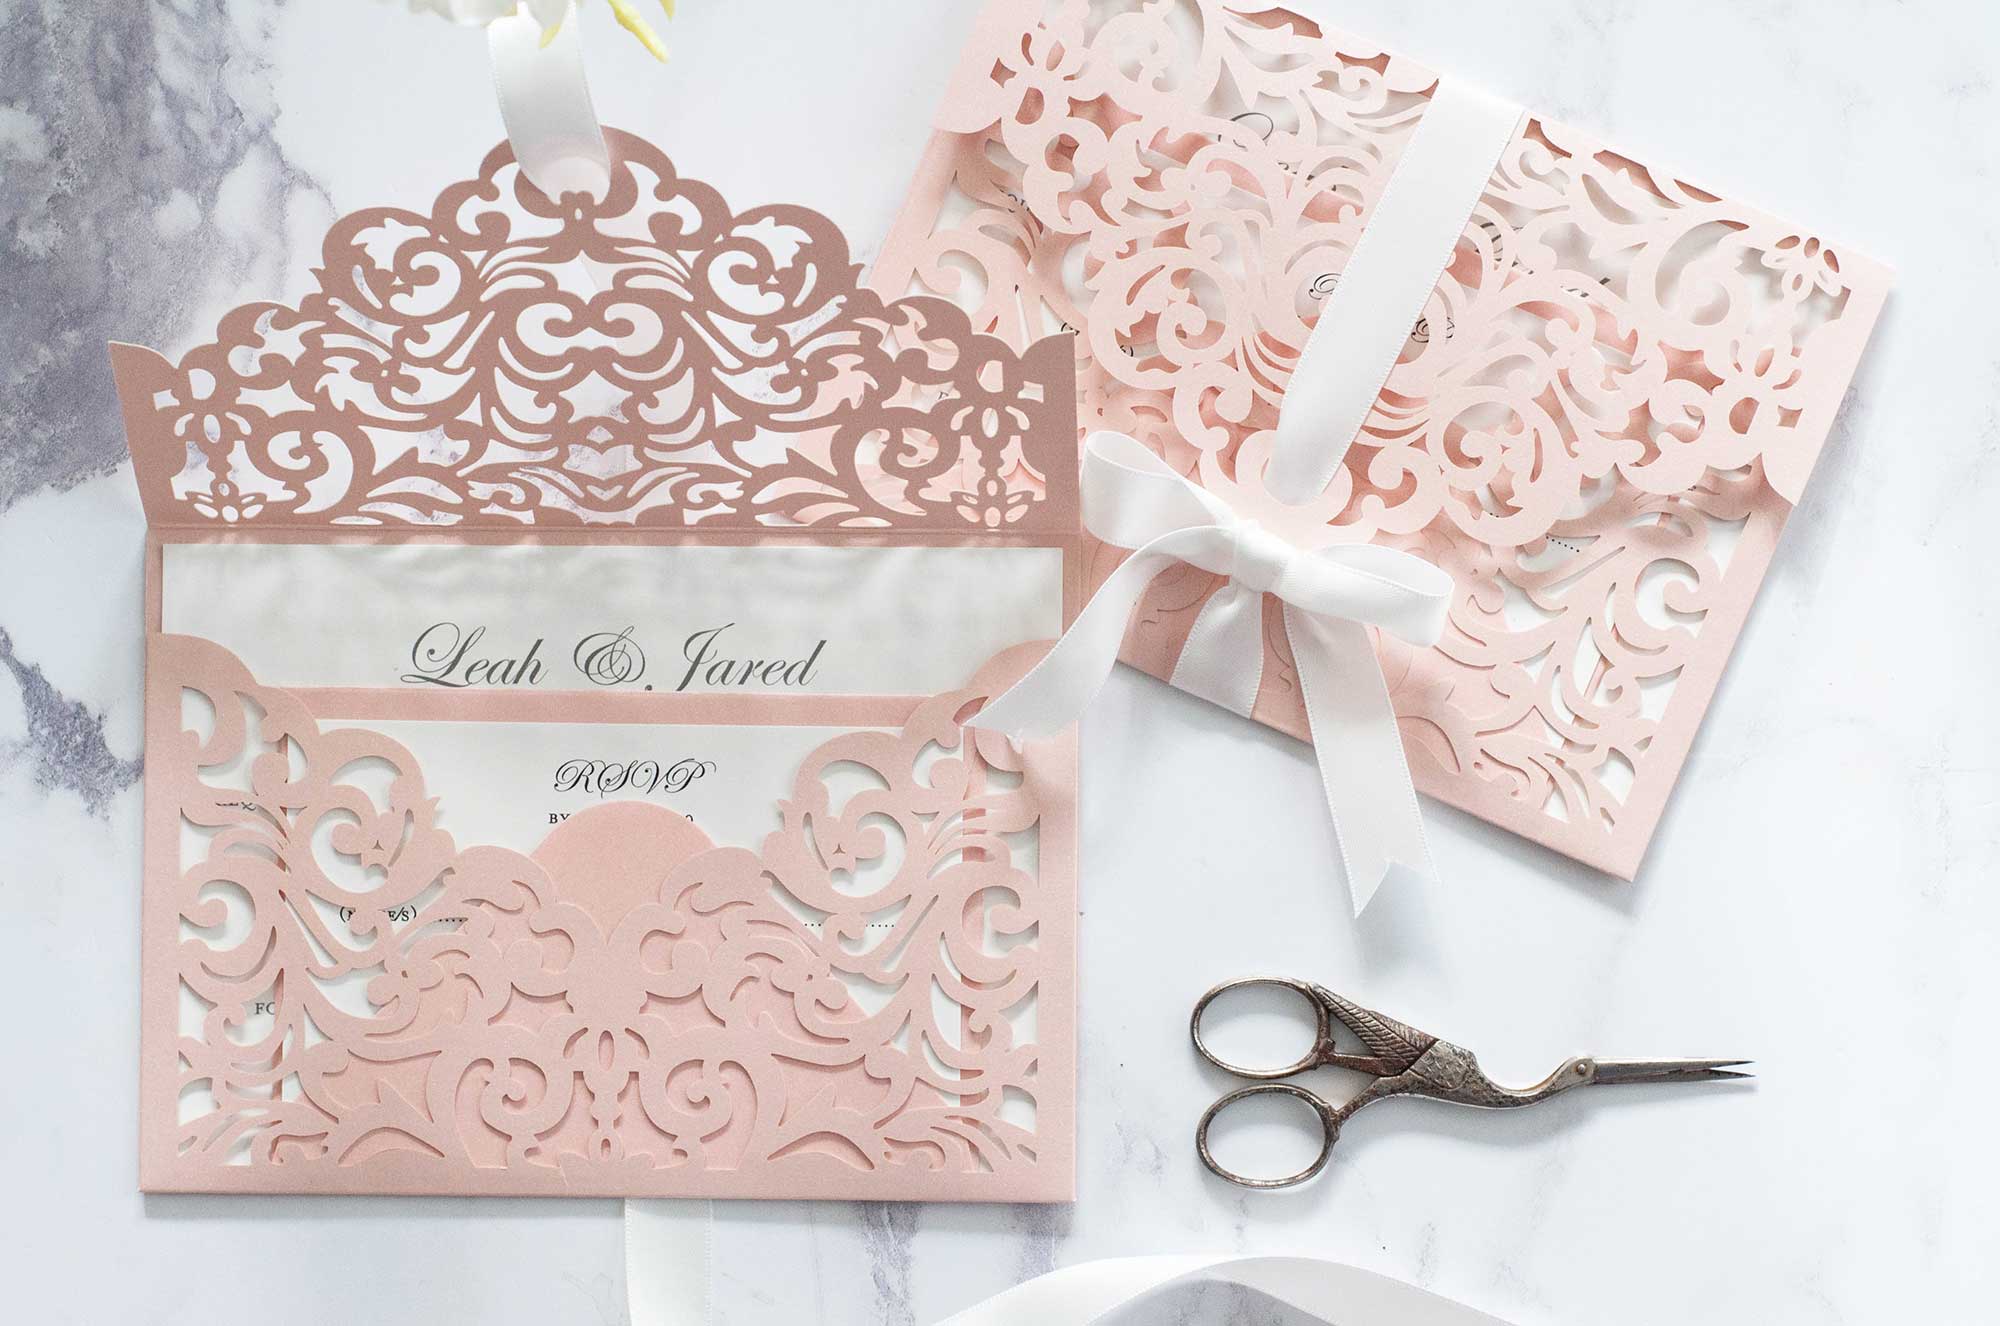
Filigree Pocket Fold with Bow
For Each Invitation You Will Need:
1 x Filigree Laser Cut Pocket Fold in Blush Pink (click here)
1 x Matt Off White Insert - 17.2cm x 12cm (click here)
1/4 sheet of Matt Off White Card (click here)
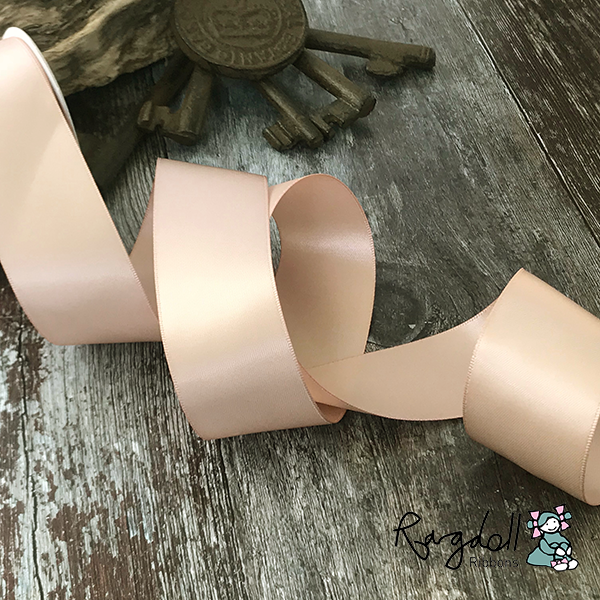
75cm of 16mm Ivory satin ribbon (1 roll will make 13 invitations) (click here)
1 x Blush Pink Envelope (optional) (click here)
1 x Scissors (optional)
This is one of my top ten favourite invitations ever. I love the blush pink combined with the soft Ivory Satin Bow. It's pretty, elegant and sophisticated all at once. And even better, it's really easy to make. If you can tie a shoelace, you can make these easily!
Don't like the colour but love the invitation? No problem.......get in touch and we'll do our very best to accommodate your colour choice.
If you're not big on reading instructions, we've put together a quick video to show you how it's done (just press play)……
You'll also need to download these templates.....
INVITATION TEMPLATE
RSVP TEMPLATE
We used the following fonts:
Edwardian Script & Mrs Eaves Petit Caps
So Here Are The Instructions……

- Add all the item you need in to your basket and wait excitedly for them to arrive (don't worry....they normally arrive really quickly!!).
- Download the Invitation Template and RSVP Template. Type your wording in the printable areas. (We used the following fonts........Edwardian Script and Mrs Eaves Petit Caps). If you're printing your own inserts, you should now be ready to print and move on to the next step.
- Cut a piece of matt off white card 87mm x 130mm. Print your RSVP wording onto this card.
- Print your invitation wording onto the matt off white insert.
- Place your invitation inside the pocket. Open up the flap of the RSVP envelope, place the RSVP card inside and slot in to the invitation pocket.
- Cut a piece of 16mm Ivory Satin Ribbon appx. 75cm long. Thread the ribbon through the U shaped hole on the top of the invitation flap. Make sure you thread the ribbon so that it runs from the front to the back.
- Wrap the ribbon around the card, and bring it back to the front so that both ends meet and overlap near the front flap. You are now ready to tie your bow.
- So just like you tie your shoelaces, tie a neat knot just underneath the bottom of the flap. You can now tie a bow (I've used the loop, swoop and pull technique). Tease your bow in to place until your happy with the size and shape. You can then trim off any excess ribbon with your scissors. And inverted V shape looks really lovely and is worth the tiny bit of extra effort.
.....and that's it!! Sit back ..... your work here is done!!!! Yay!

Perfect for Spring and Summer weddings


