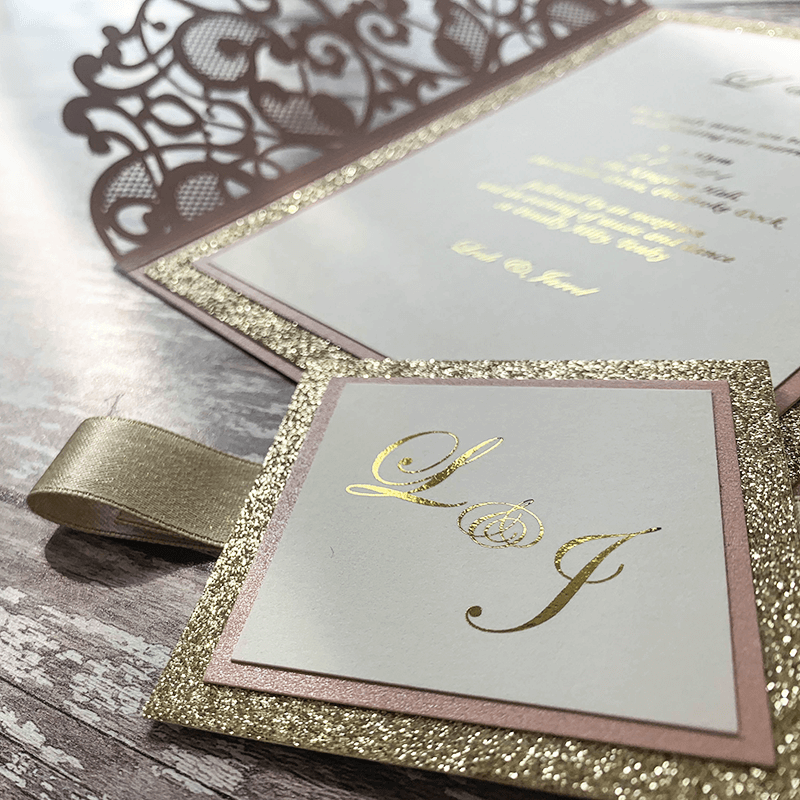
DIY Gold Glitter Invitations
For Each Invitation You Will Need:
1/2 sheet of Gold Glitter Card (1 sheet will make 2 invitations) (click here)
1 sheet of Pearlised Cream Card (click here)
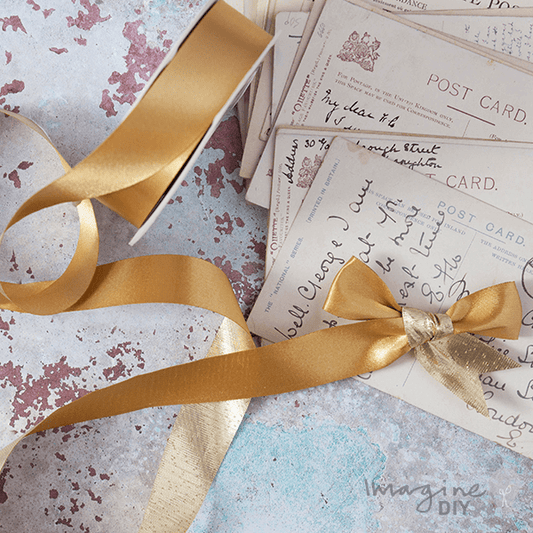
20cm of Double Sided Metallic Ribbon in Bright Gold and Gold (1 meter will make 5 invitations) (click here)
1 x Gold Glitter Envelope (optional) (click here)
Also:
PaperTrimmer (you only need one of these!)
Tape Runner (1 tape runner will stick appx. 20 invitations) (click here)
Oh my goodness......who doesn't love a bit of glitter? These elegant Gold Glitter invitations are super easy to recreate yourself. I admit that I'm a bit of a pro but even going slower than normal I was able to put these together in less than a minute! Who would have thought! So if you're looking to create a big impact with minimum fuss, these are the invitations for you! I've designed them with Gold Glitter but you could easily change the card and ribbon to create something that fits perfectly with your wedding day. Why not finish the design off with one of our fabulous Glitter envelopes?
If you're not big on reading instructions, we've put together a quick video to show you how it's done (just press play)……
You'll also need to download this template.....
INVITATION TEMPLATESo Here Are The Instructions……

Instructions
- Download the Glitter Invitation Template. Type your wording in to the printable area and print on to the Pearlised Cream A4 Card.
- Use your paper trimmer to cut the invitation panel using the guide provided. Make sure that you cut the panel into a square (each side should be an equal length)
- Use your paper trimmer to cut your card as follows: -
Gold Glitter Card .... 14.5cm x 14.5cm
Pearlised Cream Card .... 14.5cm x 14.5cm
Pearlised Cream Card .... 10.5cm x 10.5cm - Use your tape runner to stick the Gold Glitter Card panel on to the large Pearlised Cream Card panel (this will add extra strength to your invitation).
- Place the Glitter Panel face down on a hard surface. Run a line of tape from the tape runner along the middle of the card. Take your ribbon and press it in to place across the middle of the card (making sure that it is straight).
- Turn the card over so that the Glitter is facing you. Use your tape runner to stick the loose ends of ribbon in to place on top of the glitter card.
- Use your tape runner to stick the smaller Cream Card Panel on to the front of your invitation, making sure the borders are even.
- Use your tape runner to stick the printed invitation panel on top of the Cream Card Panel. .....it's as easy as that!