Make Easy Scroll Invitations
I got pretty excited when we received our new delivery of handmade papers. It's something I've wanted to try for a while and it has definitely been worth the wait! The texture of the paper immediately inspired me to work on these Easy Scroll Invitations. These gorgeous scrolls couldn't be easier to make.......If you can tie a bow, you can make these! By changing the colour of the ribbon, you can easily adapt this style of invitation to coordinate with your special day. They are quick and easy to make but look absolutely stunning! Definitely one to try at home! TIP: To get the best results for your Easy Scroll Invitations, use a laser printer to print on your vellum. If you have to use an inkjet printer, make sure you leave plenty of drying time to stop the ink from smudging!
So Here Are The Instructions……

INVITATION
You Will Need:
1 sheet handmade paper (click here)
1 sheet of vellum paper of your choice (click here)
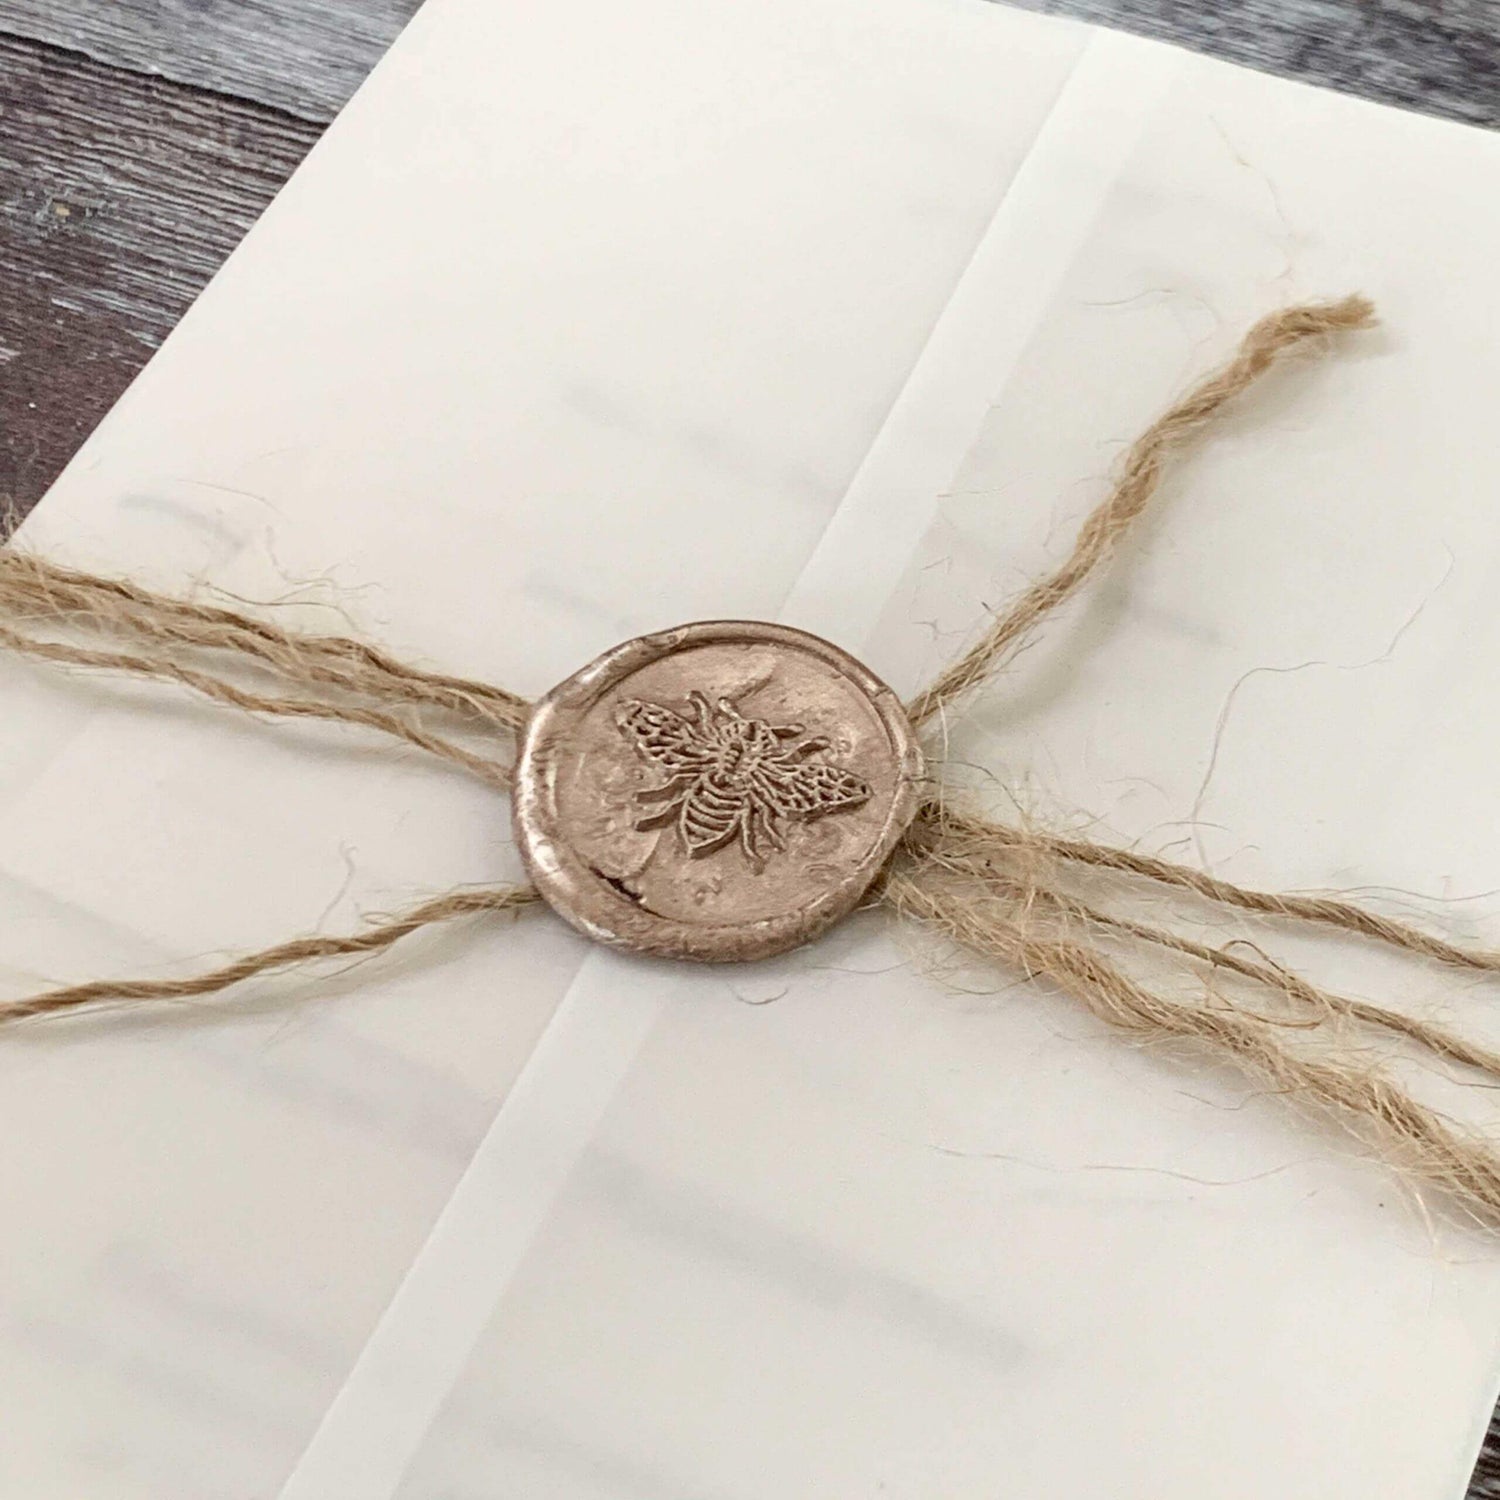
1 Meter of Rose Gold Sparkle Ribbon or alternative (click here)
You Will Also Need:
Paper Trimmer
A Sharp Scissors

Instructions:
- Firstly print your wording on to a sheet of A4 Vellum Paper
- Secondly use your paper Trimmer to cut your printed vellum to 20cm wide x 29cm high
- Place your wording on top of the handmade paper making sure it's central.
- Place your ribbon on a flat surface.
- Starting at the bottom of the invitation, roll both sheets together to form a tube shape. Try and aim to get the tube appx. 4.5cm wide (this doesn't need to be exact)
- Place your scroll on to the middle of the ribbon. Holding the scroll closed, wrap the two ends of the ribbon towards you until they meet. Tie a knot in the ribbon.
- Lastly you can now tie a neat bow (I like the bunny ears technique). Once you have tied your bow, trim off the excess ribbon. As a nice touch, cut an inverted "V" into the end of the ribbon.