How To Make .... Simple but Stylish Invitations with Handmade Paper and Wax Seal
Spring is such a beautiful time of year. So I thought I'd capture the mood and create a natural invitation that's perfect for Spring or Summer events. It's an easy design to customise and you only need a little bit of skill to make it yourself.
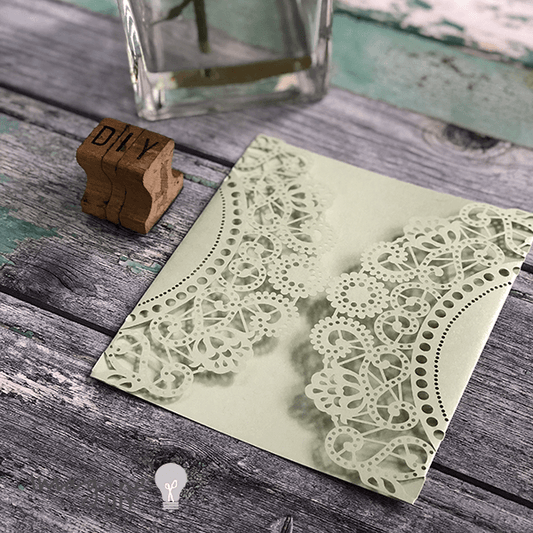
I've used our Doily invitation in light green. It just works perfectly.
So here goes ...... lets see how its made.
For Each Invitation You Will Need:
1 x Doily Invitation in green (with free insert and envelope) (click here)
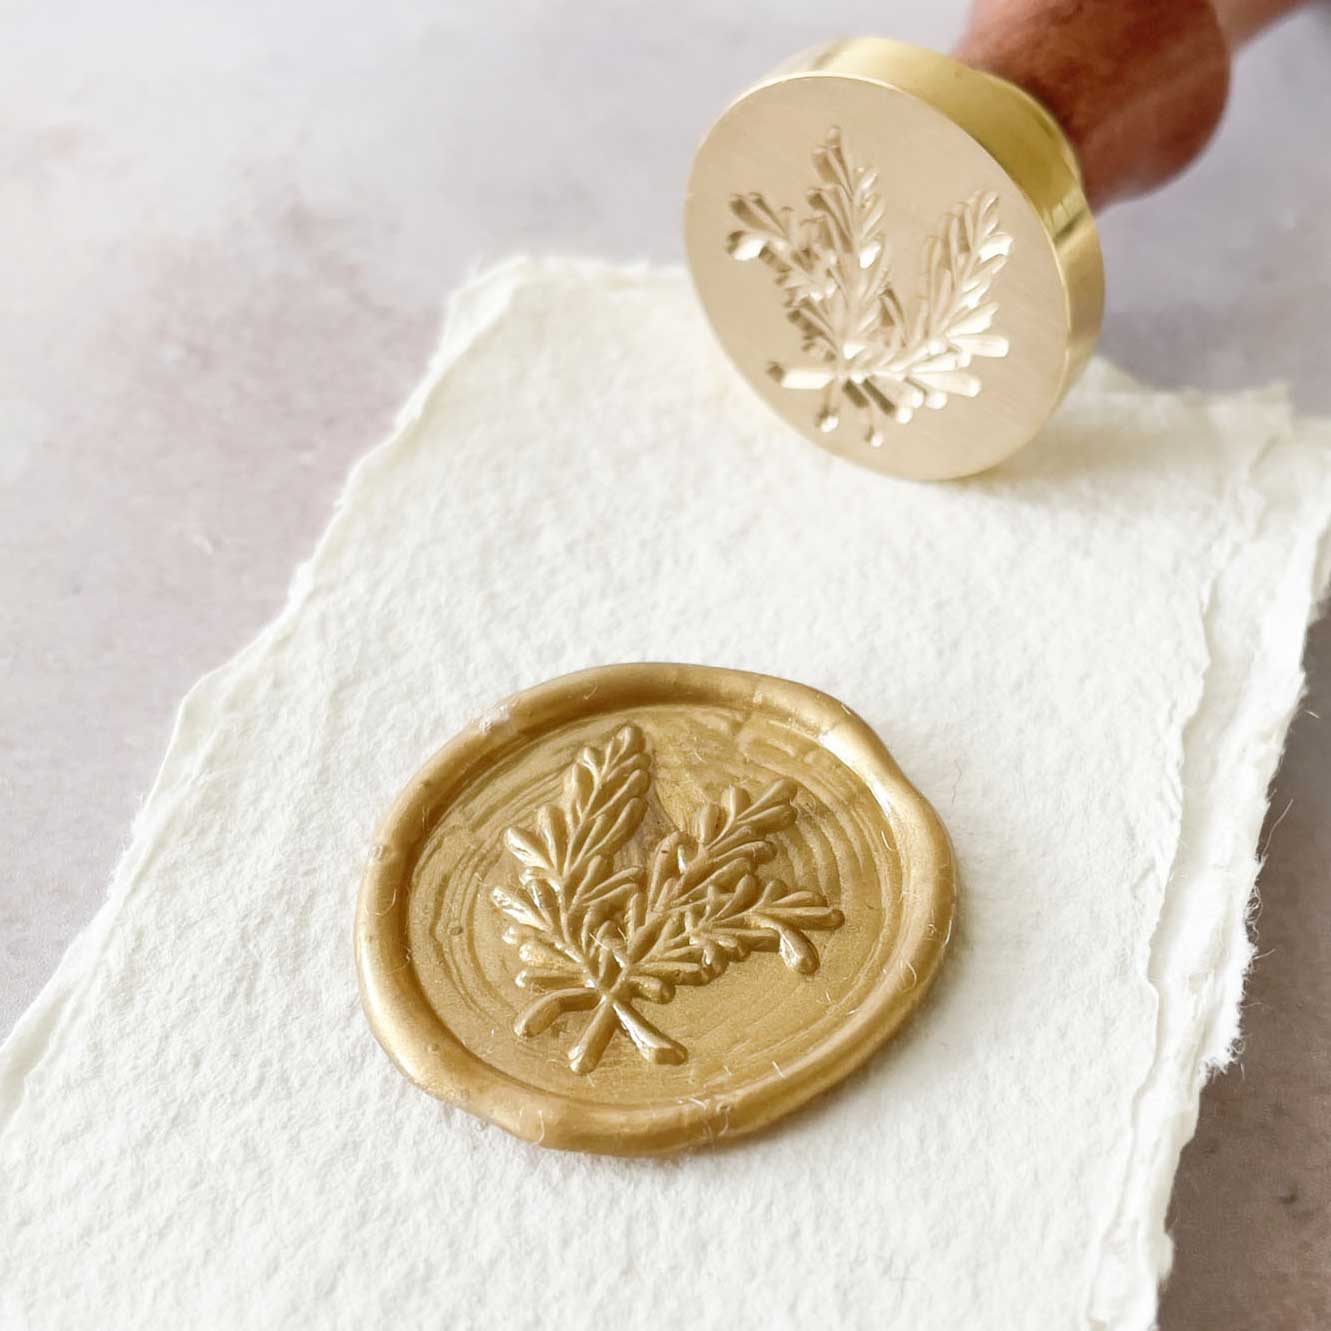
1 x Botanica Stamp. (click here)
4 x Pearl Wax Beads (or 1 Pearl wax stick for every 8 invitations). (click here)
35cm of 6mm Seafoam Green Ribbon. (click here)
You'll also need some double sided tape, dried flowers or leaves of your choice and greaseproof paper cut into 5cm squares.
And:
Wax Melting Spoon and furnace (click here). OR
Wax Gun. (click here)
You’ll also need to download this templates…..
The following fonts were used:
Champignon
Avenir Next
So Here Are The Instructions……

1 - Download the Invitation Template. Lay out your wording and once you're happy, print in onto the insert.
2 - Place a small piece of double sided tape at one end of the ribbon. Press it in to place at the front centre edge of the laser cut invitation. Wrap the ribbon around the card from the front to the back, and back around to the front on the opposite side. Use another small piece of double sided tape to stick it into place on the opposite side of the front of the invitation. Cut off any excess.
3 - Cut a piece of greaseproof paper about 5cm square. Place it underneath the centre join of the card to form a barrier between the back of the card and the 2 front flaps. This will stop your wax seal sticking the front and the back of the invitation together).
4 - Melt your wax.
5 - Press both sides of the invitation down so that they sit flat. Place your selected dried flowers of leaf in the centre.
6 - Carefully pour your wax on top of the dried flowers / leaves. I use more wax that normal for this, making an irregular oversizeD wax seal. As you pour the wax, make sure that the greaseproof paper is still in place underneath the front flaps.
7 - Press. your wax stamp into place, making sure that the pattern is positioned correctly. Allow to dry and then remove from the wax.
8 - Once you've finished, you should be able to pull the greaseproof paper away from the wax seal. The wax should then be hold the 2 front sides of your invitation together and the dried flowers in place. You should not have any way sticking to the back of the invitation.
9 - Now you just need to slide your invitation into place.
Simple!


