How To Make Elegant Pocket Fold Invitations
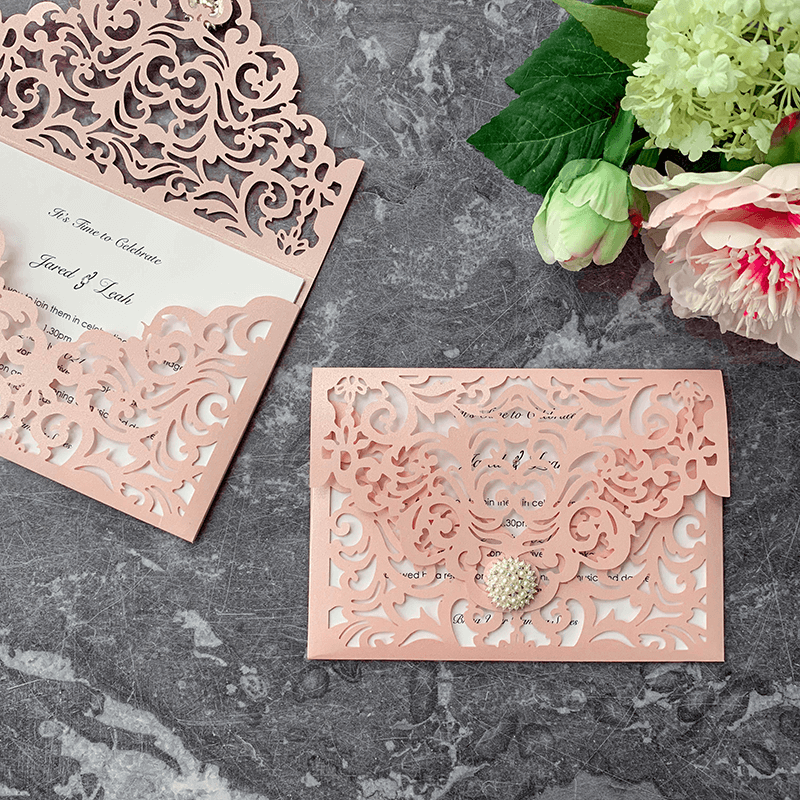
Make these pretty DIY invitations in a few easy steps. We've designed these so that even if you haven't got a creative bone in your body, you can make these with ease in just a few minutes. Even though they are so easy to make, I'm sure you'll agree that they look stunning.
We've used the Filigree Laser cut Pocket Invitation in Blush. The beauty of using a pocket is that you can add as much information as you like. You just need to print and add your invitation, OR add additional information sheets, maps, RSVP cards etc. The pocket makes this a really versatile invitation that also has a real sense of ease to it.
Although I've chosen Blush Pink, this is an easy invitation to customise. The Filigree Laser Cut Pocket is available in 2 alternative colour ways. You can also change the colour of the inserts, or add a different embellishment to personalise it even more.
For Each Invitation You Will Need:
1 x Filigree Laser Cut Pocket in Blush Pink. (click here)
1 or more inserts. (click here)
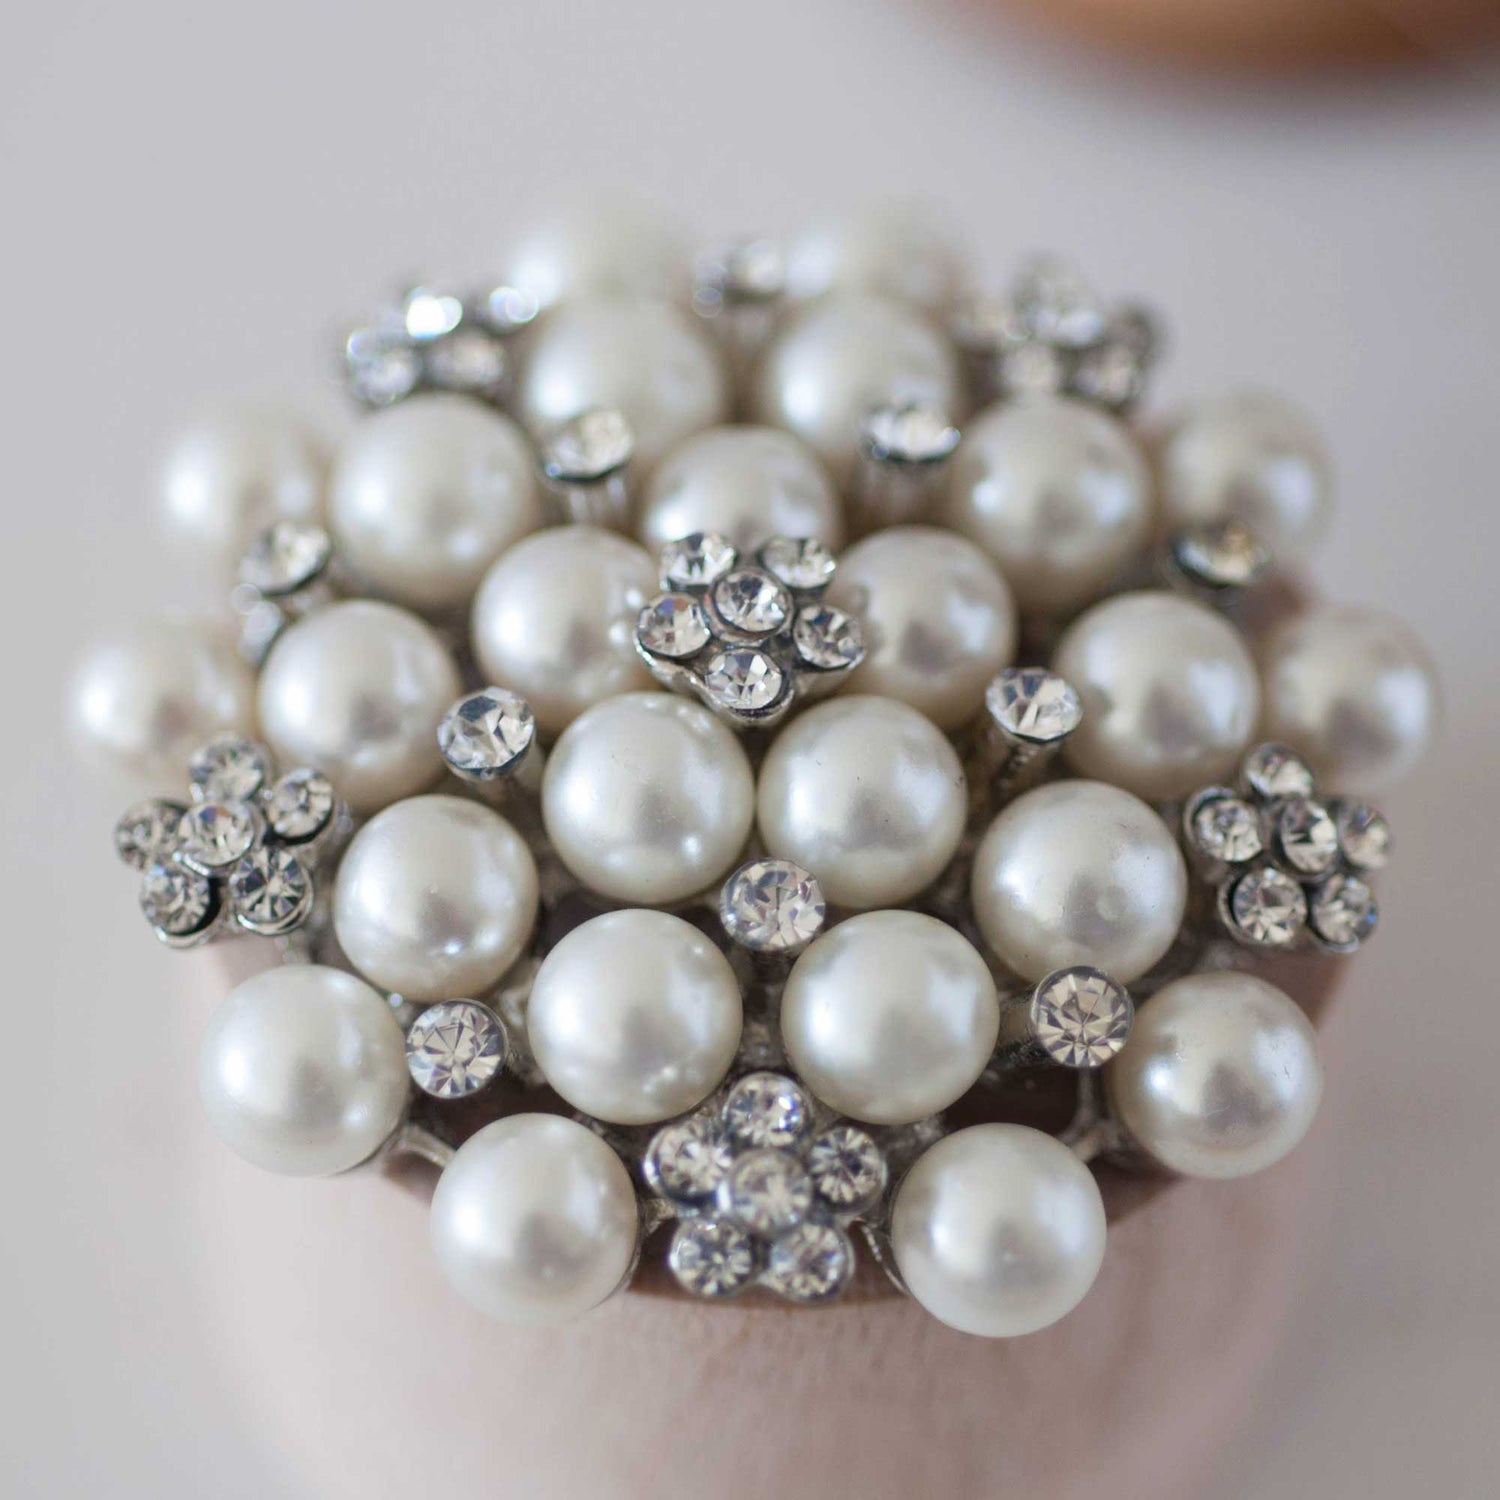
1 x Viennese Pearl Embellishment. (click here)
1 x 3mm self adhesive crystal. (click here)
Also:
Envelope. (click here)
Hot Melt Glue Gun. (click here)
If you’re not big on reading instructions, we’ve put together a video to show you how it’s done. (just press play)……
INVITATION TEMPLATE
GUEST INFORMATION TEMPLATE
We used the following font:
Century Gothic and Snell Rounded
So Here Are The Instructions……

PRINTING
- Download the following templates:
INVITATION WORDING
GUEST INFORMATION WORDING
Type your wording in the spaces provided. Make sure you check that the spelling, grammar and layout are all correct. You will also need to check that the times, dates and locations are all included. We used the following fonts....Century Gothic and Snell Rounded. - Print your wording onto the inserts.
- If you find that the inserts don't slide into the pockets comfortably, you can use a paper trimmer to trim a few mm's off each side. This will make them slide in more easily.
ASSEMBLING
- Warm up your hot melt glue gun. Once the glue is hot, run a small amount of glue around the outside edge of your embellishment. Quickly press it into place on the front centre of the invitation flap. As you do this, keep the invitation held open so that the invitation doesn't get glued closed. Also be careful not to get glue on your fingers. It's hot!
- Once you've glued your embellishment into place, plus your invitation and any guest information sheets into the pocket.
- Peel of a self adhesive crystal and carefully position it before pressing it firmly into place.
And there we go ....... in a few easy steps, you've made a stunning invitation that your guests are going to love!!!


