Make Your Own Quirky Polka Dot Invitations
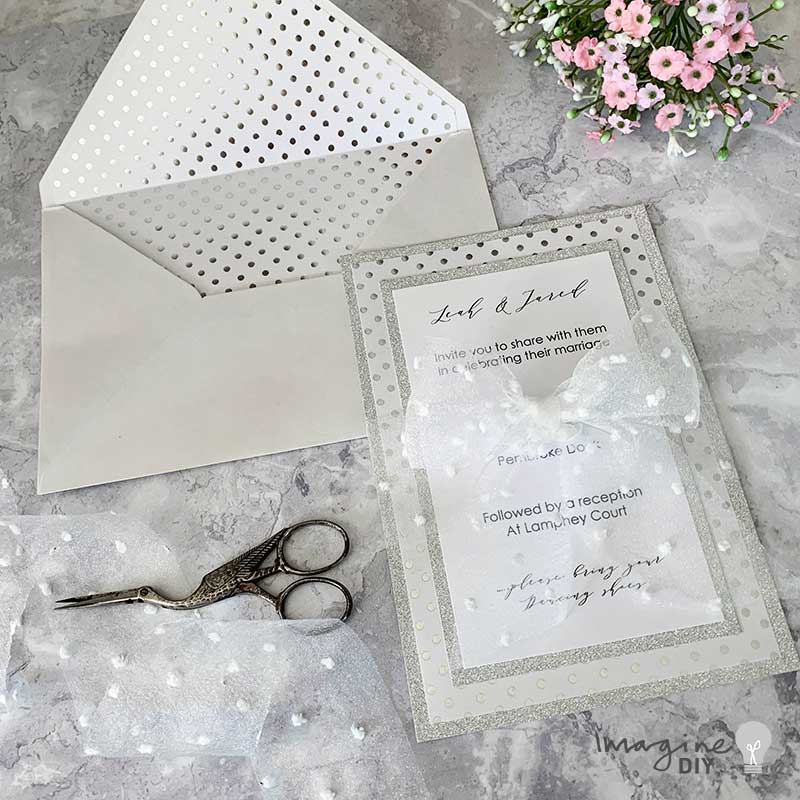
I was in a playful kind of a mood when this design was born. Personally, I think that Polka Dots really embody a sense of fun and playfulness. So it's no surprise that on a fun kind of a day, polka dots made their appearance.
I have to admit to being a little in love with this invitation. Although it's very playful, it's also got a sense of chic style about it........
I love the combinations used in this invitation. But if it doesn't match your theme, there's no need to worry. This is a super easy invitation to customise. Just change your choice of Backing card, Patterned Paper or Ribbon to create something unique to you.
For Each Invitation You Will Need:
1 x Silver Glitter Card (click here)
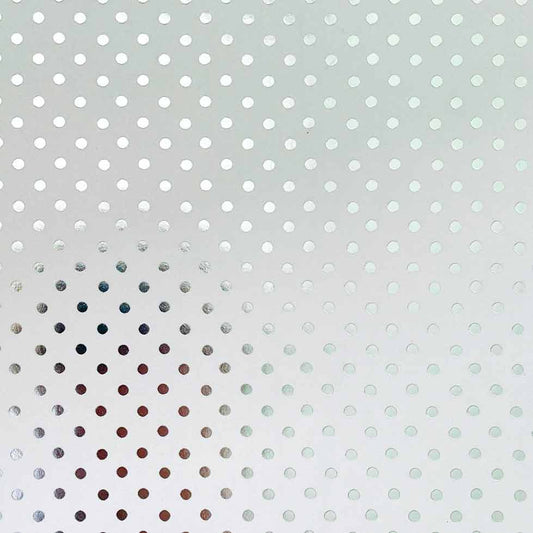
1/2 sheet of Polka Lustre Paper in Silver (1 sheet makes 2 invitations) (click here)
1/3 sheet of Pearlised Bright White Card (1 sheet makes 3 invitations) (click here)
1 meter of Douce Bobble Lace Ribbon in White (click here)
1 x Envelope (click here)
Also:
PaperTrimmer (you only need one of these!)
High Tack Double Sided Tape (click here)
Scissors
If you’re not big on reading instructions, we’ve put together a video to show you how it’s done (just press play)……
We used the following fonts:
Century Gothic and Melika Letters
So Here Are The Instructions……


Instructions
- Use your paper trimmer to cut your pearlised white card to the following measurements: 9cm x 15cm (you should be able to cut 3 panels out of each sheet)
- Download the INVITATION TEMPLATE. Type your wording in the printable areas. (We used the following fonts……..Century Gothic and Melika Letters).
Print onto the Pearlised White Card Panel. - Use your paper trimmer to cut the Silver Glitter Card to the following sizes:
19cm x 13cm
10cm x 15cm - Use your paper trimmer to cut the Polka Lustre Paper in Silver to the following size:
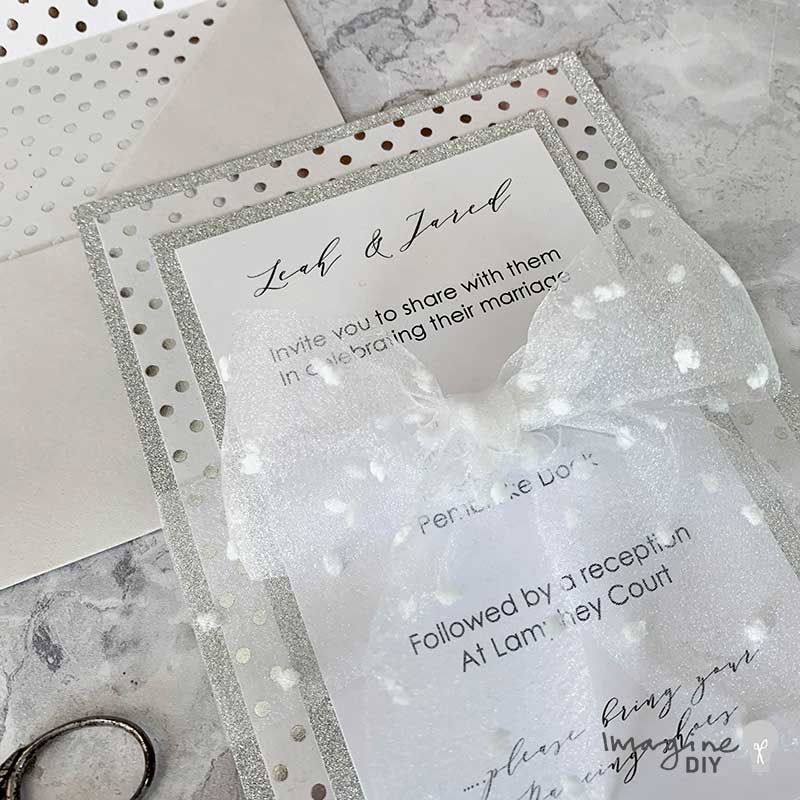
12cm x 18cm - Use the high tack tape to stick the Polka Lustre Paper in Silver onto the largest Silver Glitter Card Panel. (make sure you stick tape along each side and across the middle)
- Stick the Smaller Silver Glitter card panel on top of the Polka Lustre Paper (as above). Make sure that your borders are even.
- Stick the printed invitation on top.
- Place your ribbon face down on a flat surface. Place your invitation on top so that it is sitting roughly in the middle of the ribbon. Bring both ends in towards the front of the invitation and tie a knot. Tie a neat bow in the ribbon. You will need to tease the ribbon a bit to get it in to shape. You can do this by loosening and tightening the bow a few times until it's a good size and shape.
- Use a sharp scissors to cut off any excess ribbon. You can either cut the ribbon off in an inverted "v" shape; or cut it parallel to the bottom of the invitation.


AS AN EXTRA BONUS......
IF YOU WANT TO FIND OUT HOW WE MADE THE ENVELOPE LINERS, HERE'S ANOTHER VIDEO...


