Sending a beautiful wedding invitation is a great way to get your guests excited about your special day. I couldn't have been more shocked when my lovely sister in law decided to send her invitations out on a piece of A4 printer paper!!!!
But far from a piece of A4 printer paper, this luxury DIY wedding invitation is sure to get your guests excited. Even better, by making the invitations yourself, you can keep to a modest budget (not to mention earning some serious respect from your guests)
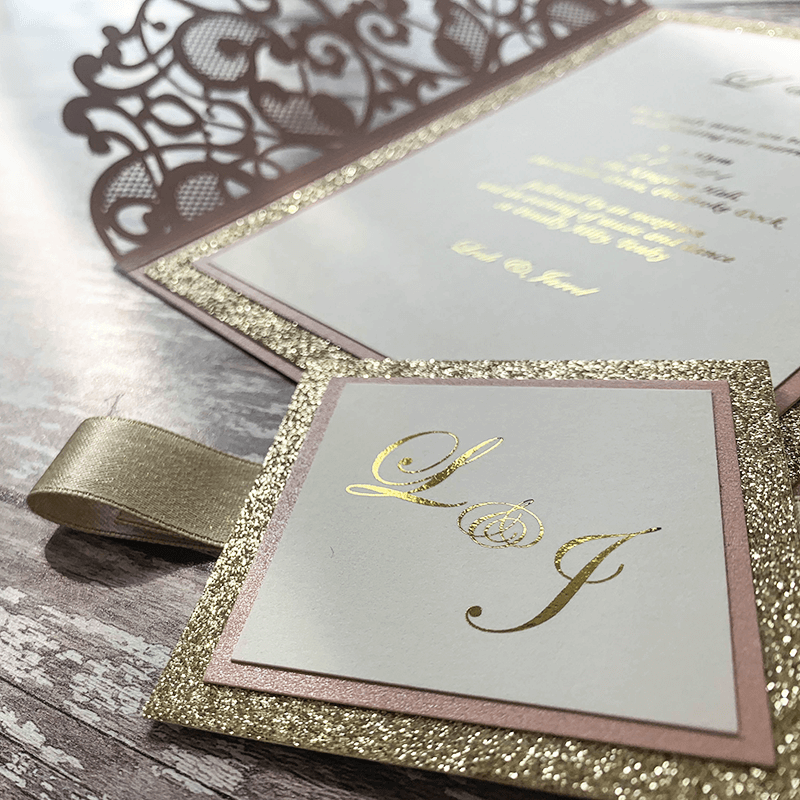
I love the nude glitter and ribbon against the embossed lace. But if you want to add a splash of colour to compliment the theme of your day, all you need to do is change the backing colour and ribbon.
For Each Invitation You Will Need:
1 x Parisienne Laser Cut Invitation (click here)
1 sheet of Nude Glitter Card (click here)
1 sheet of Matt Off White A4 Card (click here)
40cm of 16mm Dusky Pink Ribbon (1 roll will make appx. 40 invitations) (click here)
1 x white RSVP envelope
Also:
PaperTrimmer (you only need one of these!)
High Tack Double Sided Tape (click here)
TIP – Change the glitter paper and / or ribbon to coordinate with your theme.
If you’re not big on reading instructions, we’ve put together a quick video to show you how it’s done (just press play)……
You’ll also need to download this template…..
INVITATION, RSVP Card and Front Tag
So Here Are The Instructions……

Instructions
- Download the Templates for the INVITATION, RSVP Card and Front Tag. Type your wording in to the printable area and print on to the Card. We used the font Snell Roundhand.
- Carefully cut around the templates provided. Cut appx. 2mm outside the black line so that you have a border around your text.
- Cut the nude glitter card to the following sizes: 18cm x 12cm (invitation backing) 11.5cm x 9cm (RSVP backing) 7.5cm x 3.5cm (front tag backing)
- Use high tack double sided tape to stick the printed invitation onto the Glitter Card Backing. Stick the Printed RSVP card onto the RSVP backing and the Printed front tag onto the front tag backing.
- Place the invitation inside the pocket.
- Place the RSVP card under the flap of the RSVP envelope and put inside the pocket.
- Close the flap of the invitation and lay on a flat surface.
- Cut a length of Dusky Pink Ribbon appx. 40cm long.
- Peel off a small length of high tack tape and place it in the centre of the front flap appx. 2.5cm from the top. Stick one end of the ribbon on top of the double sided tape.
- Open up your invitation and warp the ribbon around the flap. When you get back to the front of the invitation, use double sided tape to stick the loose end in to place.
- Cover the back of the front tag with high tack double sided tape (about 3 strips should be enough). Press in to place at the centre of the flap, on top of the ribbon.
- And you're finished! Give yourself a massive pat on the back! Your guests are going to LOVE what you've done!

This website theme developed by the Casinos not on Gamstop site which is a non UK gambling sites nonukgambling.com for games such as casino, poker and sports betting