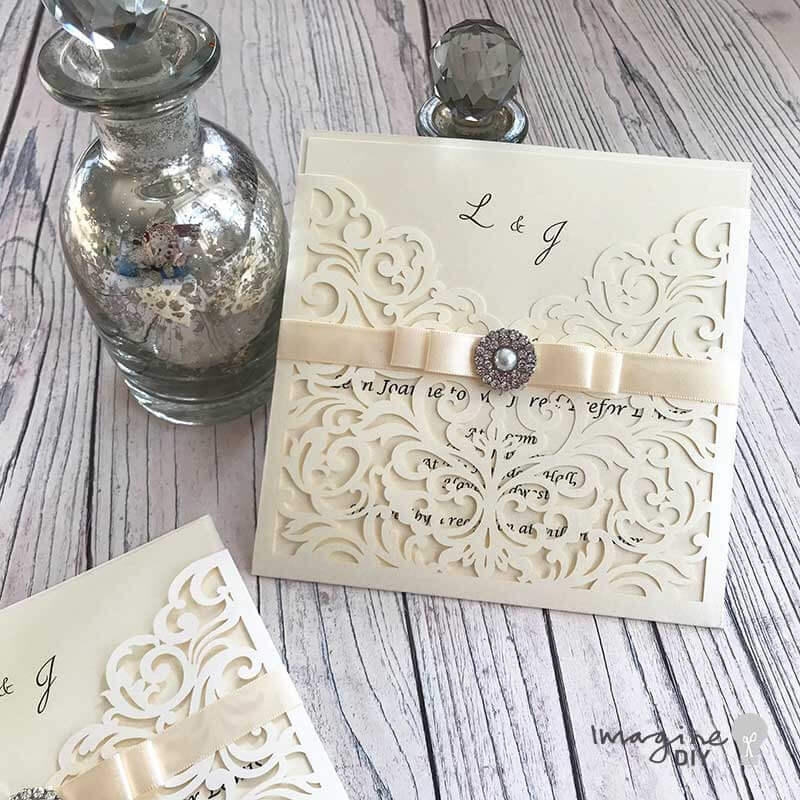
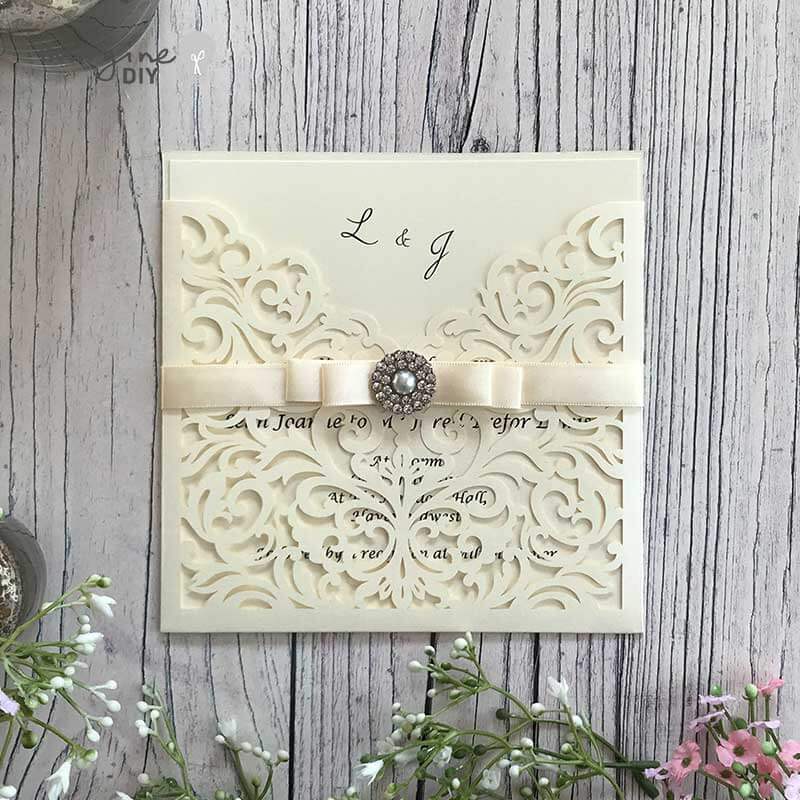
Lucy Laser Cut Invitation
For Each Invitation You Will Need:
1 x Lucy Laser Cut Invitation In Pearlised Ivory (click here)
1 x Pearlised Ivory Insert (click here)
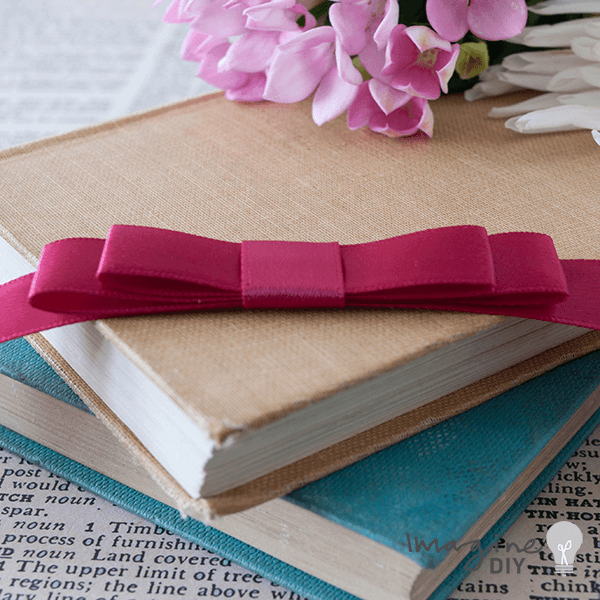
1 x Ivory Dior Bow (click here)
1 x Alexis Embellishment (click here) (please note that a discontinued embellishment has been used in the design)
1 x Envelope (optional) (click here)
1 x Hot Melt Glue Gun - optional (click here)
1 x Pack of Glue Sticks - optional (click here)
This beautiful invitation is really quick and easy to make. The pocket design means that you can easily add in additional inserts or and RSVP card and envelope. We've kept it simple and elegant by using all cream but this is an easy one to customise just by choosing a different ribbon colour or embellishment.
If you don't have a printer, you don't need to worry......we can print and cut the inserts for you (see below for details).
Don't like the colour but love the invitation? No problem.......get in touch and we'll do our very best to accommodate your colour choice.
If you're not big on reading instructions, we've put together a quick video to show you how it's done (just press play)……
You’ll also need to download this template…..
INVITATION TEMPLATE
We used the following font:
Alex Brush
So Here Are The Instructions……

Instructions
- Add all the item you need in to your basket and wait excitedly for them to arrive (don’t worry….they normally arrive really quickly!!).
- Download the Invitation Template . Type your wording in the printable areas. (We used the following fonts……..Lush Script and Lucinda Calligraphy). If you’re printing your own inserts, you should now be ready to print and move on to the next step.
- Hold the centre of your Dior bow against the middle (top) of the laser cut pattern. Fold the loose edges around to the back and use your glue gun to stick one end to the back of the pocket and the other end on top of the ribbon you have just glued. As you do this, make sure that they bow remains in the front centre.
- Use your glue gun to stick the embellishment to the centre of the Dior Bow.
- Pop your invitation in to the pocket.
…..and that’s it!! Sit back ….. your work here is done!!!! Yay!


