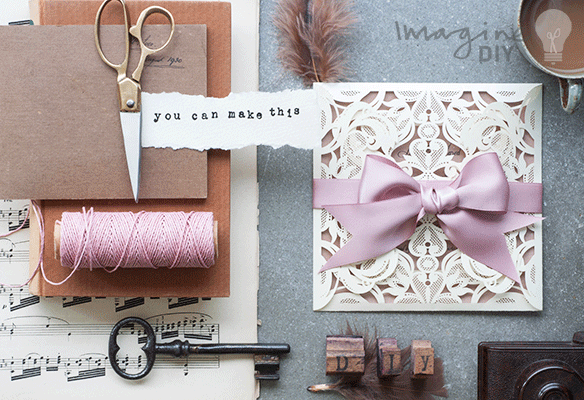
How To Make ……. Luxurious Laser Cut Invitations
I cannot even begin to tell you how much I love designing with Laser Cut. With a minimum amount of effort, you can create really striking Luxurious Laser Cut Invitations that your friends will be more than impressed with.
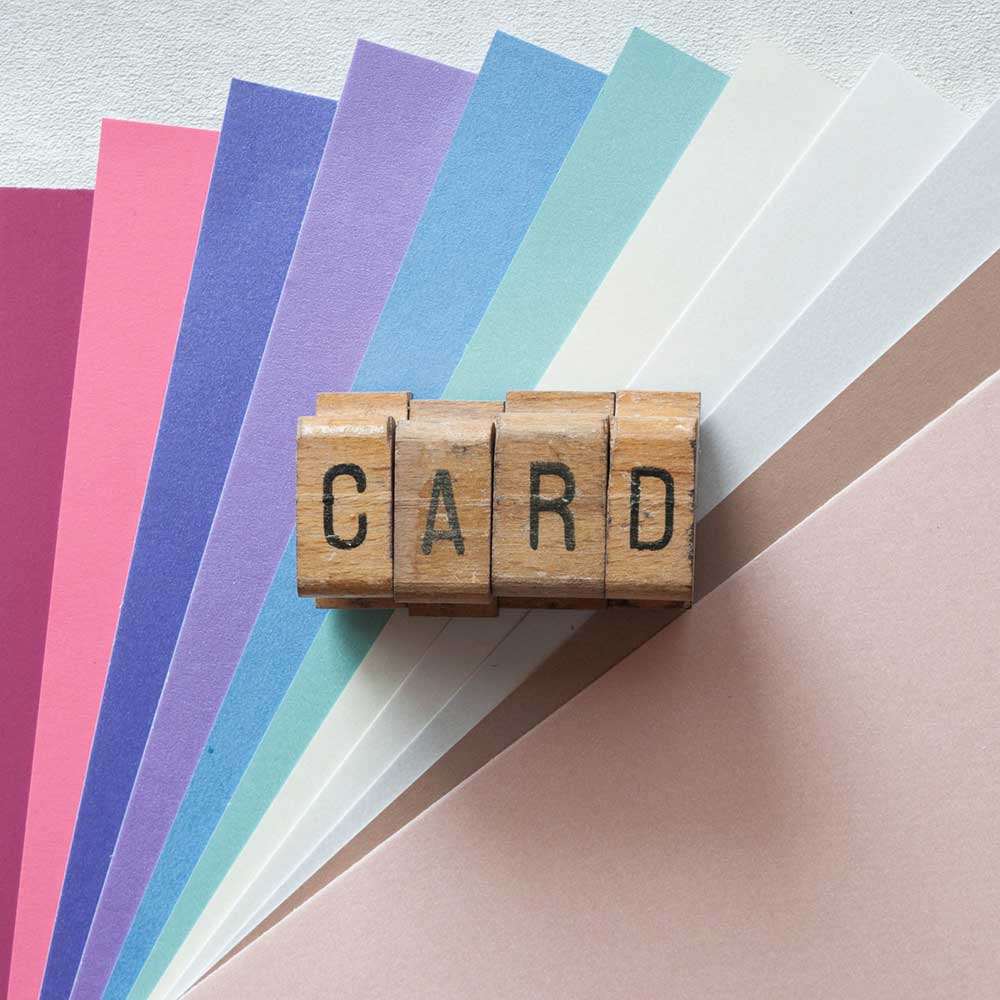
This design can be easily customised but just changing the colours of the invitation, card or ribbon.
If you can tie a bow, you can make this invitation easily.

HERE’S WHAT YOU’LL NEED:
You Will Need:
1 Jaipur Laser Cut Invitation in cream (click here)
1 sheet of Bisque Paper (click here)
1/4 sheet of Pearlised Cream Card (click here)
Appx. 35cm of 38mm Dusky Pink Ribbon (click here)
Appx. 35cm of 19mm Dusky Pink Ribbon (click here)
Other Things You Might Need:
Paper Trimmer
Tape Runner or double sided tape (click here)
Glue gun (click here)
INSTRUCTIONS:
Here’s How You Do It:
Inside:
- Print your wording on to the Bisque Paper and cut down to size. The finished size should be appx. 10cm x 10cm. If you print the wording at the top of the sheet, you will have enough left over card to cut the backing sheet.
- From the remaining Bisque Paper, cut a panel 14.5cm x 14.5cm. Use your double sided tape to stick this to the inside panel of your laser cut invitation.
- Cut a piece of pearlised cream card 10.5cm x 10.5cm. Stick this on top of the Bisque Paper making sure that all the borders are even.
- Stick your invitation wording on top.
Front:
- Fold your invitation closed.
- Place your 19mm ribbon on a flat surface. Put your invitation on top making sure that it is in the centre of the ribbon. Fold both ends of the ribbon in to the front of the card. Use a small amount of glue from the glue gun to secure one end of the ribbon to the other. Make sure that you do not spill any glue on to the laser cut card.
When you do this, you will need to make sure that you do not pull too tight (you should be able to slide the ribbon over the top of the card). However, you also need to make sure that you do not make it too loose so that it falls off easily. - Tie a bow with the 38mm ribbon (I like to use the bunny ears method). Keep pulling and tightening your bow until it’s nice and near. Use a scissors to evenly trim the excess ribbon into inverted “v” shapes.
- Once you are happy with your bow, you can use your glue gun to stick it on to the front of the 19mm ribbon. Try to make sure that you cover the join in the ribbon when you glue it in to place. Be careful not to spill any glue on to the card.
- And you’re done!