Make Luxury Laser Cut Invitations in Burgundy and Gold
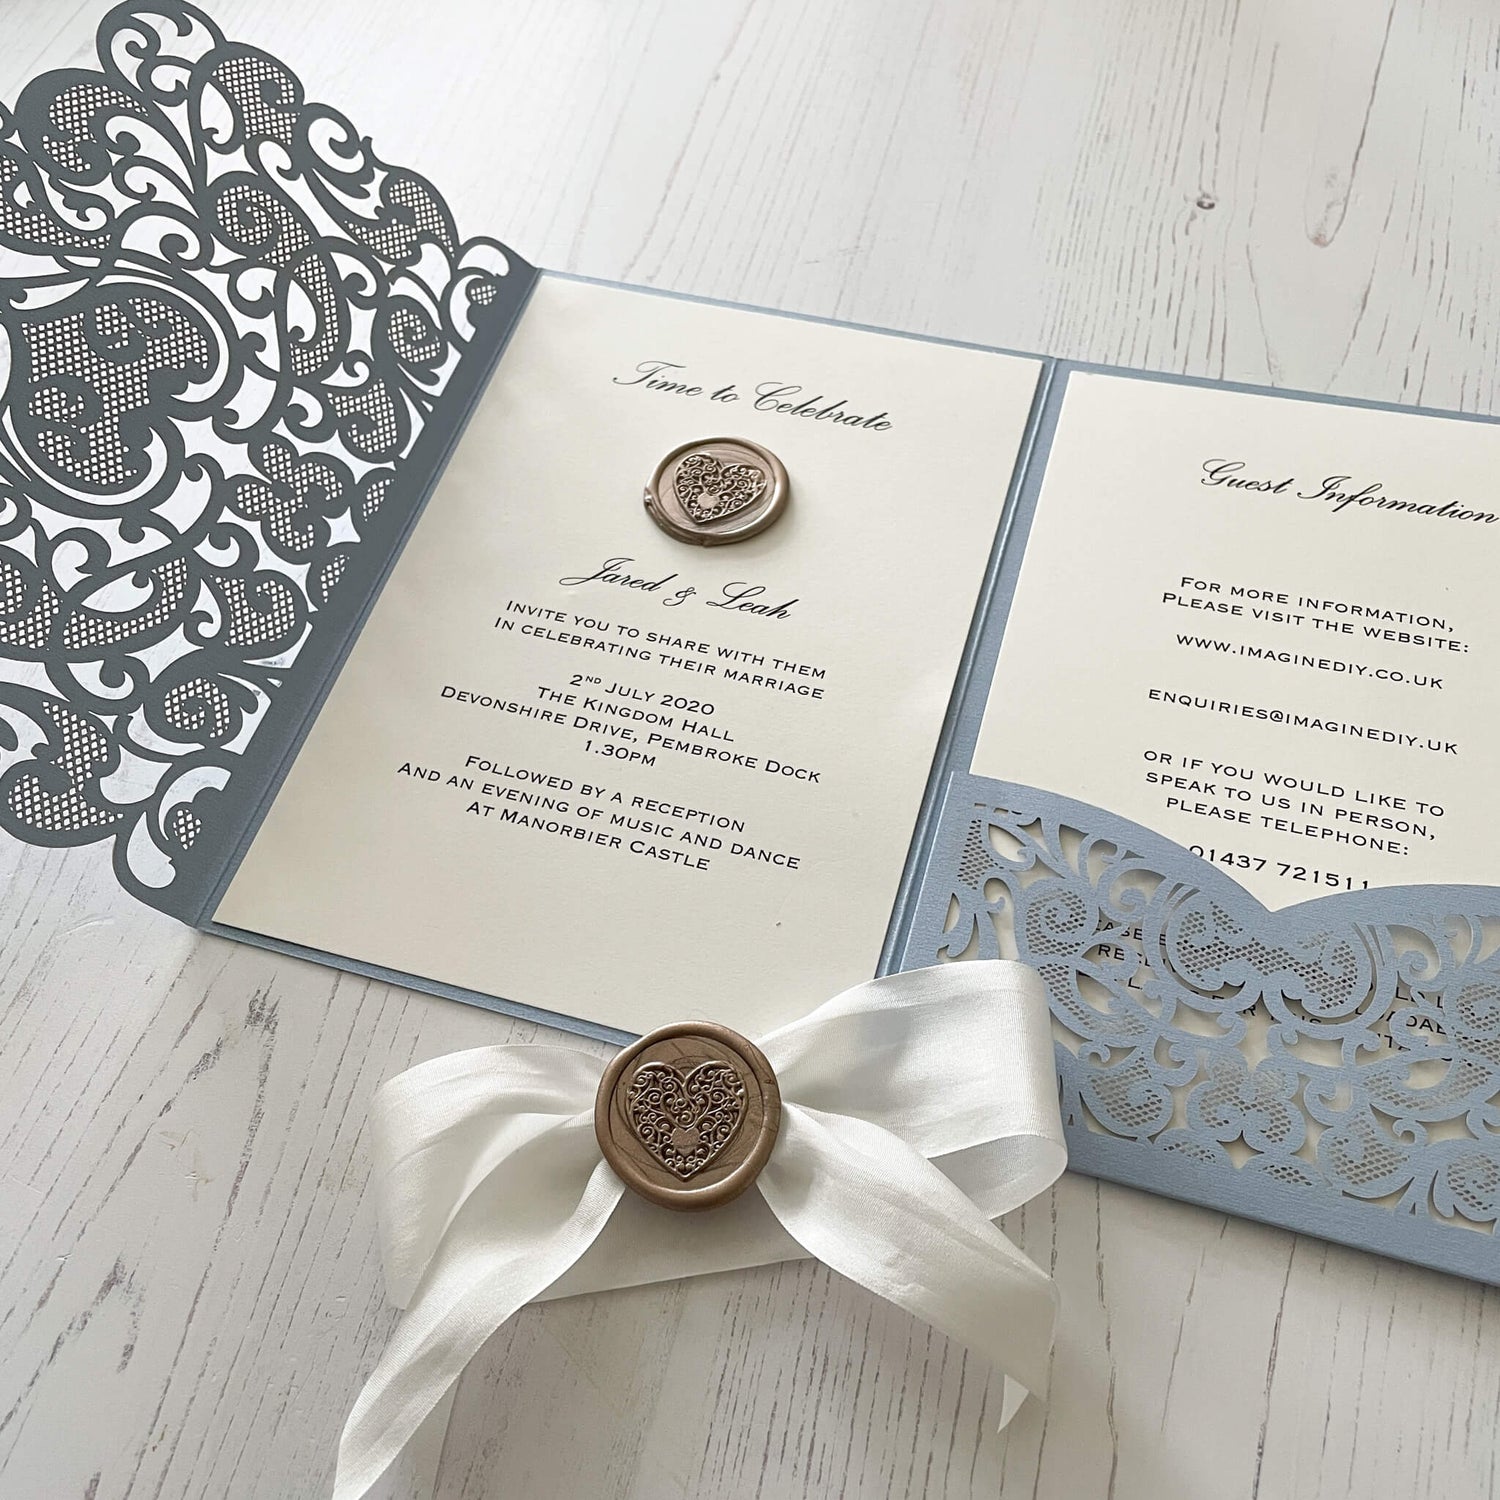
If you really want to wow your guests and create an impression of style and luxury, these gorgeous DIY Luxury Laser Cut Invitations in Burgundy and Gold are the perfect choice! They just ooze luxury and sophistication.
But who would have thought that they would be so easy to make?
Personally, I LOVE them in wine red with a gold accent but as these stunning blank laser cut invitations also come in cream or white, you can create your own colour combinations for your perfect day. Now go on and give it a go...you're going to love them too ;)
So Here Are The Instructions...

INVITATION
You Will Need:Georgia Laser Cut Invitation in Wine Red (click here)
1/2 sheet Wine Red A4 Card (click here)
1/2 sheet Matt off white A4 Card (click here)
1/2 sheet Matt off white A4 Paper (click here)
1 x Saskia Rose Gold (click here)
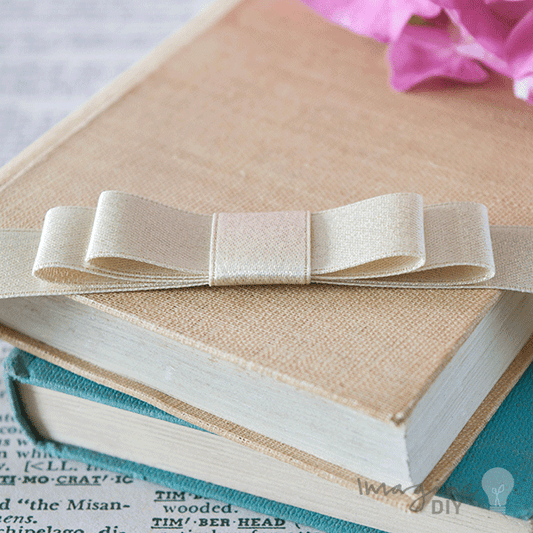
1 x Gold Dior Bow (click here)
You Will Also Need:
Paper Trimmer
Tape Runner (click here)
Hot Melt Glue Gun (click here)

Instructions:
- First of all print your wording on to a sheet of A4 Matt Off White Paper and cut to size. The finished size should be appx. 12cm x 12cm. Therefore you should be able to fit 2 panels on to each sheet.
- Secondly use your paper Trimmer to cut a piece of Wine Red Card 12.5cm x 12.5cm.
- Cut a piece of Matt Off White Card 14.5cm x 14.5cm.
- Then open up your laser cut invitations and use your tape runner to stick the large off white card panel in to place in the centre of the invitation.
- Again use your tape runner and stick the Wine Red card Panel on top of the Off White Card. Now stick your printed invitation panel on top of the Wine Red Card. You can now close your invitation.
- The next step is to place your Dior Bow face down on a flat surface. While you are holding your invitation closed, place it face down on top of the dior bow with the dior bow roughly in the centre (the back of the invitation should be facing your at this point). Then fold one end of the loose ribbon around to the back of the card and hold it flat. The next step is folding the opposite piece of ribbon around to the back of the card so that it sits on top of the piece you are holding in to place. Use a small amount of glue from the glue gun to secure the top piece of ribbon on to the bottom piece. Because you don't want any glue spots make sure you do not leak any of it on to the invitation. As you are gluing, you will need to make sure that you do not pull the ribbon too loosely or too tightly (you don't want it to fall off because it is so loose but you also need to be able to slide it off when you need to)
- Finally turn the card over so that the front is facing you. Adjust the bow so that it is sitting in the centre of the card. Lastly use the glue gun and stick the Saskia embellishment on to the centre of the ribbon.
After all it really is as easy as that!
If you are making a lot at once, set up your own little production line rather than making them one by one.....it will save you a lot of time and effort.


