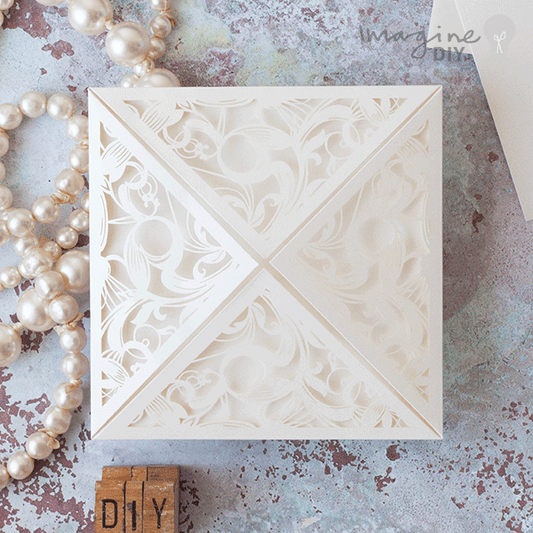
How to Make...Rustic Laser Cut Wedding Stationery
Blank Laser Cut Invitations are an easy but effective way to make striking wedding invites. But what about everything else...the placecards, the order of service’s etc? With a little imagination, you can create a gorgeously coordinated range of Rustic Laser Cut Wedding Stationery that your guests will love.
We’ve designed this gorgeous rustic range that you can easily make yourself.
You can completely change the look and feel of this range by choosing alternative papers, laser cut designs or embellishments. Let your imagination go wild….
Here’s How we made this range:

INVITATION
Items Needed:
Extravaganza Laser Cut Invitation in Ivory (click here)
1 sheet of flora in kraft paper (click here)
1 x Alice Key (click here)
1 meter of natural hemp cord (click here)
offcut of pearlised ivory card (click here)
Other Things You Might Need:
Hole Punch
Paper Trimmer
Tape runner or double sided tape (click here)
Scissors
INSTRUCTIONS
PRINTING:
Print your wording on to A4 Flora in Kraft Paper and cut to size.
The wording panel should measure 148mm x 148mm.
The front “Invitation” tag should measure appx. 6cm x 2.5cm with the wording set to the right (and a larger gap to the left).
- Open up your laser cut invitation and use your tape runner to stick the printed invitation panel onto inside. Fold the laser cut flaps back in to place to cover the wording.
- Take the “invitation” tag. Cut an even point to the left hand side of the tag. Again use double sided tape to stick the tag on to a piece of pearlised ivory card.
- Carefully use your scissors to cut around the shape of the tag so that you have a small, even border of ivory card showing all the way around the tag.
- Make a small hole at the top centre of the tag by using your hole punch.
- Take a length of hemp cord. Hold the centre of the cord and starting at the front centre of the invitation, pass both ends of the cord around to the back of the card. When both pieces of cord meet at the centre of the back, twist them around each other at a 90 degree angle and pass the ends back round to the front. When both ends meet again at the front centre, pass them underneath the line of cord and them tie a knot over the top. Thread your tag and then your key on to one end of the cord. Tie a knot and then a bow.
- Cut off any loose ends.

RSVP
Items Needed:
1/4 sheet of kraft card (click here)
1/4 sheet of flora in kraft paper (click here)
Other Things You Might Need:
Paper Trimmer
Tape runner or double sided tape (click here)
INSTRUCTIONS
- Print your wording on to A4 Flora in Kraft Paper and cut to size.
- The finished wording should measure 8.5cm high x 11cm wide (you should be able to fit 4 panels on each sheet if you print in a landscape format).
- Cut a piece of Kraft Card 9cm x 11.5cm
- Use your tape runner to stick the RSVP panel on top of the card.
ORDER OF SERVICE

Items Needed:
1/ 2 Extravaganza Laser Cut Invitation in Ivory (click here)
1 sheet of flora in kraft paper (click here)
1 x Alice Key (click here)
1/2 meter of natural hemp cord (click here)
1 sheet of pearlised ivory card (click here)
Pearlised Ivory paper (for inside wording). (click here)
Other Things You Might Need:
Hole Punch
Paper Trimmer
Scorer
Tape runner or double sided tape (click here)
Scissors
Long arm stapler
INSTRUCTIONS
- Cut your Pearlised Ivory Card to 21cm x 29cm. Score and fold your Pearlised Ivory Card in Half. This will form your order of service cover.
- Print your order of service wording on to A4 paper and cut to size. The finished size should be 20cm x 28cm. Fold in half and use a long arm stapler to secure the wording to the inside of the cover. Do this carefully to make sure that the staples sit along the crease.
- Cut a piece of Flora in Kraft Paper 21cm high x 14.5cm wide. Use your tape runner to stick the paper to the front of your order of service cover.
- Cut 2 flaps off the Extravaganza laser cut invitation. Again use your tape runner to stick them in to place on the front of the order of service cover, using a scissors to carefully trim any overlapping edges at the side.
- Print “Order of Service” tags on to A4 Floral in Kraft Paper and cut down to size. The finished size should be appx. 8cm x 2.5cm with the wording set to the right and a blank space on the left.
- Take the “order of service” tag. Cut an even point to the left-hand side of the tag. Again use double sided tape to stick the tag on to a piece of pearlised ivory card.
- Carefully use your scissors to cut around the shape of the tag so that you have a small, even border of ivory card showing all the way around the tag.
- Make a small hole at the top centre by using your hole punch.
- Punch a hole in the centre of the order of service cover, right in the middle of the crease line.
- Take a length of cord and thread one end through the hole. Wrap both ends around to the front of the card. Tie a secure knot. Thread the tap and then the key on to one end of the cord. Tie a tight knot and then a bow.
- Use a scissors to trim off any excess string.
PLACECARD

Items Needed:
1/4 sheet of Kraft card (click here)
1/4 sheet of flora in kraft paper (click here)
1/8 sheet of pearlised ivory card (click here)
Pearlised Ivory paper (for inside wording). (click here)
Other Things You Might Need:
Paper Trimmer
Scorer
Tape runner or double sided tape (click here)
INSTRUCTIONS
- Print your Guest names on to a sheet of Flora Paper in Kraft and cut down to size. The finished size should be appx. 5.5cm x 3.5cm. (n.b…….if you would rather hand write your guest names, you can just cut the paper to the required size without printing on to it first).
- Cut a piece of Kraft Card 14cm x 9cm. Score and fold in half.
- Cut a piece of Floral Paper in Kraft 7cm x 9cm. Use your tape runner to stick the patterned paper on to the front of your folded place card.
- Cut a piece of pearlised ivory card 6cm x 4cm. Use a tape runner to stick it on to the front centre of your place card.
Use a tape runner to stick the guest name panel on to the pearlised ivory card panel.


