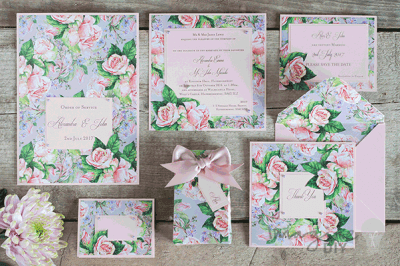
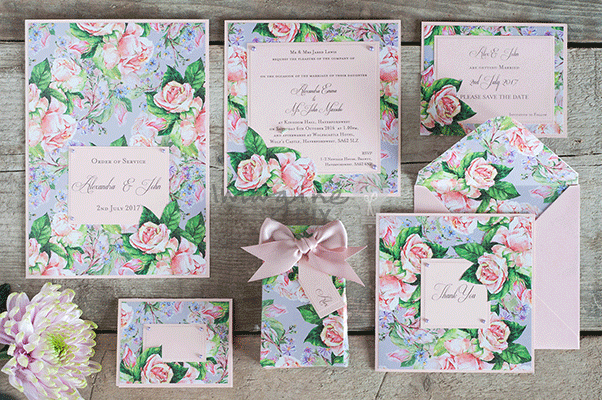
Gorgeous Rosemoor Floral Wedding Stationery to make at home.
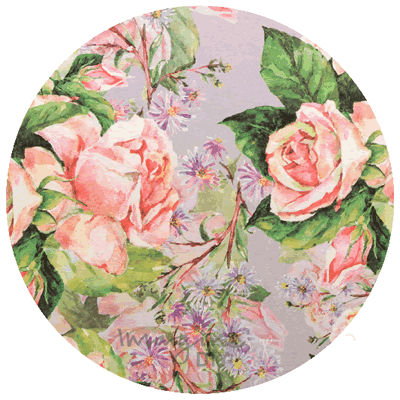
I designed this Rosemoor floral wedding stationery range when our new Rosemoor paper arrived in stock. As soon as I started to design with the paper, I totally fell in love with it. It’s so pretty! Personally, I think it looks AMAZING used in this elegant Shabby Chic style range.
Because the main focus of this range is the paper, the costs of producing them yourself is really low. As an idea, the gorgeous invitations can be made for about 75p each!
Don’t forget that our Rosemoor paper comes in a White or a Dusky Pink as well as the Dusky Lilac used in this range.
Here’s how we made them:

INVITATIONS (from as little as 75p each!)
For each invitation you will need:
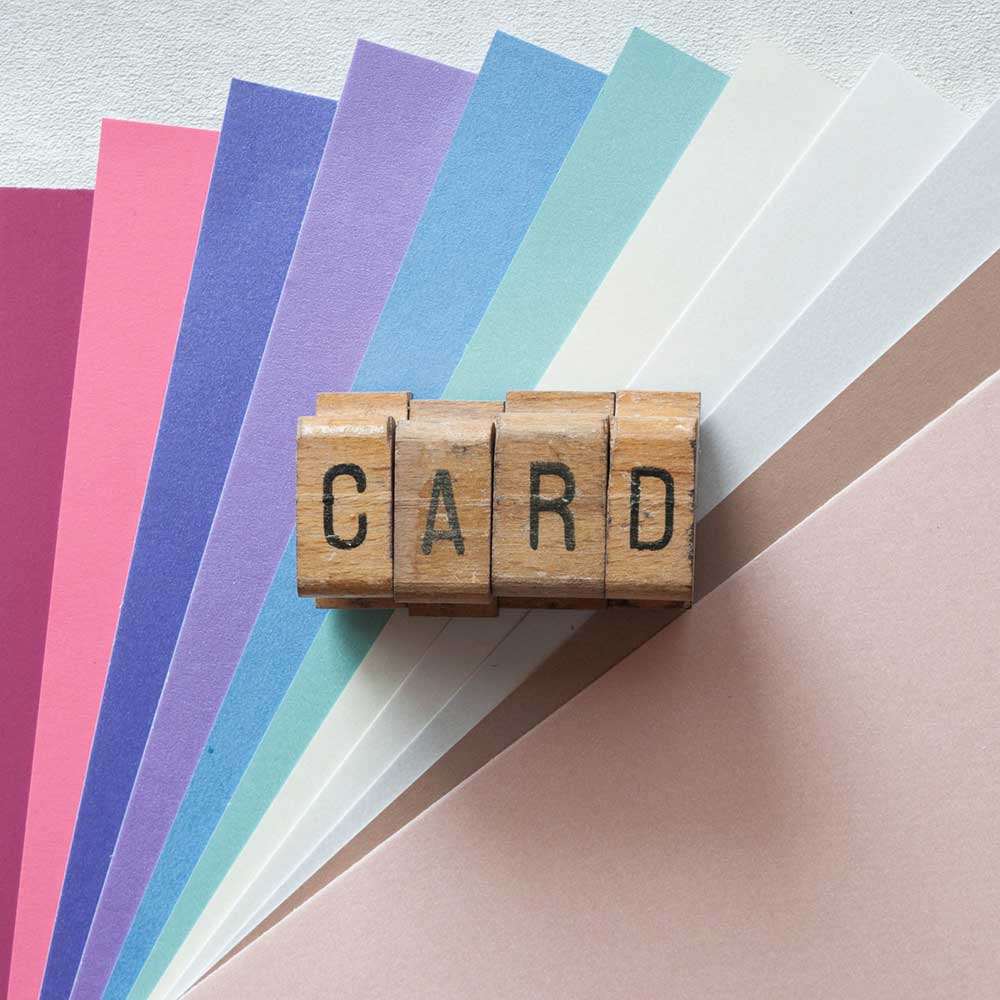
1 1/2 sheets of Blush Pink Card. (click here)
1/2 sheet of Rosemoor paper in Dusky Lilac. (click here)
Other things you might need:
3 self adhesive pearls in lilac
Paper Trimmer
Tape runner or double sided tape. (click here)
Scissors
INSTRUCTIONS:
Print your wording on to the Precious Pink Card and cut down to size. The finished size should be 10cm x 10cm. You should be able to fit 2 invitations panels on each sheet of card.
Cut a piece of Pearlised Precious Pink Card 14.5cm x 14.5cm
Cut a piece of Rosemoor Paper in Dusky Lilac 14cm x 14cm. Use your tape runner to stick this on top of the pink card.
Cut a piece of Pearlised Precious Pink Card 10.5cm x 10.5cm. Stick on top of the Rosemoor paper.
Use your tape runner to stick your invitation panel in to place on top of the Precious Pink Card.
Take an off cut from the Rosemoor paper and cut around the outline of one of the flowers using a scissors. Stick this in to place on the bottom left of your invitation. Use the scissors to cut off any overlapping edges.
Peel off a self adhesive pearl and stick one in each corner of the invitation panel. Because you have covered the bottom left of the invitation panel, you should only need 3 pearls.
The trickiest part of making this invitation is cutting around the flower. Other than that, it’s dead easy!

SAVE THE DATE CARDS
For each Save The Date Card you will need:1 1/4 sheets of Blush Pink Card. (click here)
1/4 sheet of Rosemoor paper in Dusky Lilac. (click here)
Other things you might need:
Paper Trimmer
Tape runner or double sided tape. (click here)
Scissors
INSTRUCTIONS:
Print your wording on to the Precious Pink Card and cut down to size. The finished size should be 7cm high x 8.5cm wide. You should be able to fit 4 wording panels on each sheet of card if you print in a landscape format.
Cut a piece of Pearlised Precious Pink Card 9cm x 11.5cm
Cut a piece of Rosemoor Paper in Dusky Lilac 8.5cm x 11cm. Use your tape runner to stick this on top of the pink card.
Cut a piece of Pearlised Precious Pink Card 7.5cm x 9cm. Stick on top of the Rosemoor paper.
Use your tape runner to stick your wording panel in to place on top of the Precious Pink Card.
Take an off cut from the Rosemoor paper and cut around the outline of one of the flowers using a scissors. Stick this in to place on the bottom left of your save the date card. Use the scissors to cut off any overlapping edges.
It’s as easy as that!!!

THANK YOU CARDS
For each Thank You Card you will need:1 sheets of Blush Pink Card. (click here)
1/2 sheet of Rosemoor paper in Dusky Lilac. (click here)
Other things you might need:
3 self adhesive pearls in lilac
Paper Trimmer
Scorer
Tape runner or double sided tape. (click here)
Scissors
THANK YOU CARD INSTRUCTIONS:
Print your Thank You panel on to the Precious Pink card and cut down to size. The finished size should be 4.5cm x 4.5cm. You should be able to fit at least 12 wording panels on each sheet of card.
Cut a piece of Precious Pink Card 14.5cm x 29cm. Score and fold in half.
Cut a piece of Rosemoor paper in Dusky Lilac 14cm x 14cm. Use your tape runner to stick it to the front of your card.
Cut a piece of Pearlised Precious Pink Card 5cm x 5cm. Stick this on to the centre of your card.
Stick your thank you panel on to the Precious Pink Card.
Take an off cut from the Rosemoor paper and cut around the outline of one of the flowers using a scissors. Stick this in to place so that it overlaps the top right corner of your Thank You panel.
Peel off a self adhesive pearl and stick one in each corner of the invitation panel. Because you have covered the top right of the invitation panel, you should only need 3 pearls.
It’s as easy as that!!!

FAVOUR BAGS
For each Favour Bag, you will need:
For each invitation you will need:
1/13 sheets of Blush Pink Card. (click here)
1 sheet of Rosemoor paper in Dusky Lilac. (click here)
30cm of 25mm Dusky Pink Ribbon. (click here)
Other things you might need:
Sizzix machine. (big shot or big shot plus)
Sizzix movers and shapers XL die bag with flap
Tape runner or double sided tape. (click here)
A hot melt glue gun. (click here)
Scissors
INSTRUCTIONS:
Take a sheet of Rosemoore paper and use your sizzix machine and die to cut out the shape of the bag using the XL Die Bag with Flap (you can cut 3-4 sheets at a time).
Use your tape runner to glue the bag together.
Print your guest names on to a sheet of Precious Pink card. If you lay it out carefully, you should be able to fit at least 26 on to a sheet if you print in 2 columns. Cut your Guest names down to size. It is a good idea to cut your longest name first and then cut the others to the same size. Make sure that the names are set to the right as you cut them (so that there is more of a gap on the left).
Cut a piece of Precious Pink Card 0.5cm wider and 0.5cm longer than your name panels. Use the tape runner to stick the names on to the card panels.
Take a scissors and cut the top right of the name panel in to a point.
Take your ribbon and tie a tight bow, cutting each edge into a “v” shape.
Fill your bags and then use your tape runner to seal the bag shut (or you could use a velcro dot if you would prefer).
Use your glue gun to stick the name card on to the centre of the flap, coming down at an angle. Make sure that you only get the glue on the flap and not the bag.
Use the glue gun to stick the bow on to the flap of the bag.

PLACE CARD
For each Place card, you will need:
1/2 sheets of Blush Pink Card. (click here)
1/8 sheet of Rosemoor paper in Dusky Lilac. (click here)
Other things you might need:
3 self adhesive pearls in lilac
Paper Trimmer
Scorer
Tape runner or double sided tape. (click here)
Scissors
INSTRUCTIONS:
Cut a piece of Pearlised Precious Pink Card 14cm x 9.5cm. Score and fold in half.
Cut a piece of Rosemoor Paper in Dusky Lilac 6.5cm x 9cm. Use your tape runner to stick this on to the front of the card.
Cut a piece of Pearlised Precious Pink Card 3.5cm x 6cm. Stick on top of the Rosemoor paper.
Cut a piece of Pearlised Precious Pink Card 3cm x 5.5cm. Stick on top of the Precious Pink Card.
Take an off cut from the Rosemoor paper and cut around the outline of one of the flowers using a scissors. Stick this in to place on the bottom left of your place card. Use the scissors to cut off any overlapping edges.
Peel off a self adhesive pearl and stick one in each corner of the place card panel. Because you have covered the bottom left of the place card panel, you should only need 3 pearls.

ORDER OF SERVICE’s
For each Order of Service you will need:1 1/4 sheets of Blush Pink Card. (click here)
1/2 sheet of Rosemoor paper in Dusky Lilac. (click here)
Other things you might need:
3 self adhesive pearls in lilac
Paper Trimmer
Scorer
Tape runner or double sided tape. (click here)
Scissors
INSTRUCTIONS:
Take a sheet of Precious Pink Card and score in half (appx 14.85cm) to form a card.
Print your Order of Service panel on to the Precious Pink card and cut down to size. The finished size should be 7cm x 4.5cm. You should be able to fit at least 6 wording panels on each sheet of paper.
Cut a piece of Rosemoor paper in Dusky Lilac 14.35cm x 20.5cm. Use your tape runner to stick it to the front of your card.
Cut a piece of Pearlised Precious Pink Card 7.5cm x 5cm. Stick this on to the bottom centre of your card (see image).
Stick your Order of service panel on to the Precious Pink Card.
Take an off cut from the Rosemoor paper and cut around the outline of one of the flowers using a scissors. Stick this in to place so that it overlaps the bottom left corner of your Order of Service panel.
Peel off a self adhesive pearl and stick one in each corner of the invitation panel. Because you have covered the bottom left of the invitation panel, you should only need 3 pearls.
All you have to do now is print off your Order of Service Wording (we would suggest using the pearlised precious pink card) and secure it inside. A long arm stapler is perfect for doing this.
It’s as easy as that!!!
I hope you find this design guide for the Rosemoor Floral Wedding Stationery helpful.


