DIY Luxury Pocket Invitations
For Each Invitation You Will Need:
1 x Booklet Pocket Invitation in Ivory (click here)
3 sheets of Pearlised Ivory A4 Card (click here)
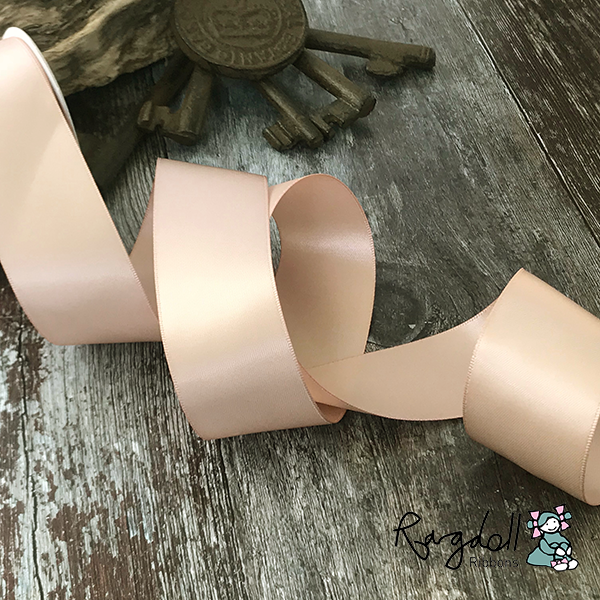
20cm of 100mm Raspberry Rose Ribbon (1 roll will make appx. 50 invitations) (click here)
1 Dutchess Buckle (click here)
4 x 3mm Self Adhesive Crystal Stickers (click here)
Also:
PaperTrimmer (you only need one of these!)
Hot Melt Glue Gun (you only need one of these!) (click here)
Glue Sticks (1 glue stick will make appx. 20 invitations) (click here)
High Tack Double Sided Tape (click here)
If you want to create an atmosphere of glamour around your big day, this is the perfect invitation. The glamorous crystal buckle, paired with extra wide satin ribbon creates real impact. The pocket fold style of this invitation makes it really practical for you to include all the additional information you'd live to give your guests in advance of your big day.
Pocket invitations are a fabulous way of combining your invitation with any information that you want to convey to your guests. The neat inside pocket holds all your information in a neat and stylish way.
This invitation can be a little bit fiddly (because of the use of the glue gun) but it really is worth all the extra effort!
TIP - Change the ribbon colour to coordinate with your theme.
If you're not big on reading instructions, we've put together a quick video to show you how it's done (just press play)……
INVITATION AND ADDITIONAL INFORMATION SHEET
GUEST INFORMATION AND RSVP CARD
So Here Are The Instructions……

Instructions
- Download the Templates for the INVITATION AND ADDITIONAL INFORMATION SHEET and GUEST INFORMATION AND RSVP CARD and also FRONT TAG. Type your wording in to the printable area and print on to the Card.
- Using the guides provided, trim the printed panels with the paper trimmer so that they are the following sizes:
Front Panel - 14.6cm wide x 7cm high
Invitation Panel - 12.5cm x 12.5cm
Guest Information - 14cm x 14cm Additional Information - 14cm x 12cm
RSVP - 13cm x 8.75cm From the leftover card, cut a blank panel 13.5cm x 13.5cm - Use double sided tape to stick the front panel to the bottom front of your card, making sure that the edges line up.
- Cut a piece 100mm ribbon appx 20cm wide. Thread this through the buckle and slide the buckle across so that it sits in the middle of the ribbon. Play around with the ribbon so that you are happy with how the buckle is sitting.
- Use your glue gun to run a line of glue around the outline of the buckle (at the back). Press the buckle in to place at the front centre of the card.
- Open up the invitation so that the inside is facing you. Pull one end of the ribbon around to the inside and use the glue gun to stick in to place. Make sure you glue it into position so that the border at the top and bottom is even. You'll also want to make sure that it is nice and tight so that you have a nice finish at the front. Once you have done this, glue the other end of the ribbon using the same technique.
- Take your blank card panel. Stick high tack double sided tape around the outside edges and across the middle. Stick in to place on the inside panel of the invitation (over the ribbon).
- Place your printed invitation panel face down and stick high tack double sided tape around the outside edges and across the middle. Stick in to place on the inside panel of the invitation (over the blank card panel).
- Place your Information card, additional information card and RSVP card into the pocket.
- Peel off a 3mm self adhesive crystal and stick one sticker in each corner of the invitation panel. (You can also stick one on the RSVP card for a nice finishing touch).
TIPS
1 - If you are printing on to pearlised card, you will need to use a laser printer. If you are using an inkjet, we recommend swapping the pearlised card for matt card)