DIY Pocket Invitations with Glitter
For Each Invitation You Will Need:
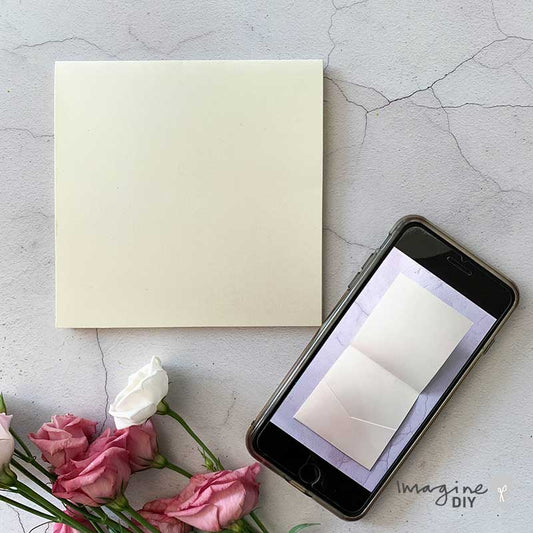
1 x Booklet Pocket Invitation in Ivory (click here)
2 sheets of Silver Glitter A4 Card (click here)
2 sheets of Pearlised Ivory A4 Card (click here)
1 Mia Embellishment (click here)
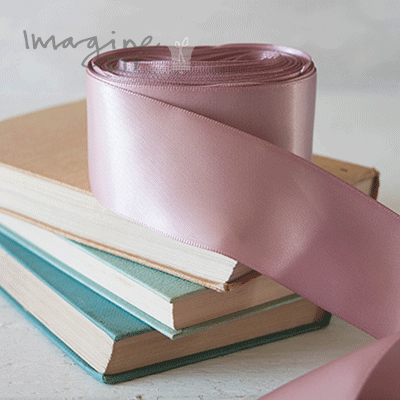
20cm of 38mm Dusky Pink Satin Ribbon (1 roll will make appx. 50 invitations)
(click here)
Also:
Paper Trimmer (you only need one of these!)
Hot Melt Glue Gun (you only need one of these!) (click here)
Glue Sticks (click here)
High Tack Double Sided Tape (click here)
Scissors
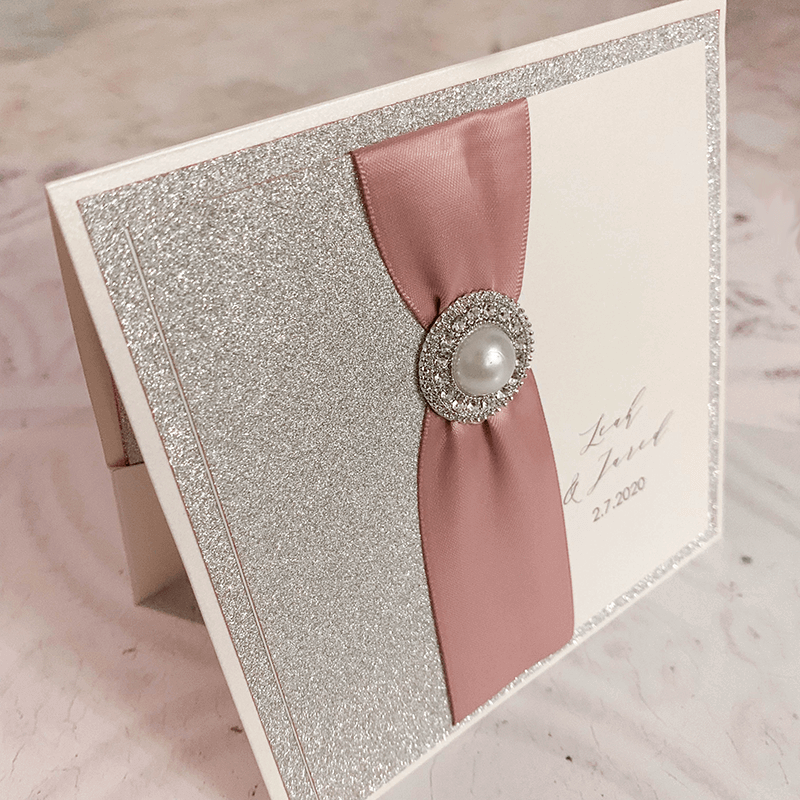
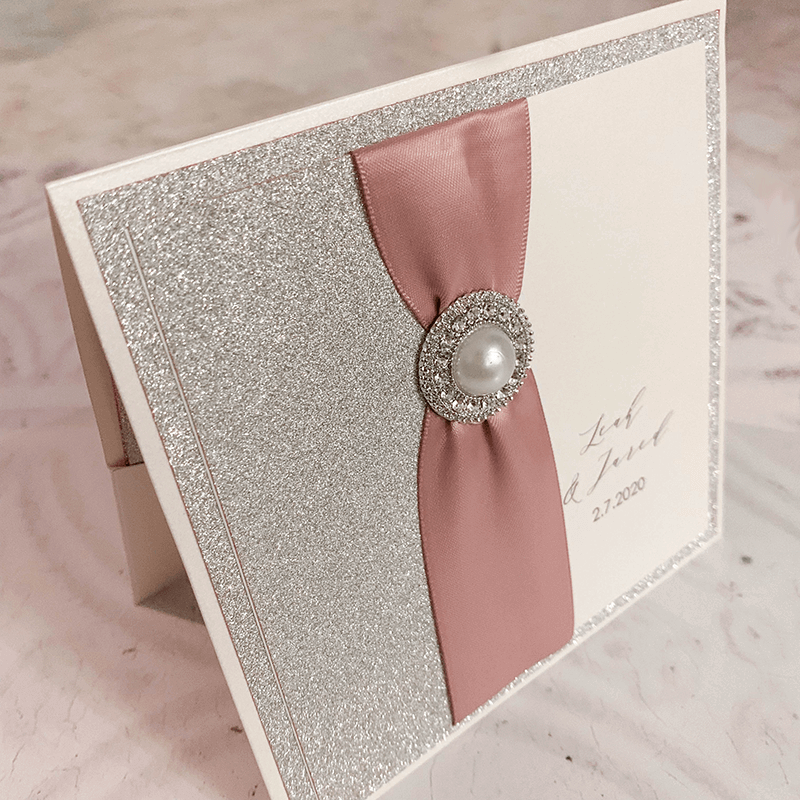
These strikingly beautiful invitations were inspired by one of our amazing DIY brides. She came to us with the idea and asked us to put it together for her. When I'd finished working on the design, I have to admit to feeling a little smug. It really is beautiful!
Pocket invitations are a fabulous way of combining your invitation with any information that you want to convey to your guests. The neat inside pocket holds all your information in a neat and stylish way.
TIP - Change the ribbon colour or card to coordinate with your theme.
If you're not big on reading instructions, we've put together a quick video to show you how it's done (just press play)……
You'll also need to download these templates.....
GUEST INFORMATION AND RSVP CARDS
So Here Are The Instructions……
- Download the Templates for the INVITATION AND FRONT PANEL and GUEST INFORMATION AND RSVP CARDS. Type your wording in to the printable area and print on to the Card.
- Using the guides provided, trim the printed panels with the paper trimmer so that they are the following sizes:
Front Panel - 13cm x 13cm
Invitation Panel - 13cm x 13cm
Guest Information - 13cm x 13cm Additional Information - 10.5cm high x 13cm wide
RSVP - 8cm high x 10.5cm wide - Use your paper trimmer to cut the silver glitter card to the following sizes:
Front Panel - 14cm x 14cm
Invitation Panel - 14cm x 14cm
Front Side Panel - 6.5cm x 13cm
Guest Information - 14cm x 14cm
Additional Information - 11.5cm high x 14cm wide
RSVP - 9cm high x 11.5cm wide - Use double sided tape to stick the printed panels on to the glitter card panels as follows:
- Glitter Card Front Side Panel onto Printed Front Panel (position it to the left of the text)
- Printed invitation panel onto the Glitter Card Invitation Panel
- Printed Guest Information onto the Glitter card Guest Information Panel
- Printed Additional Information onto the Glitter Card Additional Information Panel
- Printed RSVP onto the Glitter Card RSVP Panel. - Slot the Guest information, Additional information and RSVP card into the pocket.
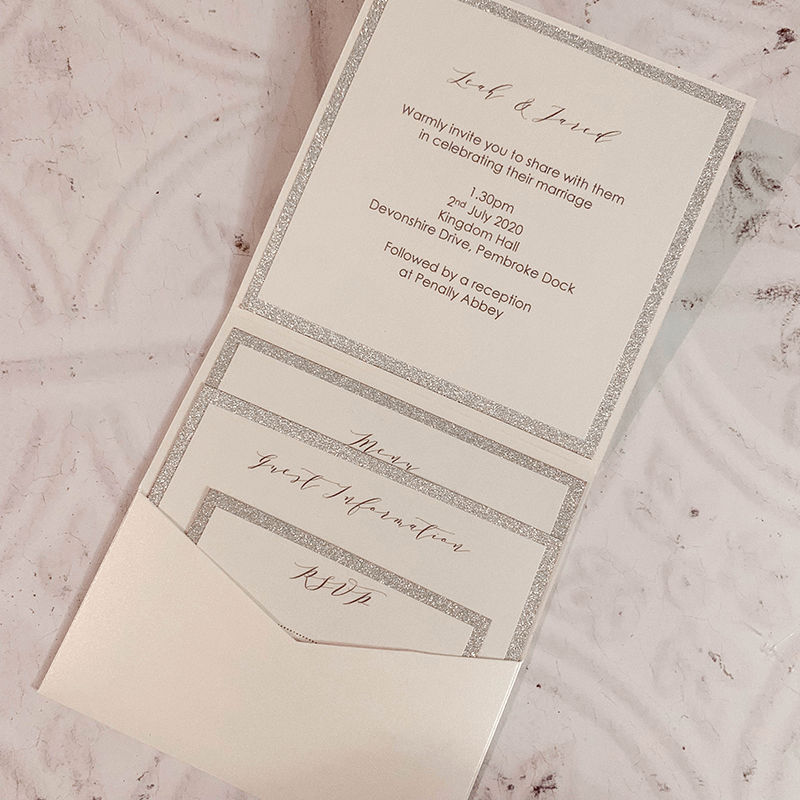
- Use double sided tape to stick the invitation panel onto the blank area of the pocket. The inside of the invitation should now look like this:

Front Of Invitation......
- Use double sided tape to stick the glitter card front panel on to the front of the closed pocket.
- Cut a section of 38mm Dusky Pink Ribbon appx 20cm long.
- Take the Printed front panel with the mounted glitter card. Use the glue gun to apply a small circle of glue onto the glitter panel appx. 5cm from the top and 1cm in from the edge of the glitter card. Quickly place the ribbon on top of the glue and squeeze together, pressing down to form a gathered effect.
- Pull the loose ends of the ribbon around to the back of the card and use the glue gun to secure them in place.
- Use double sided tape to stick the printed front panel (with glitter card and ribbon) onto the glitter card panel at the front of the invitation.
- Use The glue gun to apply some glue to the back of your Mia embellishment. Quickly press into place on top of the gathered ribbon. Hold in place until the glue has set.
And I'm pleased to say that you're finished! You now have one pretty stunning invitation!
TIP
If you are printing on to pearlised card, you will need to use a laser printer. If you are using an inkjet, we recommend swapping the pearlised card for matt card)

