
DIY Wedding Invitation with Pearl Buckle
For Each DIY Winter Wedding Invitation with Pearl Buckle You Will Need:
1/2 sheet of Champagne Glitter Card (click here)
1/2 sheet of Sage Green Paper (click here)
1 x Sheet of Pearlised White A4 Card (click here)
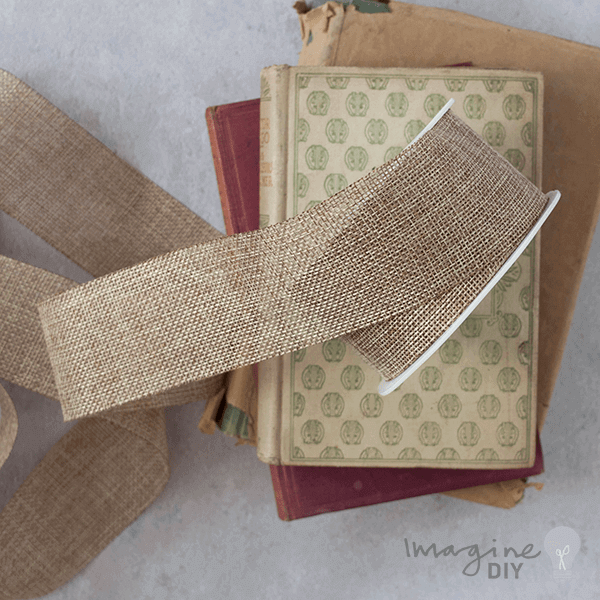
20cm of Sea Green Luster Ribbon (click here)
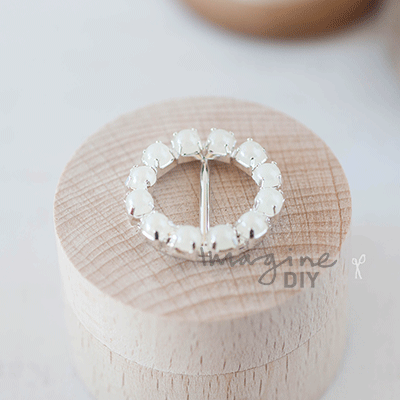
1 x Pearl Pride Buckle (click here)
1 x Paper Trimmer
1 x Hot Melt Glue Gun (click here)
1 x High Tack Tape (click here)
Hats off to a really elegant DIY wedding invitation. This design is a really easy one to customise in terms of colour or embellishment. Personally, I love the way the Sage Green works with the Champagne Glitter but it would also work will with a whole host of different colour combinations. You don't need a huge amount of skill to reproduce this at home so why not give it a go?
If you're not big on reading instructions, we've put together a quick video to show you how it's done (just press play)……
You'll also need to download this template.....
So Here Are The Instructions……

Instructions
- Use your paper trimmer to cut your card as follows:
- Champagne Glitter Card .... 14.75cm x 14.75cm
- Green Recycled Paper .... 13.5cm x 13.5cm
- Pearlised White Card ...13cm x 13cm - Print your invitation wording on to the pre-cut White Card Panel (13cm x 13cm).
- Use your tape runner to stick the Green Paper on top of the Champagne Glitter Card.
- Cut the ribbon in to 2 x 10cm lengths. Take one of the 10cm lengths and slide the pearl buckle in to the middle. Position the buckle so that it sits neatly on the ribbon.
- Place the buckle in the right position on the top left of your card. You will need to use your eye to make sure that you are happy with the position. Once you like where the buckle sits, fold the edges of the ribbon around to the back of the card and glue in to place with your hot melt glue gun.
- Take your second length of ribbon and place it in the right position on the bottom right of the card. Once you are happy with the position of the ribbon, fold the loose ends around to the back of the panel and glue in to place using the hot melt glue gun.
- Use your tape runner to stick the invitation panel on top of the Sage Green Paper panel. Make sure that you use a few rows of double sided tape so that you get a strong bond.
......You'll be pleased to know that this is the end! You should now have a breathtaking invitation sitting in front of you.
TIPS
1 - If you are printing on to pearlised card, you will need to use a laser printer. If you are using an inkjet, we recommend swapping the pearlised card for matt card)
