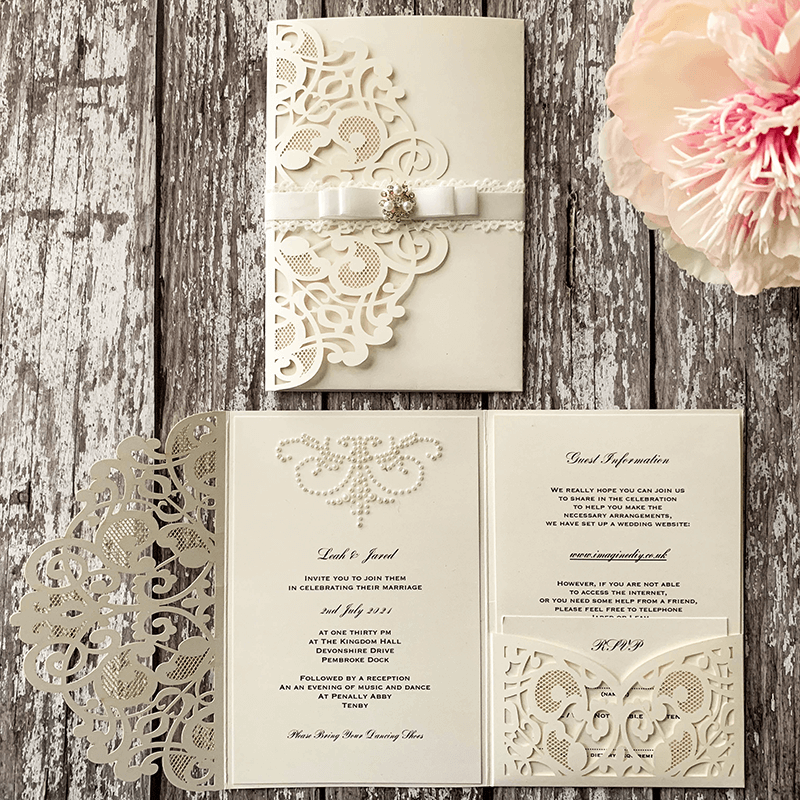
Romantic weddings with a vintage feel are still very much in vogue. So when I started designing this invitation, I knew I wanted to try and capture that feel with the addition of some lace and pearls. It's been a while since I brought lace and pearls into my design work so it was exciting to work with them again. The pretty laser cut details combine really well with the pearl details and the subtle addition of lace. The neutral tones keep a sense of elegance. Overall, I love this well rounded design and I can't wait to see some of you using it in your weddings.
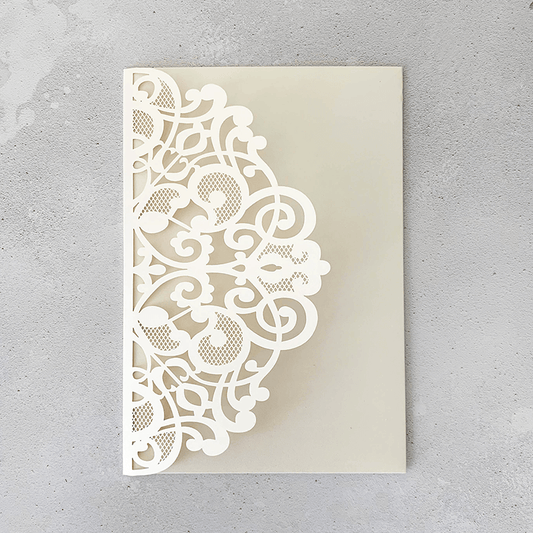
The Elin laser cut is also available in Pearlised White and Pearlised Blush Pink if you wanted to change the colour theme. You could choose an alternative embellishment or different lace or ribbon colour to make this unique to you.
For Each Invitation You Will Need:
1 x Elin Laser Cut Pocket invitation in Pearlised Ivory. (click here)
3 x Inserts. (click here)
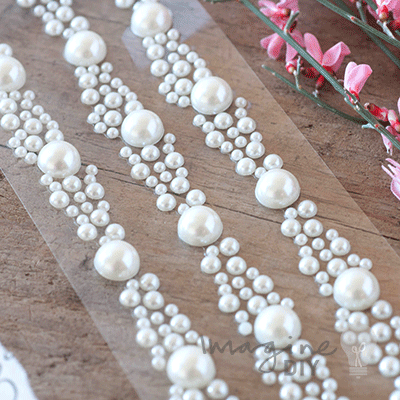
1 x Coronet Pearl Self Adhesive (1 sheet will make 2 invitations). (click here)
30cm of Doily Lace. (click here)
1 x Ivory Dior Bow. (click here)
1 x Saskia Rose Gold Embellishment. (click here)
Also:
Envelope. (click here)
Paper Trimmer / Scorer
Tape Runner or double sided tape. (click here)
Hot Melt Glue Gun. (click here)
If you’re not big on reading instructions, we’ve put together a video to show you how it’s done. (just press play)……
INVITATION TEMPLATE
RSVP TEMPLATE
GUEST INFORMATION TEMPLATE
We used the following font:
Bank Script and Copperplate Gothic
So Here Are The Instructions……

- Download the following templates:
INVITATION TEMPLATE
RSVP
GUEST INFORMATION
Type your wording in the spaces provided. Make sure you check that the spelling, grammar and layout are all correct. You will also need to check that the times, dates and locations are all included.
We used the following fonts....Bank Script and Copperplate Gothic. - Print the wording onto the insert cards.
- Use a paper trimmer to cut the RSVP card down to size using the guides provided (cut just inside the outline)
- Use a paper trimmer to cut appx. 0.25cm off each side of the Guest Information Card so that it will slot inside the pocket.
- Open up the laser cut invitation and place the Guest Information card and the RSVP card inside the pocket.
- Place the printed invitation panel face down on a flat surface. Run double sided tape around the outside edges and across the middle. Stick it in to place at the centre of the laser cut invitation, making sure your borders are even.
- Carefully peel off one of your Coronet Pearl Self Adhesive Stickers. Starting with the bottom centre of the sticker, press into place on the invitation panel, at the top centre.
- Close the invitation.
- Cut a length of lace appx. 27cm long. Put it onto a flat surface.
- Place a small amont of glue from the glue gun at the back centre of the Dior Bow. Lightly press into place at the centre of the lace. Lift it off the hard surface so that it does not get stuck.
Place a small amount of glue at the end of the lace and running the loose end of the bow long the lace, press it into place lightly. Lift it off the hard surface so that it does not get stuck. Repeat this for the opposite side of the ribbon - Place your Dior Bow (and lace) face down on a flat surface. Put your invitation face down on the top so that the bow sits in the front centre of the invitation.
Fold one loose edge of the bow (and lace) in towards the back centre of the card and hold in place. Fold the opposite loose edge over the top of the end you are holding in place. Use your hot melt glue gun to secure in place so that the ribbon looks like it is forming a continuous loop. - Turn your invitation back around so that the front is facing you. Adjust the bow so that it is sitting centrally.
- Apply a small amount of glue from your glue gun to the back of the embellishment. Carefully press into place at the centre of your Dior Bow.
And you're finished! Wasn't that worth the work!!!
If you use this tutorial, I'd love to hear from you (and to see some pictures of what you've created).


