How To Make...Gorgeous Glitter Invitations
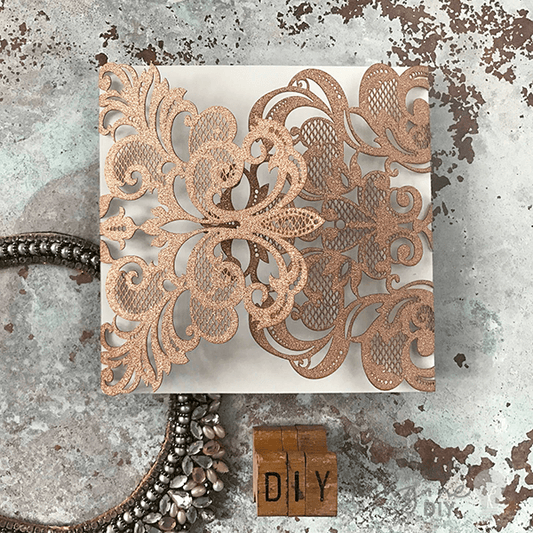
Where do I start other than with "wow"!!! As soon as I finished work on these Gorgeous Glitter Invitations, I knew they would be a winner. If I received an invitation as stunning as this, I would definitely be excited for the wedding!
If you think these would be too hard for you to make yourself, think again......you only need a teeny, tiny amount of skill and a little bit of time to be able to recreate these yourself.
As with all our design guides; if rose gold isn't your theme, you can alter the design to suit you. Just choose a different colour laser cut. You can also customise it even more by changing the dior bow, embellishments or paper. Go on.......wow yourself! Give it a go!

HERE’S WHAT YOU’LL NEED:
You Will Need:
1 x Rococco Rose Gold Glitter Invitation (click here)1/2 sheet of Rose Gold Glitter Card (click here)
1/2 Sheet of Chintz Paper (click here)
1 Single Dior Bow in Rose Gold (click here)
1 Pearl and Crystal Teardrop (click here)
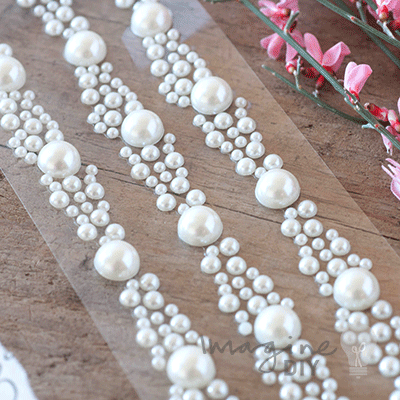
2 rows of 3mm Self Adhesive Pearl Rows (click here)
2 rows of 4mm Self Adhesive Pearl Rows (click here)
Paper Trimmer
Tape Runner or Double Sided Tape (click here)
Hot melt glue gun (click here)

INSTRUCTIONS:
Here’s How You Do It:
Invitation Panel:
- Cut a piece of Rose Gold Glitter Card 16.5cm wide x 14.3cm high.
- Print your wording on to the Chintz Paper and cut down to size. The finished size should be appx. 15.5cm wide x 14.3cm high. You should be able to print 2 panels on to each sheet of paper.
- Use your tape runner to stick the printed panel on to the centre of the Rose Gold Glitter Card.
- Peel off a row of 3mm self adhesive pearls. Starting at the top left, press it in to place along the edge of the printed panel where it meets the glitter card. When you have run the row from the top to the bottom, cut off any excess. Make sure you press it firmly in place with your fingers.
- Peel off a row of 4mm self adhesive pearls and press them in to place next to the row of 3mm pearls you have just stuck down.
- Repeat this on the opposite side of your invitation so that you have a lovely pearl border.

Front:
- Place your invitation inside the Rococco Laser Cut. Fold the top and bottom flaps over the invitation panel.
- Place your Dior bow face down on a flat surface. With the back of the invitation facing you, lay it on top of the Dior bow. Try to make sure that the bow is roughly in the centre of the card when you place it down. (You don't need to worry about this too much because you will have an opportunity to adjust it later.
- At the back of the invitation, hold one end of the ribbon in place. Use your glue gun to glue the loose end of the ribbon on top of the piece you are holding down forming a band around the card. Make sure that you do not spill any glue on to the card. During this process, make sure that you do not make the band to tight (so that you can't pull it off the card or adjust it) or too loose (so that it just falls off when you move it around). Trim off any loose ends with a sharp scissors.
- Turn your invitation back around so that the front is facing you. Adjust the bow so that it is in a position you like.
- Use your glue gun to stick your embellishment to the centre of the dior bow.


