Vintage Style Cameo Invitation with Floral Details - Pretty DIY Invitation for you to make at home
I must admit that I’m a little bit in love with this invitation. Lucy laid down a challenge to make something beautiful with our new Rosemoor Papers. After looking at the paper for quite a long time and drawing a complete blank, I decided to walk around the treasure trove of our packing room to find anything that would work well with the print and colours on the paper. When everything was all laid out together, it was easy to see how well this paper was going to work. But I had no idea that it would look as good as this Vintage Style Cameo Invitation!
With a tiny bit of skill, this invitation can be easily achieved at home.
The model is really easy to copy and can be easily adapted to match your style. Just change the colours, prints or embellishments.

Here’s How To Make This Beautiful Vintage Style Invitation:
For each invitation you will need:
1/2 sheet Pearlised Blush Pink (click here)
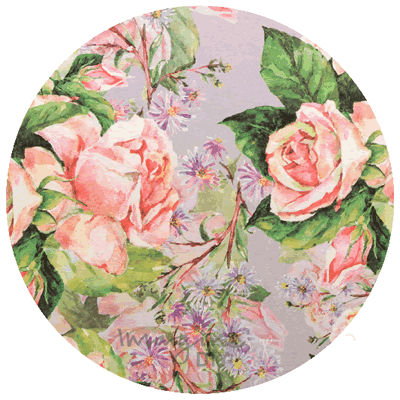
1/8 sheet of Rosemoor paper in dusky lilac (click here)
1 single dior bow in dusky pink (click here)
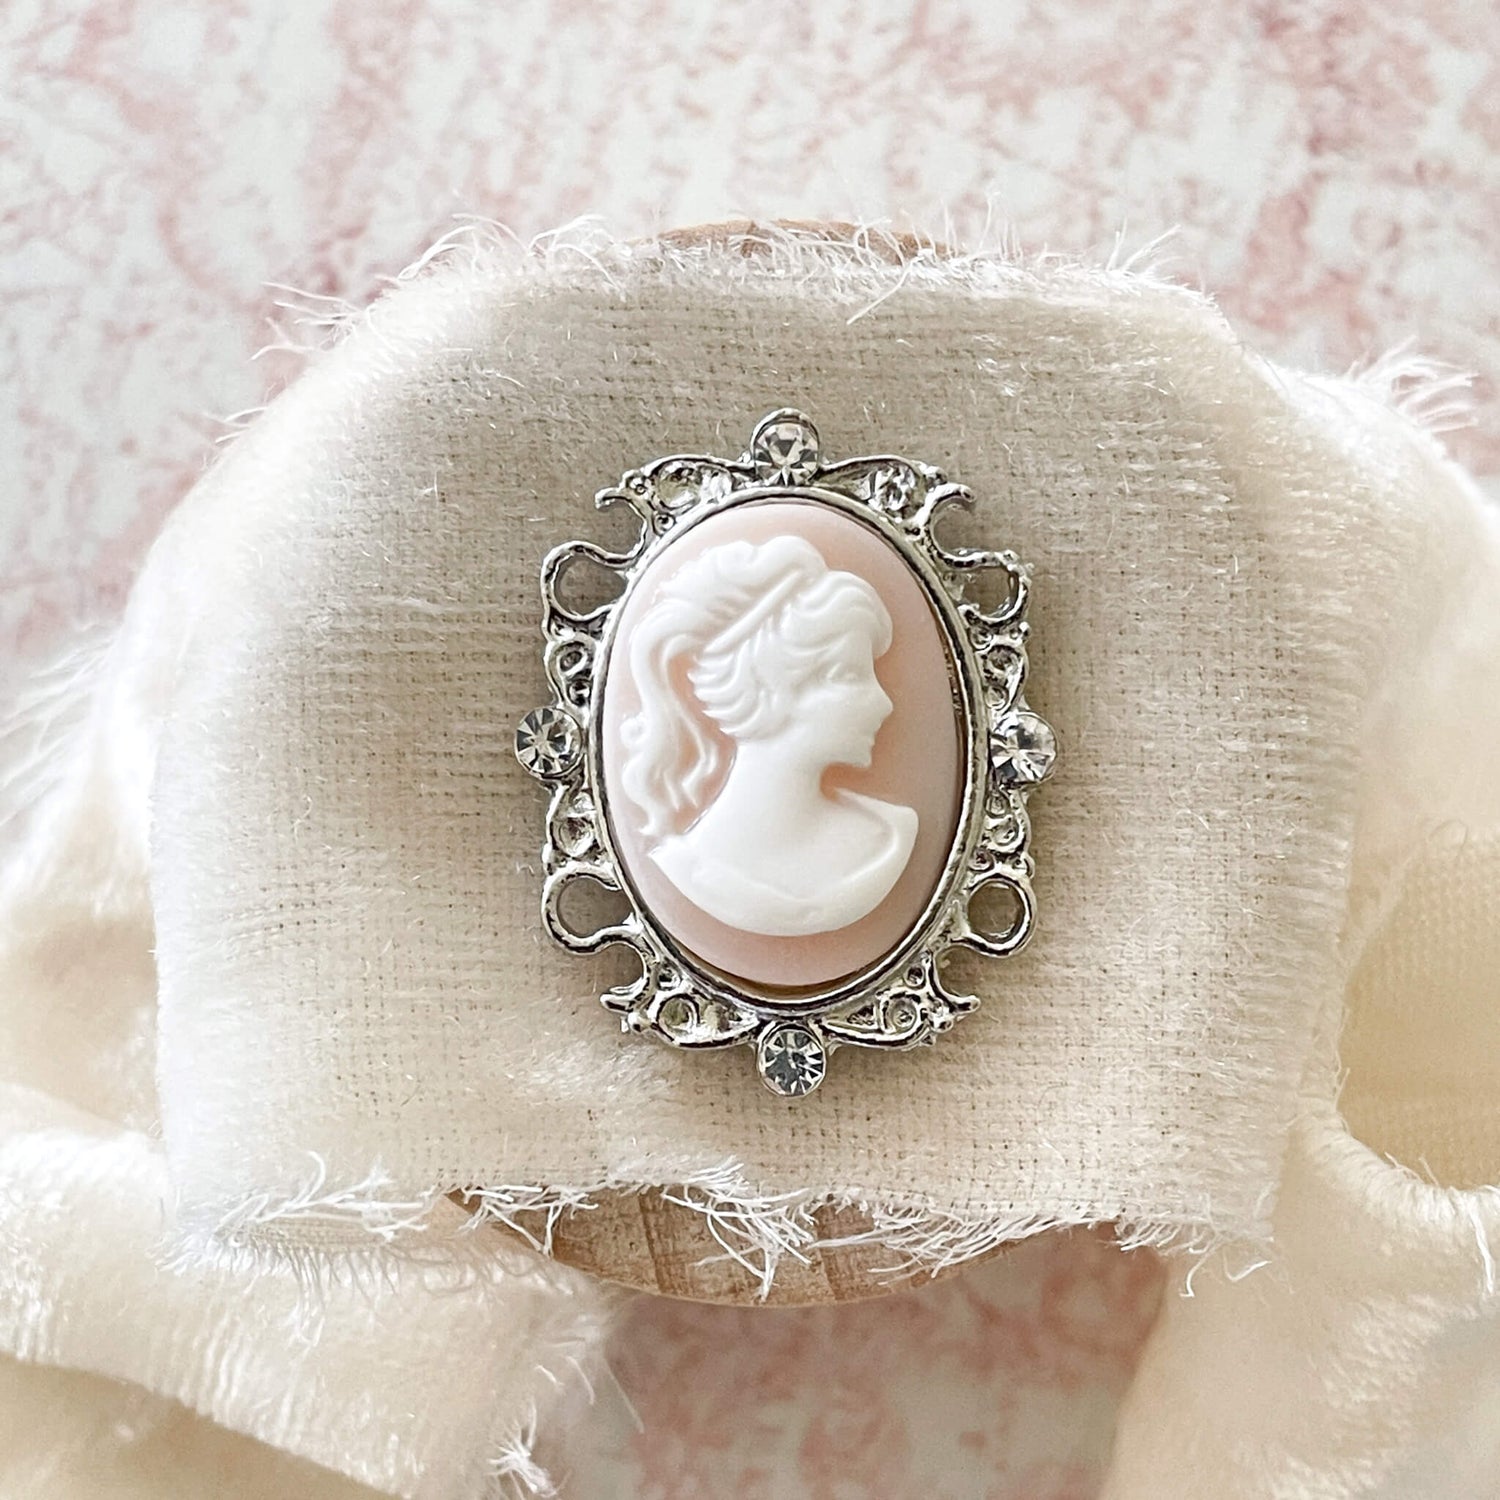
1 dusky pink cameo charm (click here)
12cm of narrow edging lace (click here)
Other Things You Might Need:
Paper trimmer
Tape runner or double sided tape (click here)
Glue gun (click here)
Scissors
INSTRUCTIONS:
- Print your wording on to the Precious Pink Card and cut down to size. The finished size of the card should be should be 15.5cm high x 11cm wide. Remember to keep the wording set in the bottom 8cm of your card to allow room for your paper and embellishments at the top.
- (You should be able to print 2 invitation panels on each sheet if you use a landscape format)
- (If you are struggling to print on to card, you will need to purchase Precious Pink paper to print on to. This can be cut down to size and stuck on to the card)
- Cut a piece of Rosemoor Paper 11cm wide x 6cm high. Use your tape runner to stick this to the top of the card, making sure that the edges match up. If you have any overlap, cut it off with a paper trimmer or sharp scissors.
- Use your tape runner to lay a line of tape just underneath the edge of the Rosemoore paper. Take a length of May Arts Lace and press this firmly in to place on top of the tape. Make sure that you lay it straight. Use a sharp scissors to trim off any overlapping lace at each side.
- Use your glue gun to stick your dior bow in to place, covering the join between the lace and the Rosemoor paper (see image). I find he best way of doing this is by putting a small amount of glue in the middle of the back of the bow. You can then press this in to place, making sure you have it well centralised. Pass the loose edges of the ribbon around to the back of the card, keeping the ribbon straight. Use your glue gun to secure the ribbon in to place at the back of the card and trim off any messy excess with a scissors.
- Use your glue gun to stick your Cameo in to place on top of the Dior Bow. (Apply the glue directly on to the back of the cameo and then quickly press it in to place in the centre of the bow).
- You might have noticed from the image that we have wrapped the invitation. This is a really nice finishing touch but does add an extra expense. We used a sheet of Cheltenham Stripes paper that we cut to 15.5cm high. We placed the card in the centre of the paper and folded the sides in around the invitation to form a wrap. As simple as that!
And you’ll be pleased to know that there is nothing else to do! You should now have a really beautiful invitation that you can proudly say you made yourself.