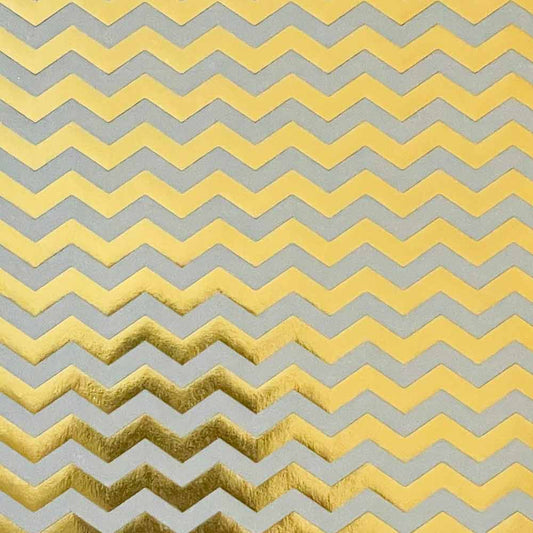
Make Your Own Foiled Wedding Stationery
For many years, Gold and Silver Foiling has been the job of specialised printers. Using a huge hot foil machine, they would produce fantastic results that you could only dream of at home. Now here is the guide how you can get your own Foiled Wedding Stationery.
So imagine how excited we were to find out that you CAN actually do this at home without needing to purchase a super expensive machine!!!
All you actually need in order to produce fantastic results are:
- A Laser Printer
- A Laminator
- A roll of gold or silver toner foil (or any colour toner foil for that matter, there are lots of colours available online!)

Here’s how you do it……
1 - Turn on your Laminator and choose the hot setting.
2 - Print your wording or image using a Laser Printer
3 - Cut out a section (or sections) of Foil large enough to cover your printing. Place the foil on top of the printing with the shiny side facing upwards.
4 - Feed the printed sheet (with the foil on top) through the laminator.
5 - Peel of the foil sheet and you will be left with lovely shiny text.
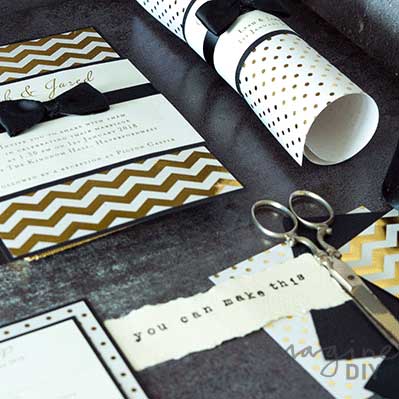
Honestly, it’s SO exciting to see the results (we got a little bit addicted to it!!) You can see how fantastic it looks if you check out the above image. The Order of Service Scroll on the top right shows it off the best. You would never think that these had been made on a home printer!
We do have some words of caution:
- This will not work if you have a wax printer (the wax will melt and you will have fuzzy text). We’ve tried this already and it was very disappointing.
- The foil will not stick to a wet ink so that rules ink jet printers out sorry.
- You will need to us a MATT paper or card, The foil will not stick cleanly to a pearlised surface.
- Don’t try to use an iron! We tried for hours to get the perfect setting and we ended up spoiling loads because we couldn't get the heat or pressure right. Spend just a few pounds on a laminator and you’ll have great results every time!


