DIY Ribbon Dior Bow with Pearl Buckle Centre
We love Dior Bows and they often feature in our DIY wedding invitation and stationery projects. I wanted to show you how by adding a decorative element, you can massively increase the impact of these beautiful bows. This DIY Luxury Dior Bow is the perfect finishing touch.
This tutorial will show you how to make a beautiful designer inspired bow that will be perfect for your luxury wedding invitations, gift wrapping or even to decorate clothes, shoes or bags.
The first thing you need to do is choose your ribbon or lace. To get you started, we have a great selection available in our online shop.
For this bow, we have used:
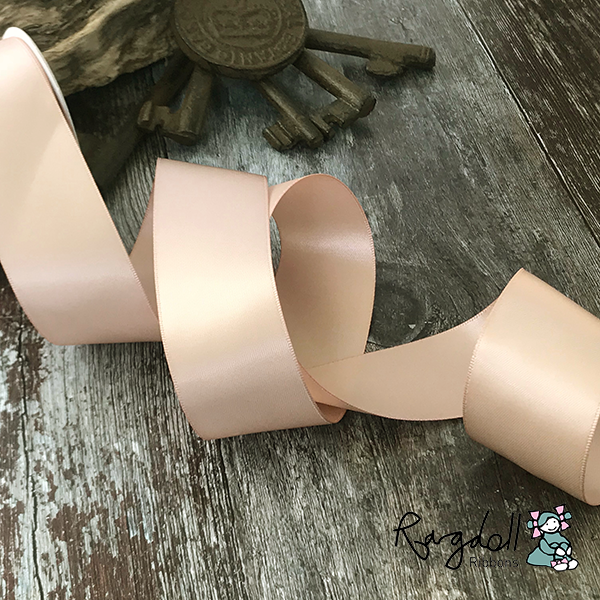
38mm Vanilla Satin Ribbon (click here)
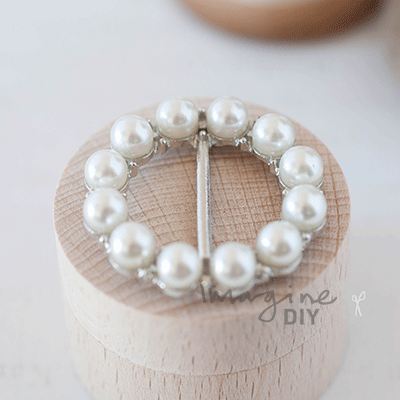
A Beatrice Pearl Buckle (click here)
A Hot Melt Glue Gun (click here)
A Scissors
and if you're very fussy, a ruler will also come in handy.
Watch this video to see how DIY your own luxury Dior Bow...
If you'd prefer written instructions, please watch the video first. The instructions will make a bit more sense once you've watched the video!
STEP 1
Use the hot melt glue gun to glue the edge of the ribbon. Fold the ribbon back on itself and press in to place. If you would like your Dior Bow to be 7cm long, you will need to press the glued edge into place at appx. 3.5cm along the length of the ribbon
STEP 2
Add a line of glue along the join and fold the opposite end of the ribbon in towards the centre, pressing in to place so that you have 2 loops of equal length.
STEP 3
Taking the loose end, follow the line of the bow, add on an extra length until your happy with the size of the bow. Now fold it back in towards the back of the bow. Run a line of glue down the centre of the bow (at the back) and press your loose end in to place.
STEP 4
Repeat step 3 to form an identical loop on the opposite side. You should now have 4 loops (2 smaller ones at the top and 2 larger ones at the bottom). Use a scissors to trim off any excess ribbon.
STEP 5
All you need to do now is thread one side of the bow through the loop of the buckle. As you do this, you will need to tease the ribbon in to place until you're happy it looks even on both sides.
STEP 6
You can now stick your bow in to place using your glue gun.
TIP
If you would like to use an embellishment instead of a buckle, replace step 5 and 6 with this step:
On the surface you would like to add your bow, place a circle of glue from your glue gun roughly where you would like the middle of your bow to be.
Place your bow on to the glue and pinch it together, pressing down at the same time to form a bunched effect. Once the glue had dried, stick your embellishment on top using the hot melt glue gun. You will need to press this firmly in to place so that it sits neatly on the gathered centre.
And you're done! The more you make, the quicker you'll get so don't be put off. It really is worth the effort. You can use a variety of different ribbons and textures.
So why not give it a go? We'd love to see what luxury items you make using this technique.
Subscribe to our Youtube Channel to see all our latest videos and tutorials.