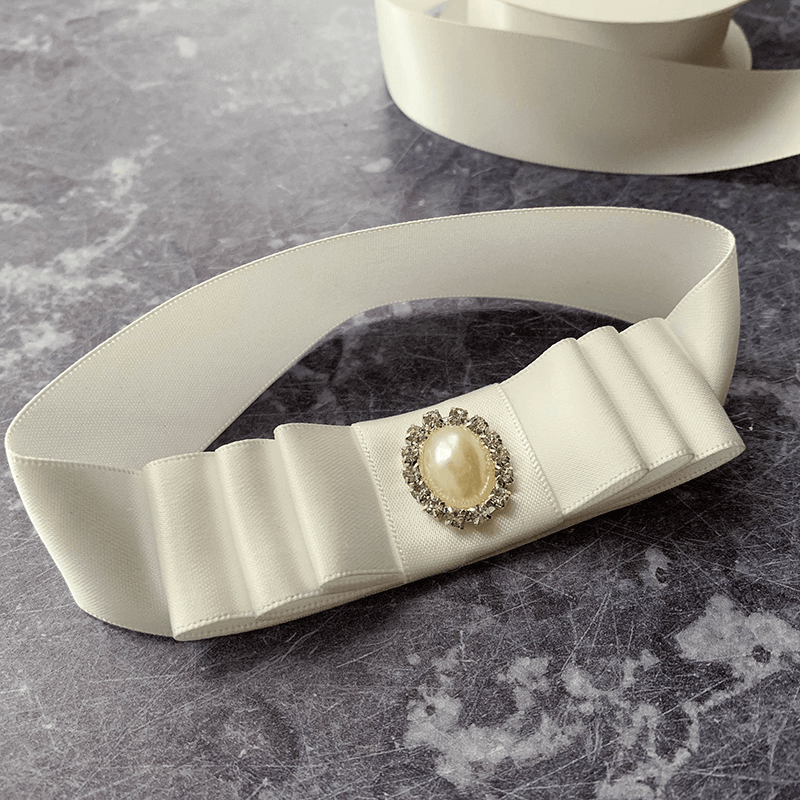
How to Make a Triple Dior Bow (and add a pretty pearl embellishment)
Any of you that have followed our journey will know that we've often added dior bows to our designs. They add a real sense of elegant luxury. But with this triple dior bow, we really pushed the bow out.
It takes a little time to make but the results are spectacular.
To help you on your way, I've put together a brief video and tutorial.
The video and tutorial will show you how to easily make a triple dior bow and how to easily apply your choice of embellishment.
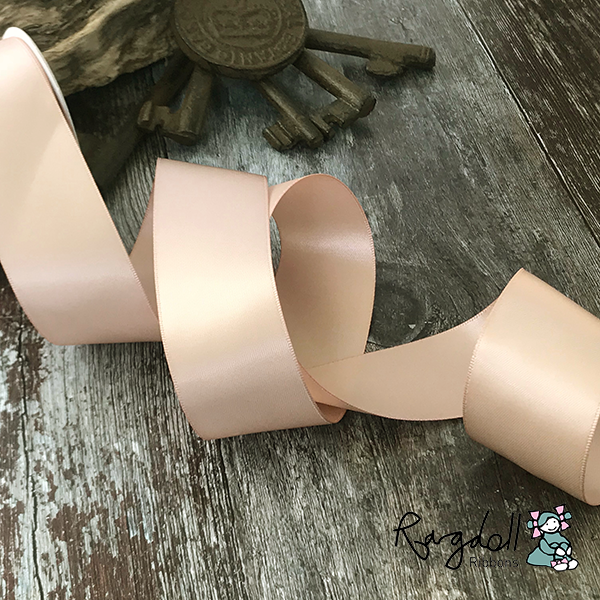
The great thing with Dior bows is that once you understand the principle of them, the world is your oyster. You can make a single dior bow, double, triple, quadruple ....... etc. using the sample technique. You can also make them with your choice of ribbon finish or colour. You can even make them with alternative materials such as paper.
I recommend watching the video tutorial before tackling the written instructions. But using them both together will really help you on your way to creating beautiful bows!!
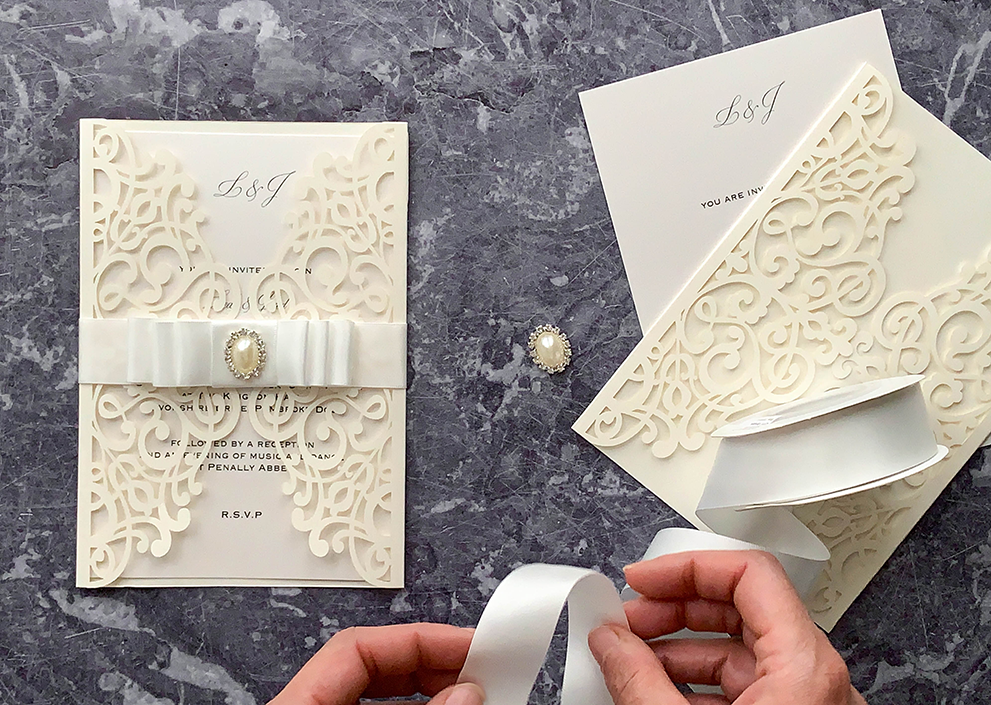
As you can see in the below picture, we've used our bow to decorate a beautiful invitation. You can find the full instructions for this invitation here:
Instructions for Laser Cut Invitation with Triple Dior Bow

INSTRUCTIONS TO MAKE YOUR TRIPLE DIOR BOW
So lets start with the video. The video shows you how to make the full invitation so you only need to watch the start to find out how to easily make a triple dior bow.
- Turn the bow so that the front is facing you. Following the line of the bow, press your ribbon against the loop until you come to the end. Fold the ribbon towards the back, allowing an overlap of about 0.5cm (this should form your second loop).
- Holding everything in place, turn your bow back over so that the back is facing you. Run a line of tape across the middle of your bow and press the ribbon against it until you come to the end of the bow.
- Turn the bow back around so that the front is facing you. Following the line of the bow, press your ribbon against the loop until you come to the end. Fold the ribbon towards the back, allowing an overlap of about 0.5cm (this should form your second loop).
- Repeat this process until you have 3 loops each side. On the last loop, you will only be taking the double sided tape and ribbon half way across to finish evenly. Trim off any excess ribbon.
- Turn the bow so that the back is facing you. Run 2 lines of double sided tape along the top centre and bottom centre of the bow (appx. 2cm long. Stick the end of the ribbon onto the bottom line of tape. Fold the ribbon over the front of the bow and back around, sticking the loose end onto the top line of tape. Cut of any overlapping ribbon.
And that's your Dior Bow finished! So if you want to make a dior bow with less loops, you would just need to stop a little earlier (once you have 2 loops on each side). But if you want to add more loops, just keep on going, following the same method.

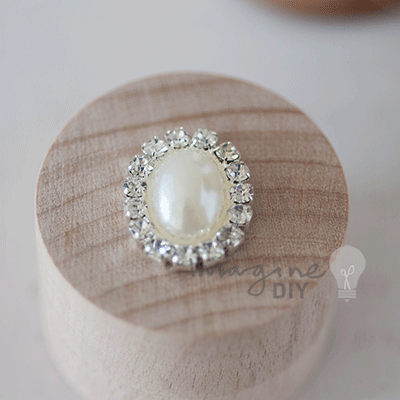
TO ADD YOUR EMBELLISHMENT.......
- Turn your embellishment over so that the back is facing you.
- Use your glue gun to apply a small amount of glue at the back of the embellishment.
- Press in to place in the centre of your bow.
TIP - I like my Dior Bows to look quite flat. But if you want a more bouncy look, don't run the tape right along the back. Just add a few centimetres of tape at the middle to hold it in place. It will then allow your bow more freedom of movement. The tape in the middle and the final loop around the centre will make sure that everything stays in place.


