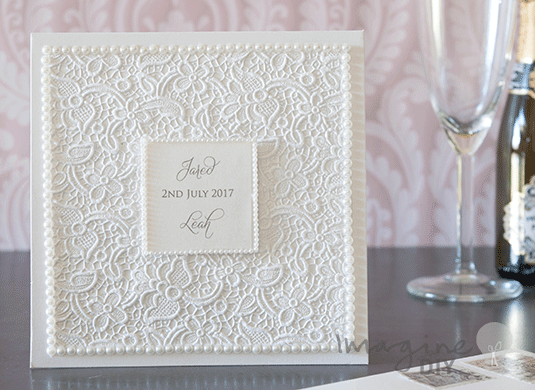
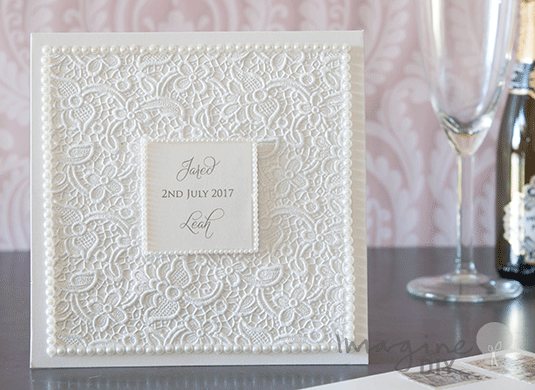
Beautiful luxury lace embossed pocket invitation with pearls that you can easily make yourself!
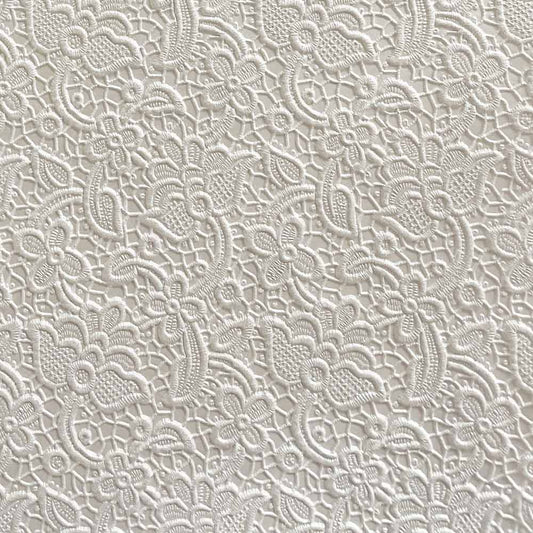
I have to admit to being a little bit in love with lace. So when we received delivery of these gorgeous lace embossed papers, I couldn’t have been happier. Designing with the paper was a complete pleasure.
The finish on this design is exquisite. It oozes luxury…..what a great impression to make for your special day.
Why not have a go at making this yourself?

Here is how to make these beautiful luxury pocket wedding invitations:
POCKET INVITATION
Here is what you will need:
1/4 sheet of Luxury Lace paper in pearlised ivory. (click here)
1 x booklet pocket invitation in pearlised ivory. (click here)
1 1/2 sheet of pearlised ivory card. (click here)
1 1/2 sheet of pearlised ivory paper. (click here)
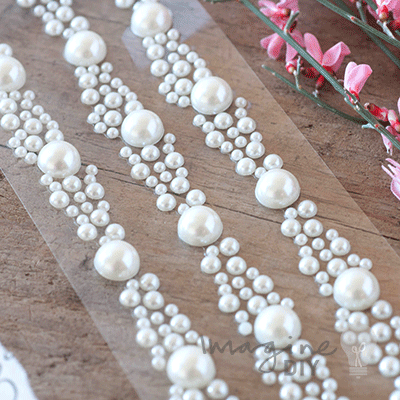
3 1/2 rows of 4mm self adhesive pearl rows. (click here)
4 rows of 2mm self adhesive pearl rows. (click here)
Paper Trimmer
Tape Runner or Double Sided Tape. (click here)
Mini mounting pads or foam pads.
You will also need scissors.
INSTRUCTIONS:
PRINTING
Print your wording on to Pearlised Ivory Paper and Cut Down to size. The finished sizes should be:
Front Tag: 4cm x 4cm
Invitation Panel: 10cm x 10cm
Guest Information: 13.5cm x 13.5cm
RSVP: 6.5cm high x 9cm wide

FRONT
- Cut a sheet of Luxury Lace Paper 13.5cm x 13.5cm. Stick to the front of your pocket, making sure that your borders are even.
- Peel off a row of 4mm self-adhesive pearls. Starting at one corner of the lace paper, press the row in to place along the edge of the lace paper. When you reach the end of the paper, cut off any excess pearls, and start the process again on the joining side. Your aim is to have a border of pearls all the way around the lace paper. When you reach the end of a row of pearls, just peel off another row and press it against the end of the last row.
- Cut a piece of Pearlised Ivory Card 4.5cm x 4.5cm. Stick your front tag on top of the card.
- Peel off a row of 2mm self-adhesive pearls and stick into place around the edge of the panel using the same technique as previous.
- Use mini mounting pads to stick the front tag to the centre of your card (on top of the lace paper). Make sure that your borders are even.

INSIDE
- Cut a piece of Luxury Lace Paper 14cm x 14cm. Open up your card and stick the paper to the inside panel.
- Cut a piece of Pearlised Ivory Paper 10.5cm x 10.5cm. Stick your invitation panel on top.
- Peel off a row of 2mm self adhesive pearls and stick in to place around the edge of the panel using the same technique as previous.
- Use mini mounting pads to stick the invitation panel in to place on top of the lace paper.

GUEST INFORMATION
- Cut a piece of pearlised ivory card 14cm x 14cm. Stick your printed panel on top.
- Slot inside the pocket.
RSVP
- Cut a piece of pearlised ivory card 9cm x 11.5cm.
- Cut a piece of Luxury Lace Paper 8.5cm x 11cm. Stick on top of the Ivory Card.
- Cut a piece of Pearlised Ivory Card 7cm x 9.5cm. Stick on top of the Lace Paper.
- Stick your RSVP wording on top.
- Place inside the pocket.
We hope you find this design guide helpful and inspires you to give it a go yourself. If you need any help, let us know, we have plenty of tips up our sleeves to help you make your own bespoke and unique DIY wedding stationery x


