Make Your Pretty Laser Cut Invitations with Bow
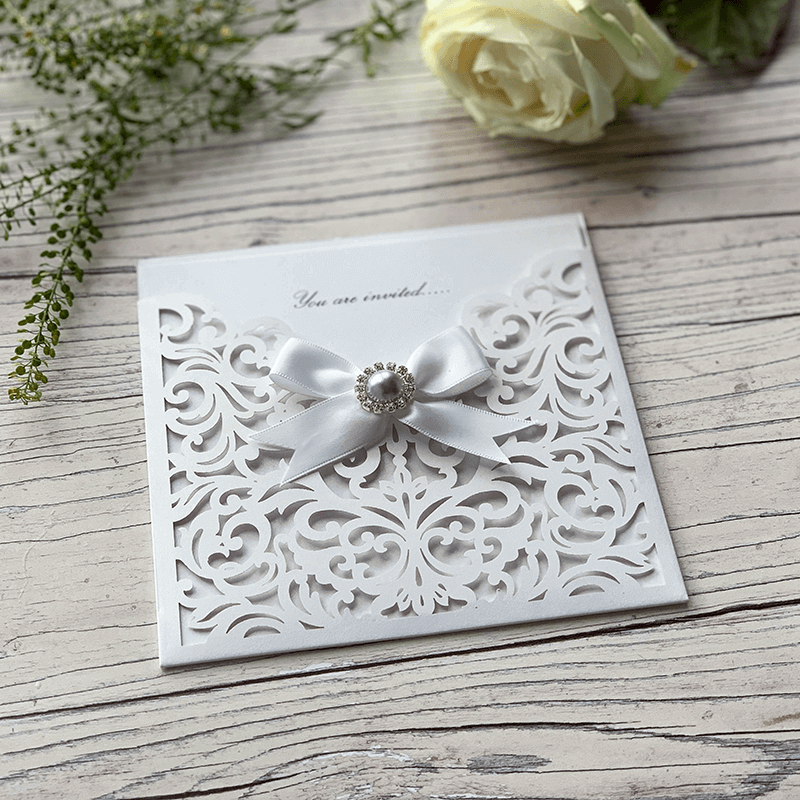
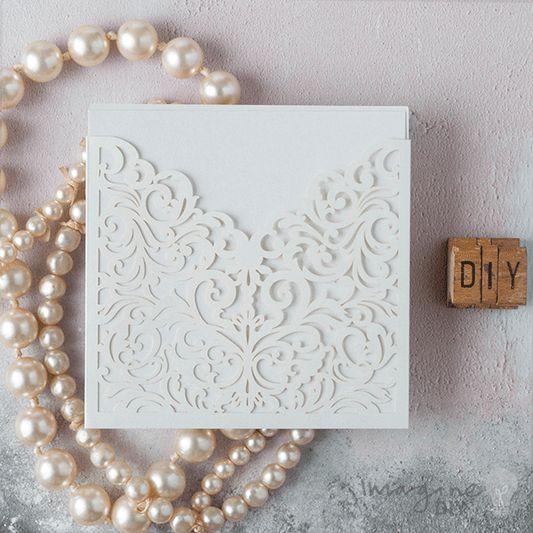
Our Lucy Laser Cut Invitation Pockets are perfect for making your own DIY wedding invitations. The pocket format makes it easy to add additional information and RSVP cards and still keep the same elegant appearance.
This pretty invitation couldn't be easier to make. If you can tie your own show laces, you can definitely make this invitation with ease!
It's also really easy to customise. Just by changing the ribbon colour; insert colour or embellishment, you can create something unique to you.
Why not give it a go?
For Each Invitation You Will Need:
1 x Lucy Invitation in White (click here)
1 x Insert in White (click here)
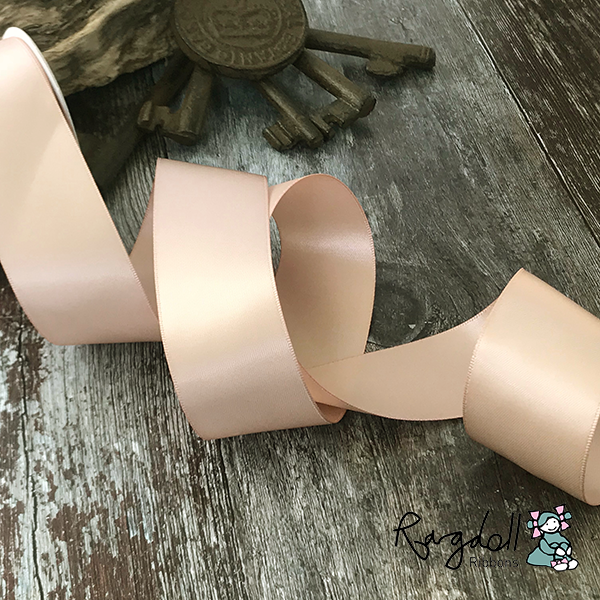
50cm of 19mm White Satin Ribbon (1 roll will make appx. 20 invitations) (click here)
1 x Sterling Embellishment (click here)
Also:
Hot Melt Glue Gun (click here)
Pearlised White Envelope (click here)
TIP – Change the backing card or embellishment;
or choose a different colour ribbon to coordinate with your theme.
If you’re not big on reading instructions, we’ve put together a video to show you how it’s done. (just press play)……
You’ll also need to download this template…..
INVITATION FRONT TEMPLATE
INVITATION WORDING TEMPLATE
We used the following font:
Cherry Script and Copperplate Gothic Light
So Here Are The Instructions……

Instructions
- Download the following template:
INVITATION FRONT TEMPLATE
INVITATION WORDING TEMPLATE
Type your wording in the spaces provided. Make sure you check that the spelling, grammar and layout are all correct. You will also need to check that the times, dates and locations are all included.
We used the following fonts .... Cherry Script and Copperplate Gothic Light.
Print the Invitation front onto one side of the insert and the Invitation wording onto the other side. - Slot the printed invitation panel into the Lucy Laser Cut Pocket.
- Pull of a length of ribbon and tie a neat bow. I like to form 2 loops (bunny ears) and then tie them in a knot to form a bow. Tease the bow in to place by tightening and loosening until you are happy with the size and shape. Cut off the excess ribbon at each side. It looks nice if you cut it into an inverted "v" shape.
- Use your glue gun to apply glue to the back centre of your bow.
Lift the top section of the laser cut panel away from the back of the invitation. Hold your finger behind the top part of the panel.
Press your bow in to place at the top centre of the laser cut pattern, keeping your fingers behind it until the glue has dried. This will stop any glue leaking onto the invitation behind.
(As you do this, be careful not to burn yourself.) - Use your glue gun to apply a small amount of glue to the back of your Sterling Embellishment. Press into place on top of the bow. Press down until the glue has dried (about 5 - 10 seconds)
And I'm happy to say that's all you need to do. In just a few easy steps, you've made a really beautiful invitation. You should be feeling pretty proud of yourself.


