Make Sparkling Laser Cut Wedding Stationery
Our laser cut panels offer so much versatility. I wanted to produce a design that truly showcased how well these work in a co-ordinating range of wedding stationery. I was delighted with the results. The way the silver glitter sparkles through the laser cut detail works better than I’d ever imagined. The subtle dusky lilac details are the perfect finishing touch to this gorgeous range. I'm sure you'll agree that the results of this Sparkling Laser Cut Wedding Stationery are gorgeous!If silver and lilac are not right for your theme, why not try to recreate this range using your choice of colours.
Here’s how we made the invitation in this range....
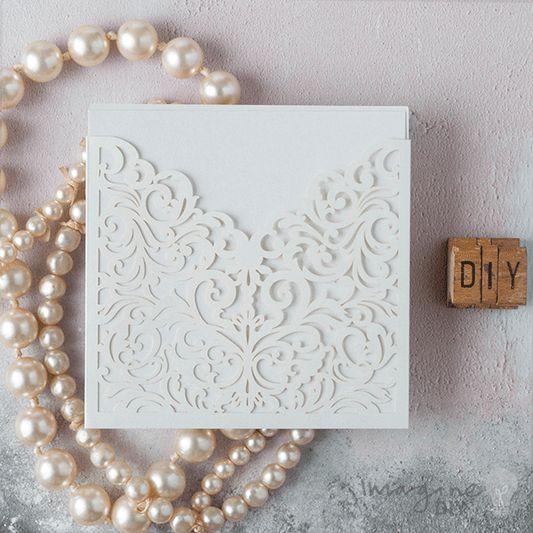
LASER CUT INVITATION POCKET

You Will Need:
Lucy Laser Cut Invitation (click here)
1/2 sheet of Silver Glitter Card (click here)
1/2 sheer of pearlised white card (click here)
1/2 sheet of pearlised white paper (click here)
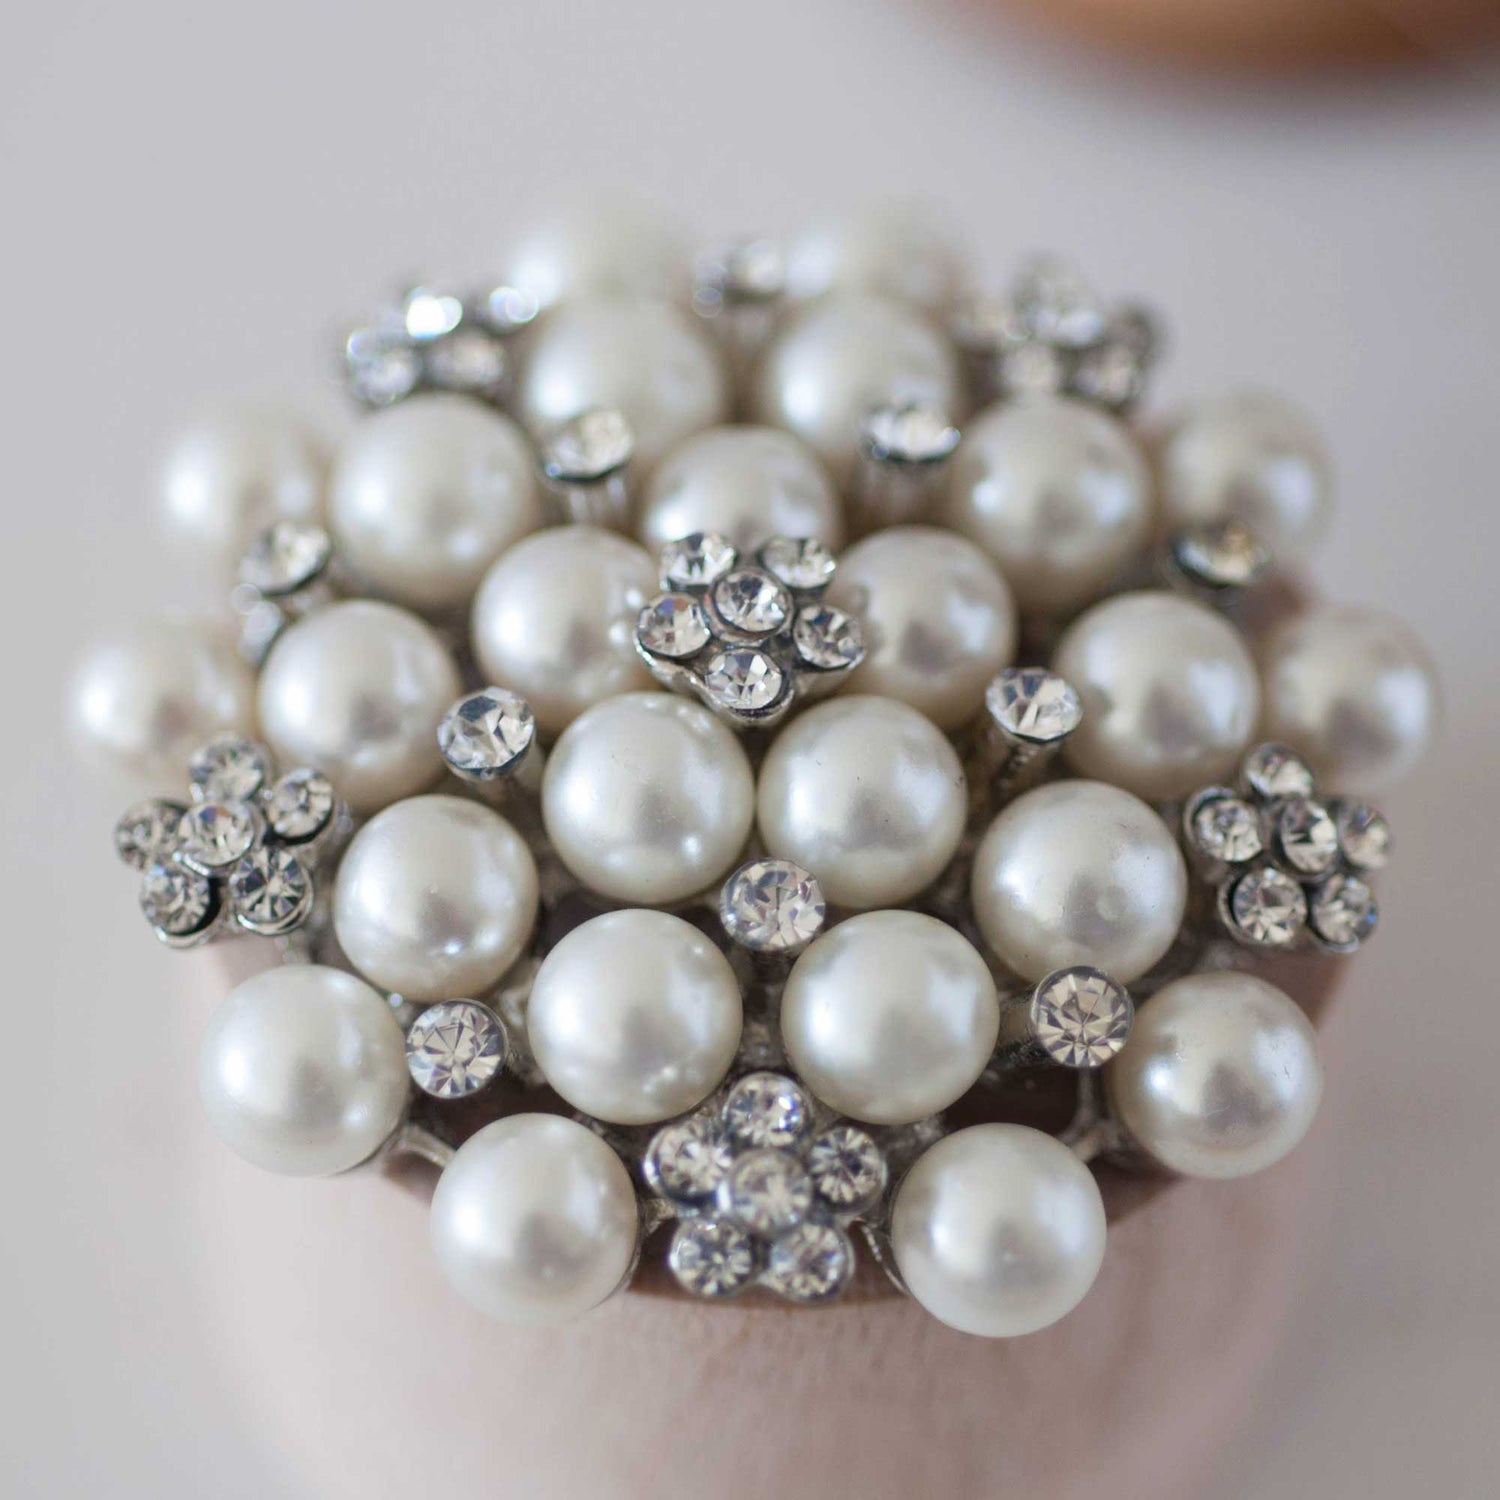
1 x Sterling embellishment (click here)
1 x Dusky Lilac bow (click here)
You Will Also Need:
Paper Trimmer
Tape Runner or Double Sided Tape (click here)
Hot melt glue gun (click here)

Instructions:
- First of all use your glue gun to stick the centre of the Dior Bow to the laser cut pocket. (At the top of the pattern, you will see a larger flat section of card that is perfect to glue the Dior Bow to). Make sure that you do not stick the front of the pocket to the back of the pocket as you do this.
- Secondly wrap both ends of ribbon around to the back of the pocket and secure in place using your glue gun. Make sure you cut off any excess ribbon.
- Cut a piece of Silver Glitter Card 14.5cm x 14.5cm.
- Again cut a piece of Pearlised White Card 11.5cm x 11.5cm. Stick this on top of the silver glitter card using your tape runner or double sided tape. Make sure that the borders are even.
- Print your invitation wording on to pearlised white paper and cut to size. The finished size should be 11cm x 11cm. Stick this in to place on top of the Pearlised White Card panel.
- Lastly Your invitation is now finished and can be slowed inside the completed invitation pocket.


